Lil Rascal Assembly Instructions
Lil Rascal Assmebly Instructions
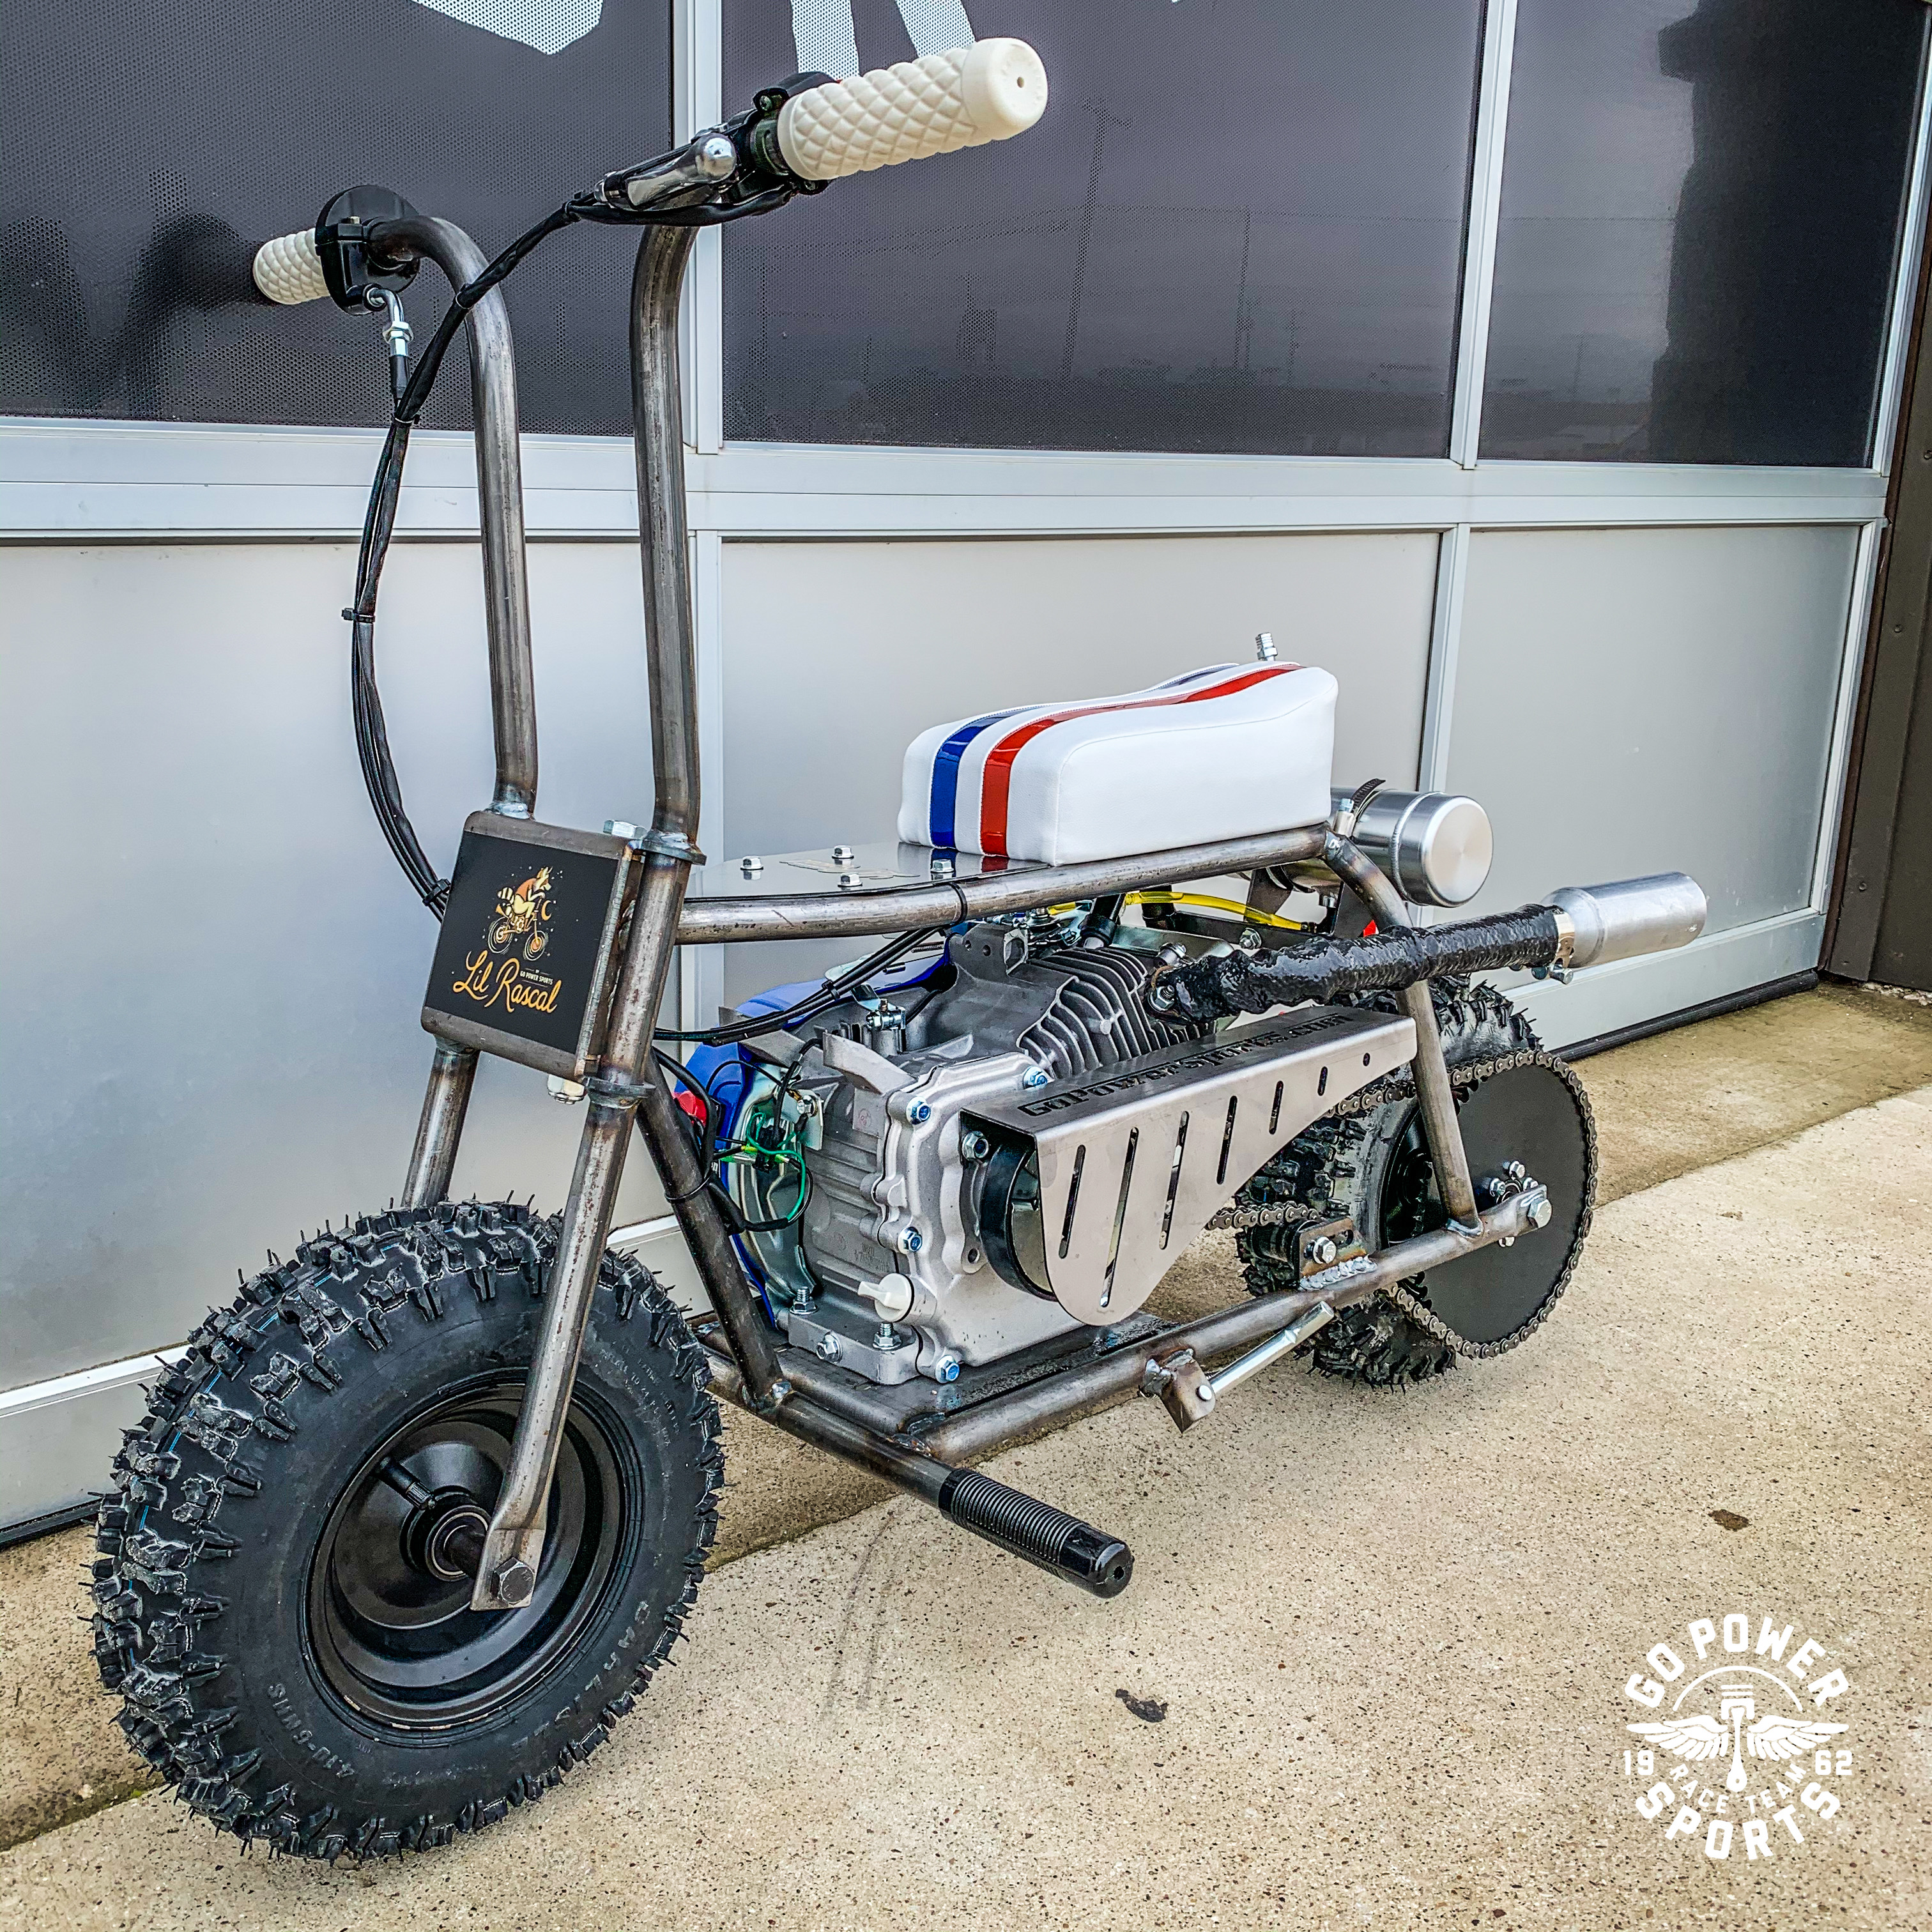
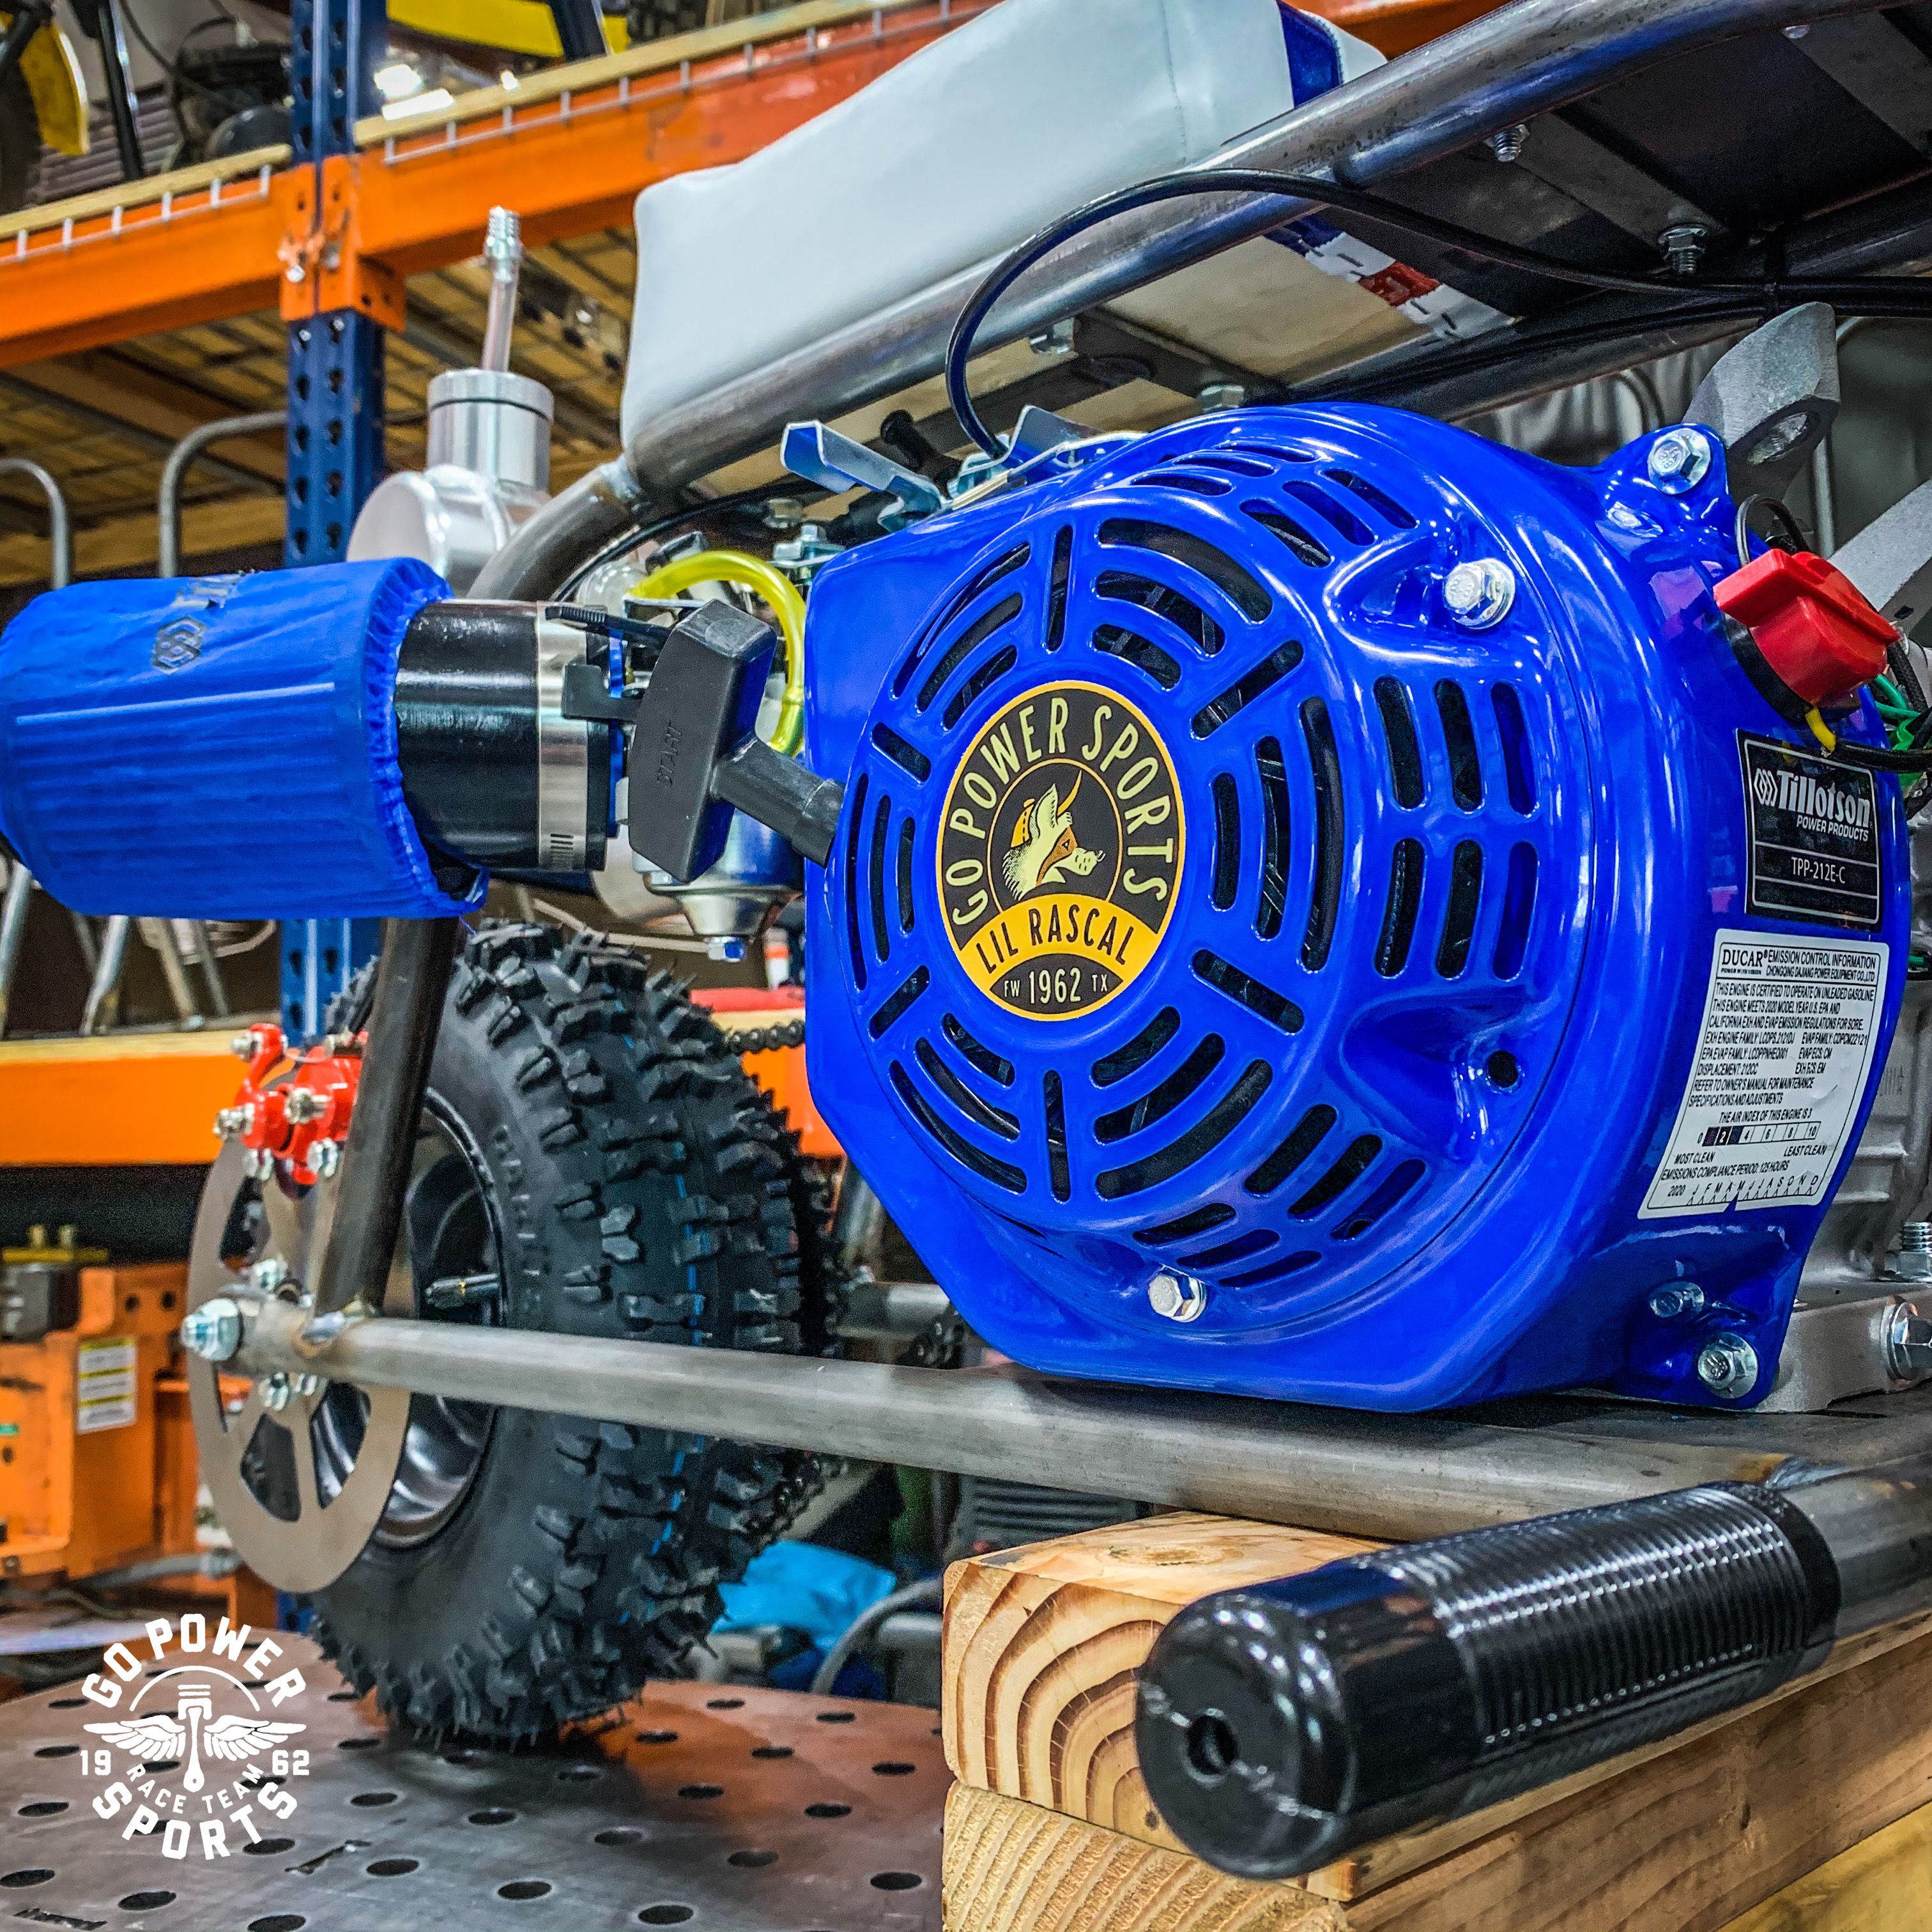
(Above is a complete Lil Rascal Mini Bike kit with an added Tillotson 212 Engine and Stage 1 Performance Kit)
Hello you Lil Rascals! Thank you for picking up a Lil Rascal Mini Bike Roller Kit. In this tutorial, we will walk through the whole assembly process so that you can riding your new minibike.
Parts List
 |
 |
 |
 |
 |
 |
 |
 |
 |
 |
 |
 |
 |
Let's start with the tools. This is what we use in the shop and I'm sure you may have alternatives that will work just as well. Our list (from left to right):
- Ball Ping Hammer
- Deburr Tool (or file)
- Flathead Screwdriver
- Phillips Screwdriver
- Diagonal Wire Cutting Pliers
- Allen Wrench 4mm & 5mm
- Sharpie
- Needle Nose Pliers (all purpose tool)
- Chain Breaker
- Ratchet Wrench with 8mm, 10mm, and 1/2" Sockets
- Wrenches: 10mm, 13mm, 19mm, 1/2", and 3/4"
- Impact
- Drill with a 1/4" Drill Bit
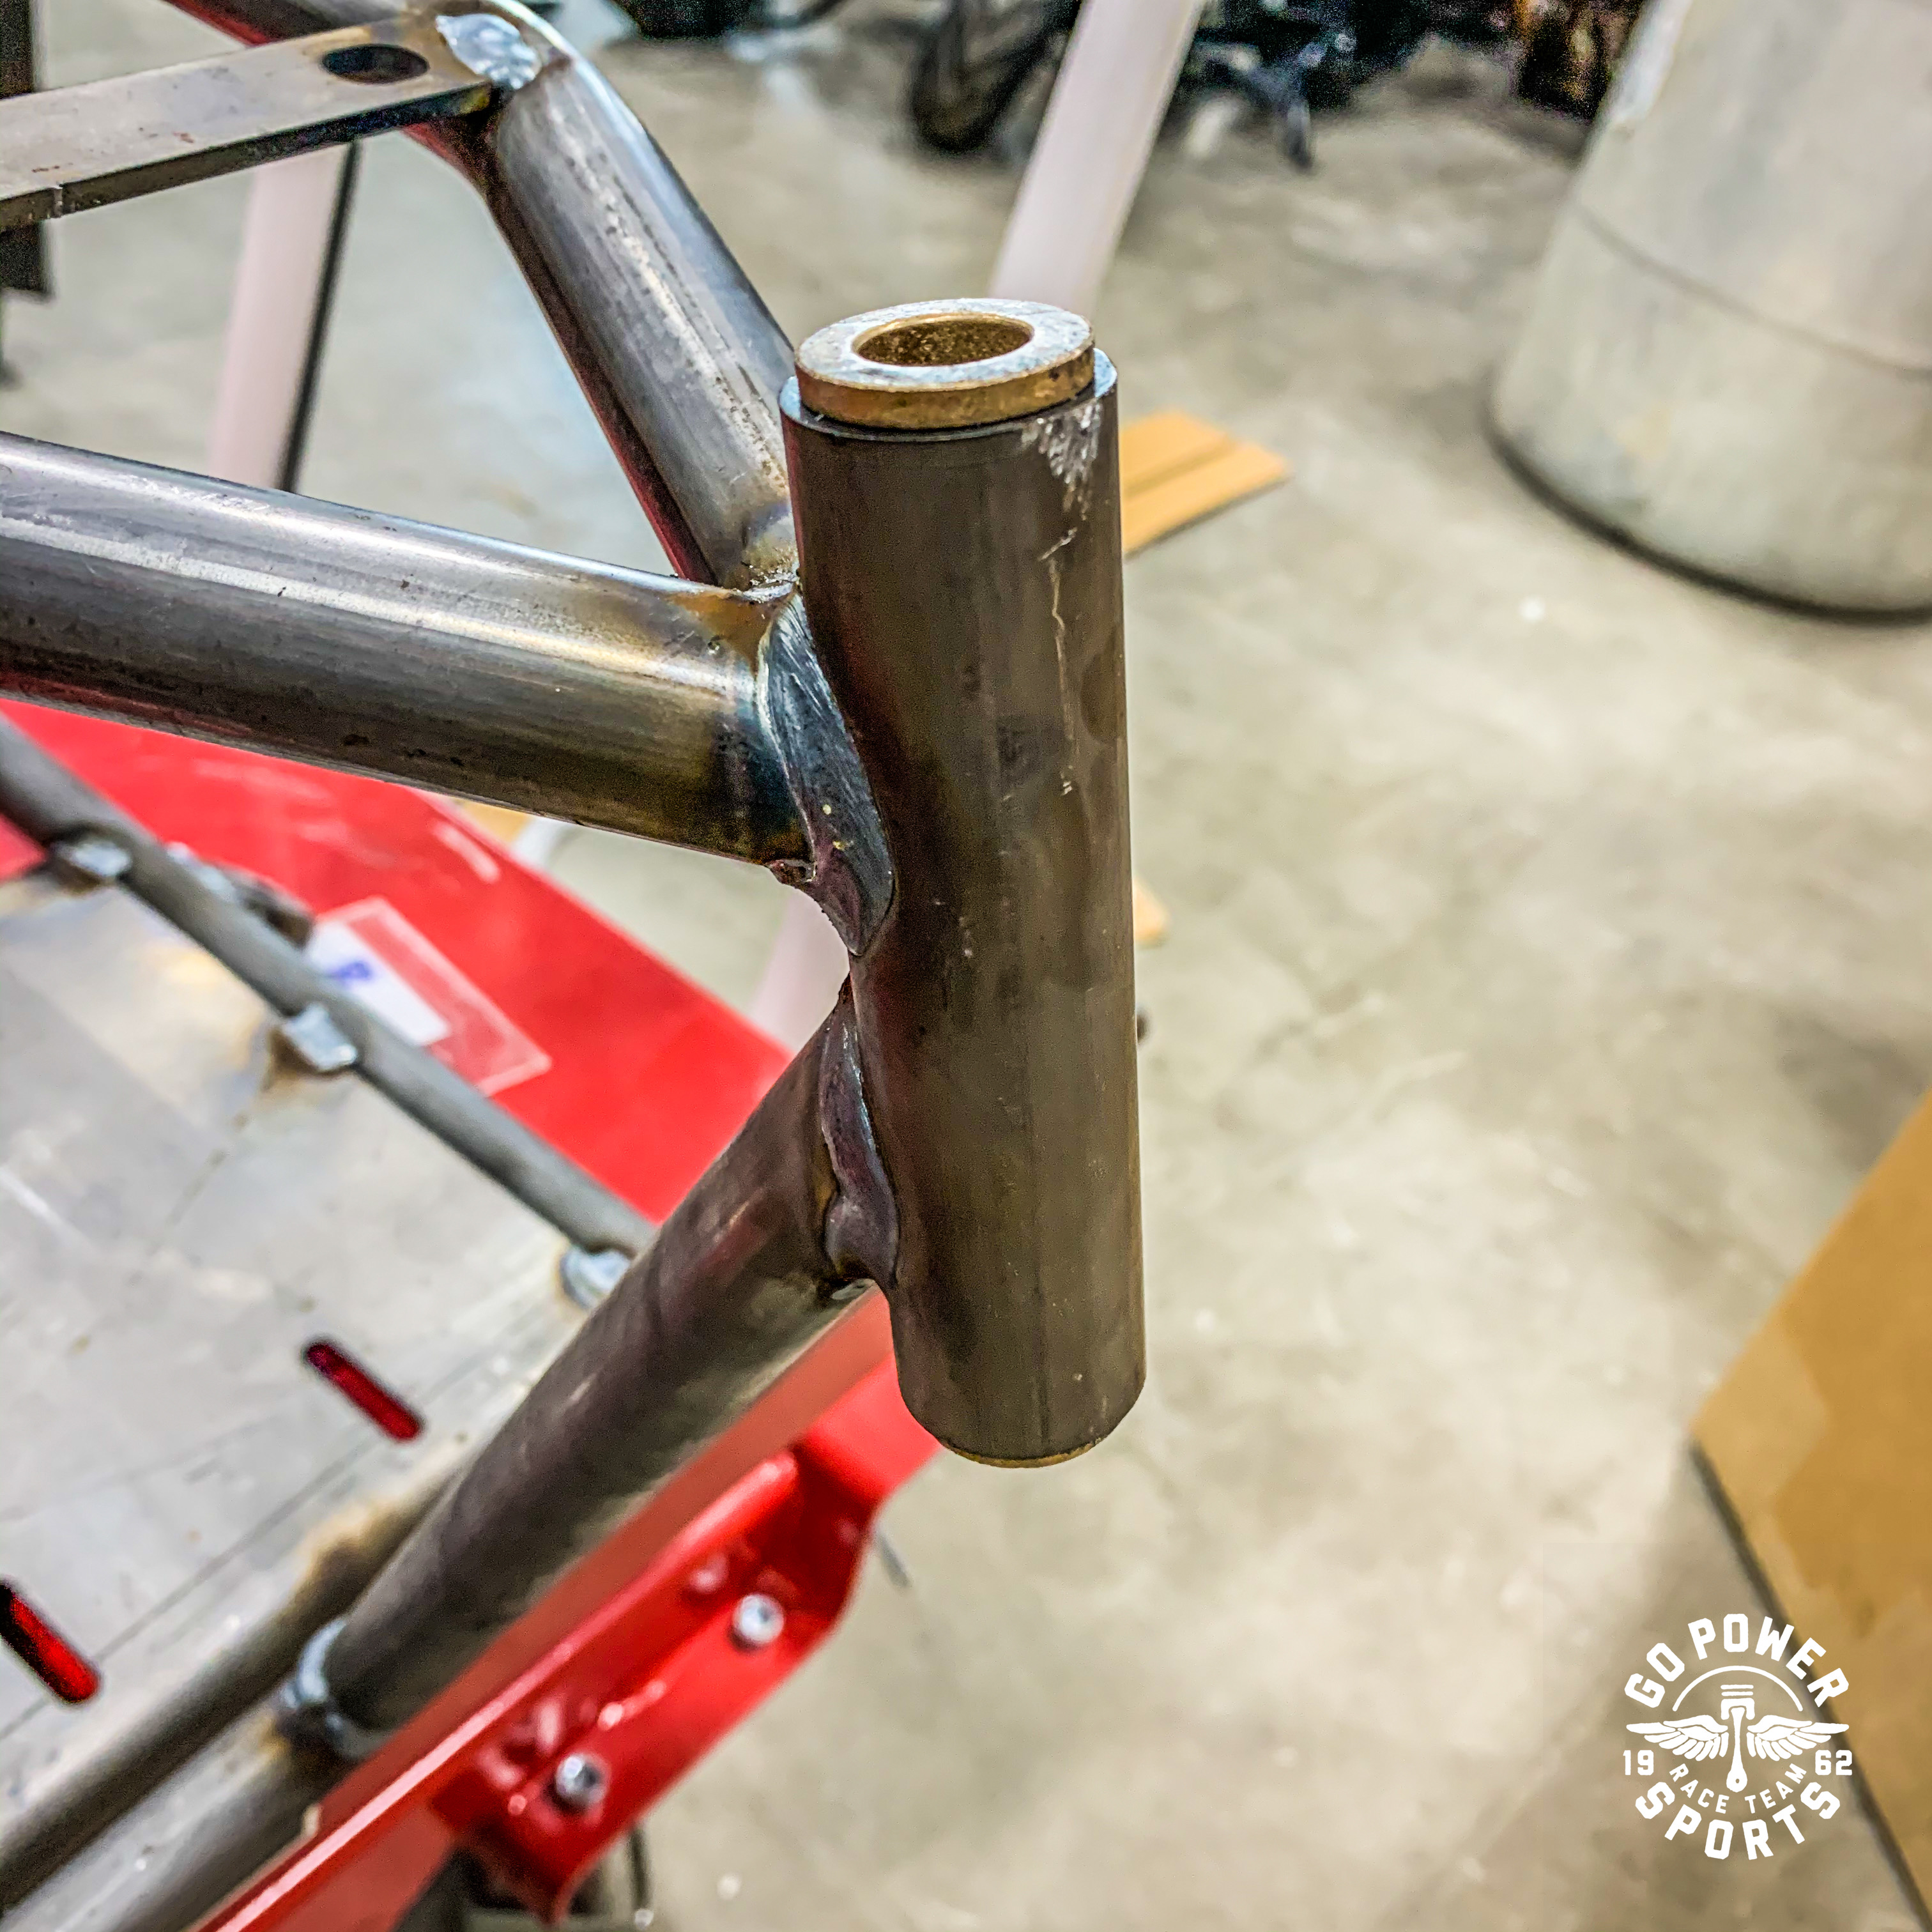
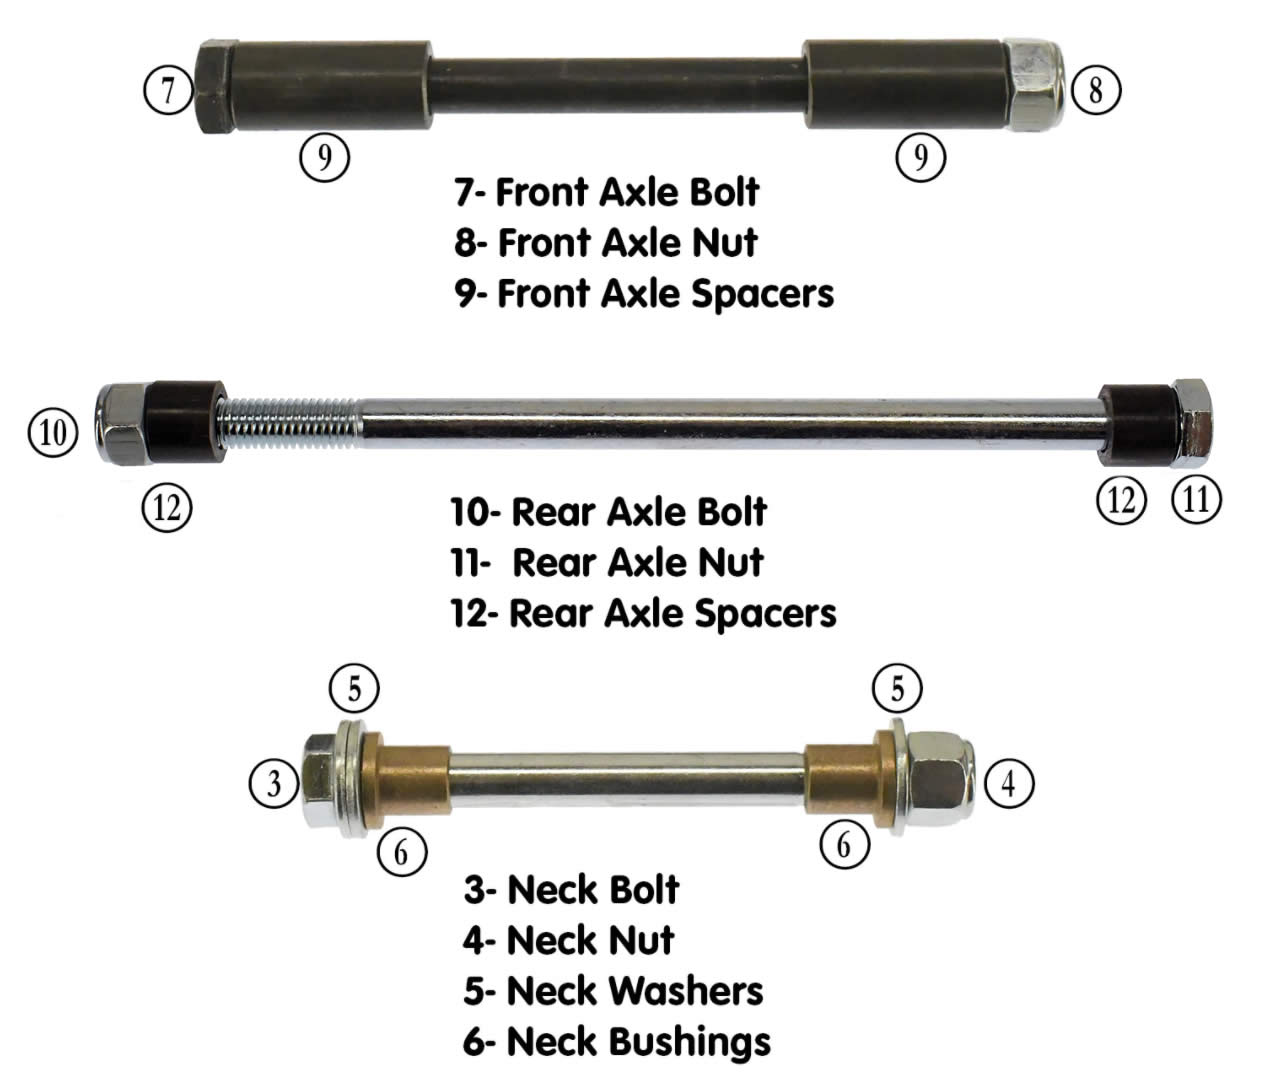
Next we will install the neck bushings. With the deburr tool, we clean up the top and the bottom of the neck holes so that the bushings will slide in easier. It is important that you use the 1/2" Neck Bolt as a driver when tapping the bushings in to the neck. Just hammering the bushings in place will not work. You will have difficulty putting the neck bolt through and your steering will not be smooth.
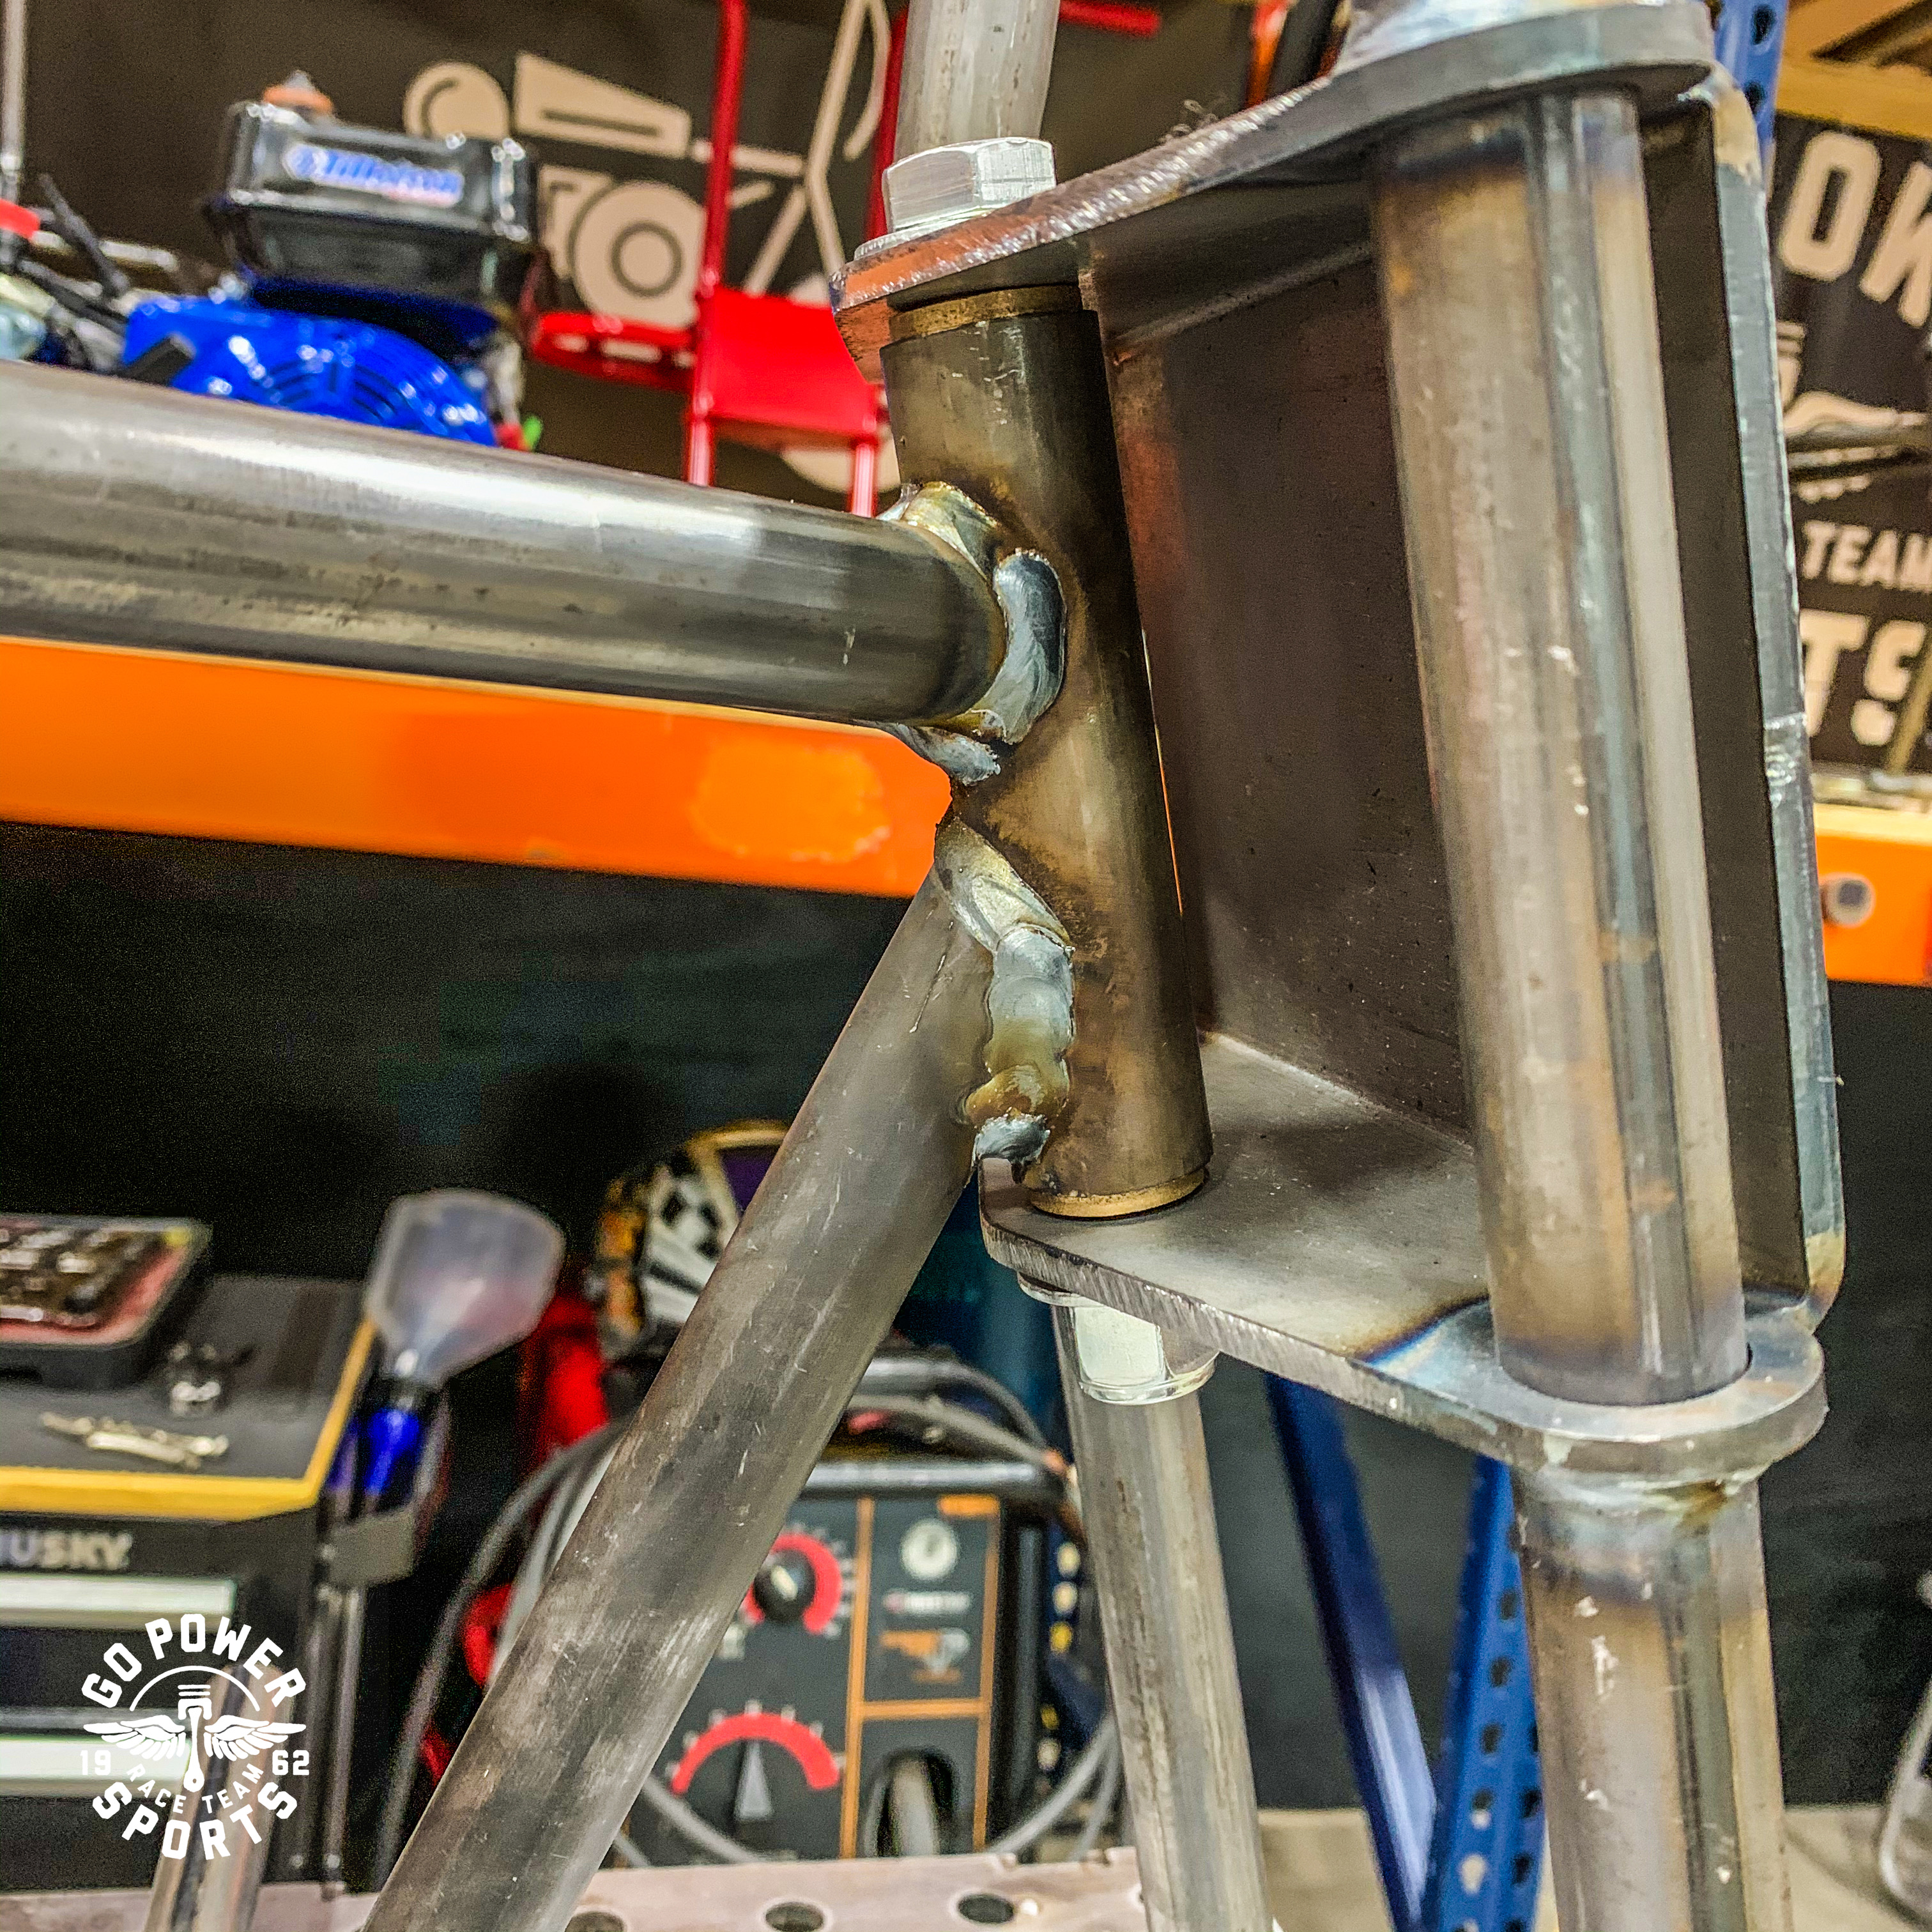
The Neck Bolt and Bushings also came with washers that you can use as shims. If you have a gap between your Neck and the Number Plate of the handlebar assembly, then use the washers as a shim so that there is no gap. If you don't need the washers as a shim, then put a washer on the top and the bottom of the number plate.
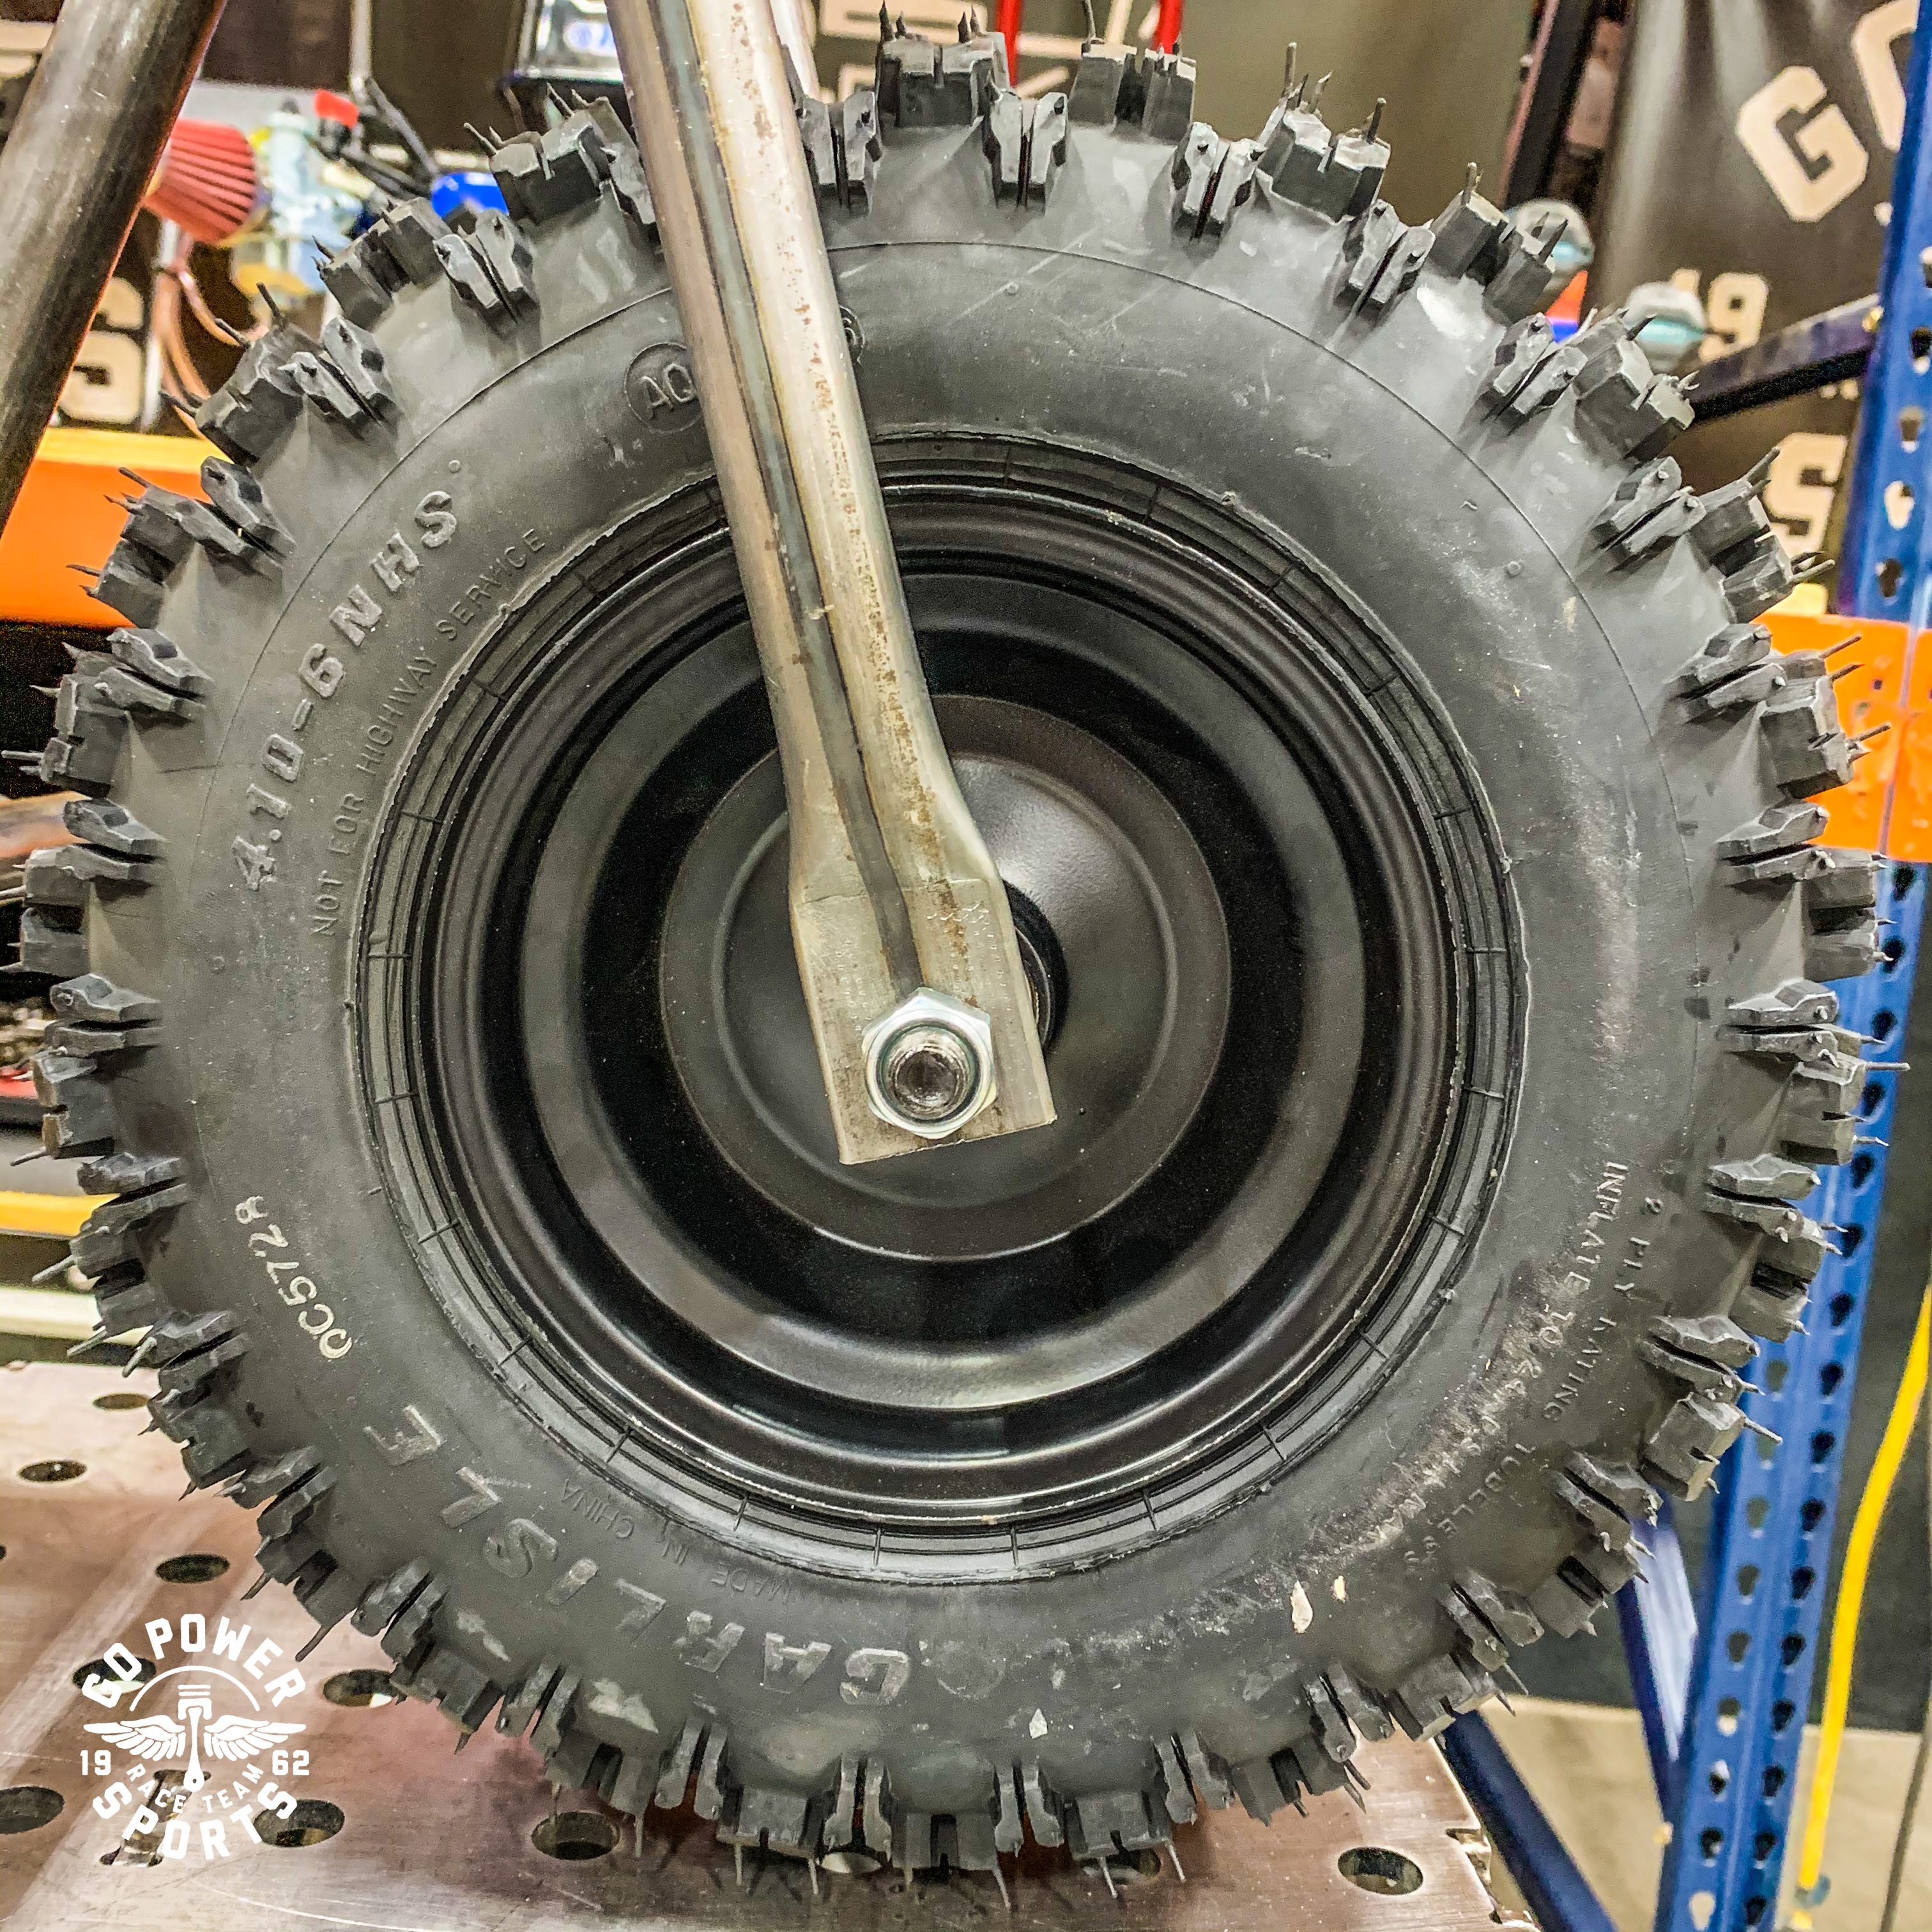
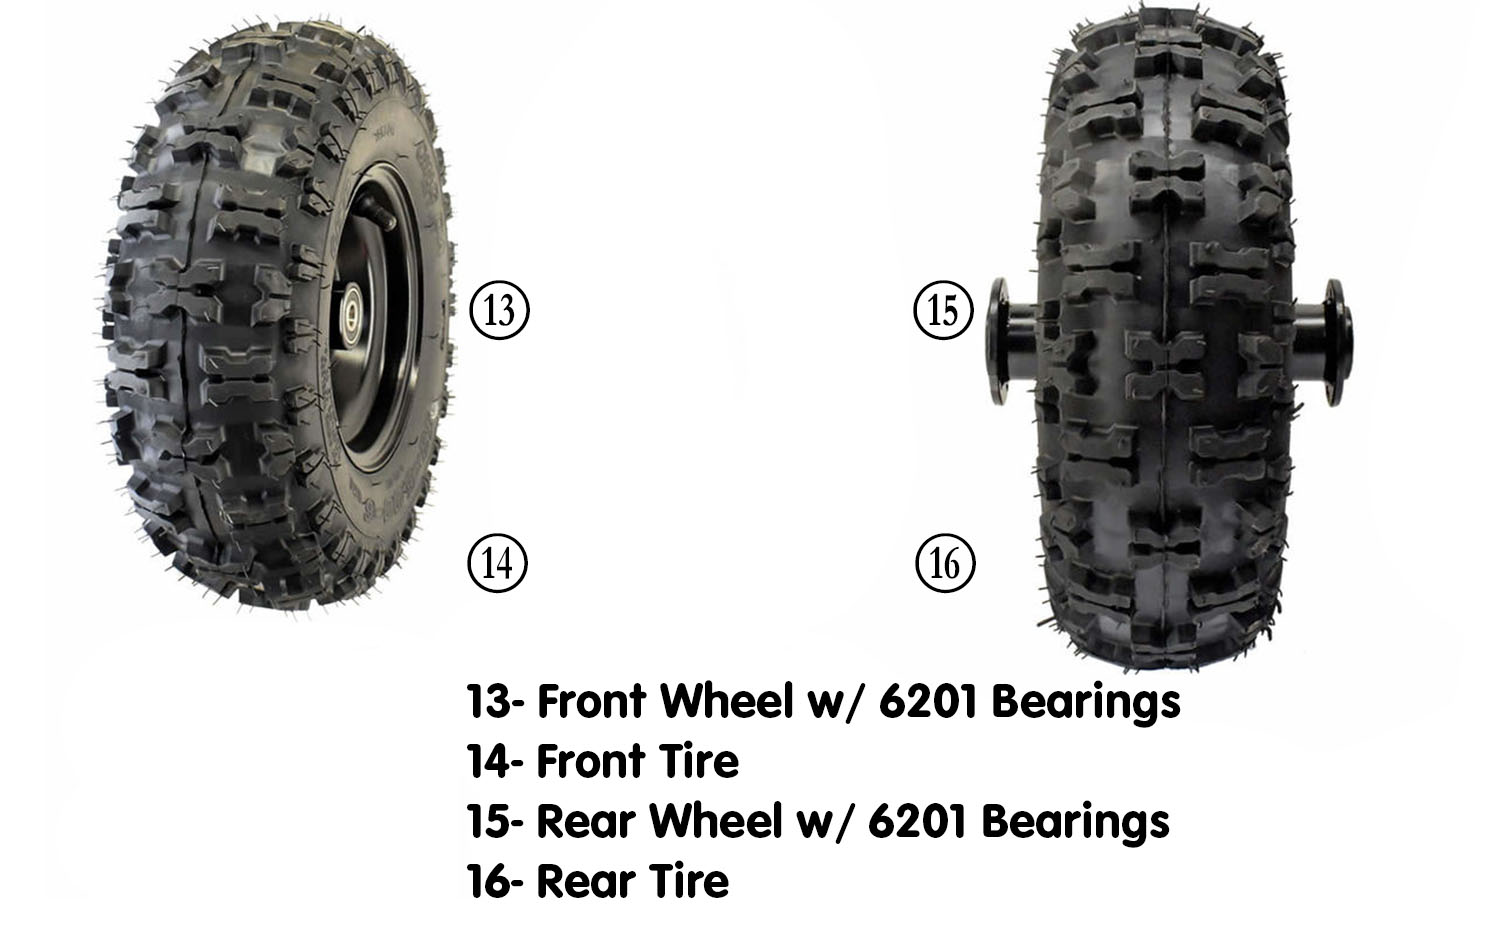
The bag with the Neck Bolt also has your front and rear axle along with spacers. The shorter of the 2 axles is your front axle. The spacers are identical so it does not matter which side of the wheel they are on.
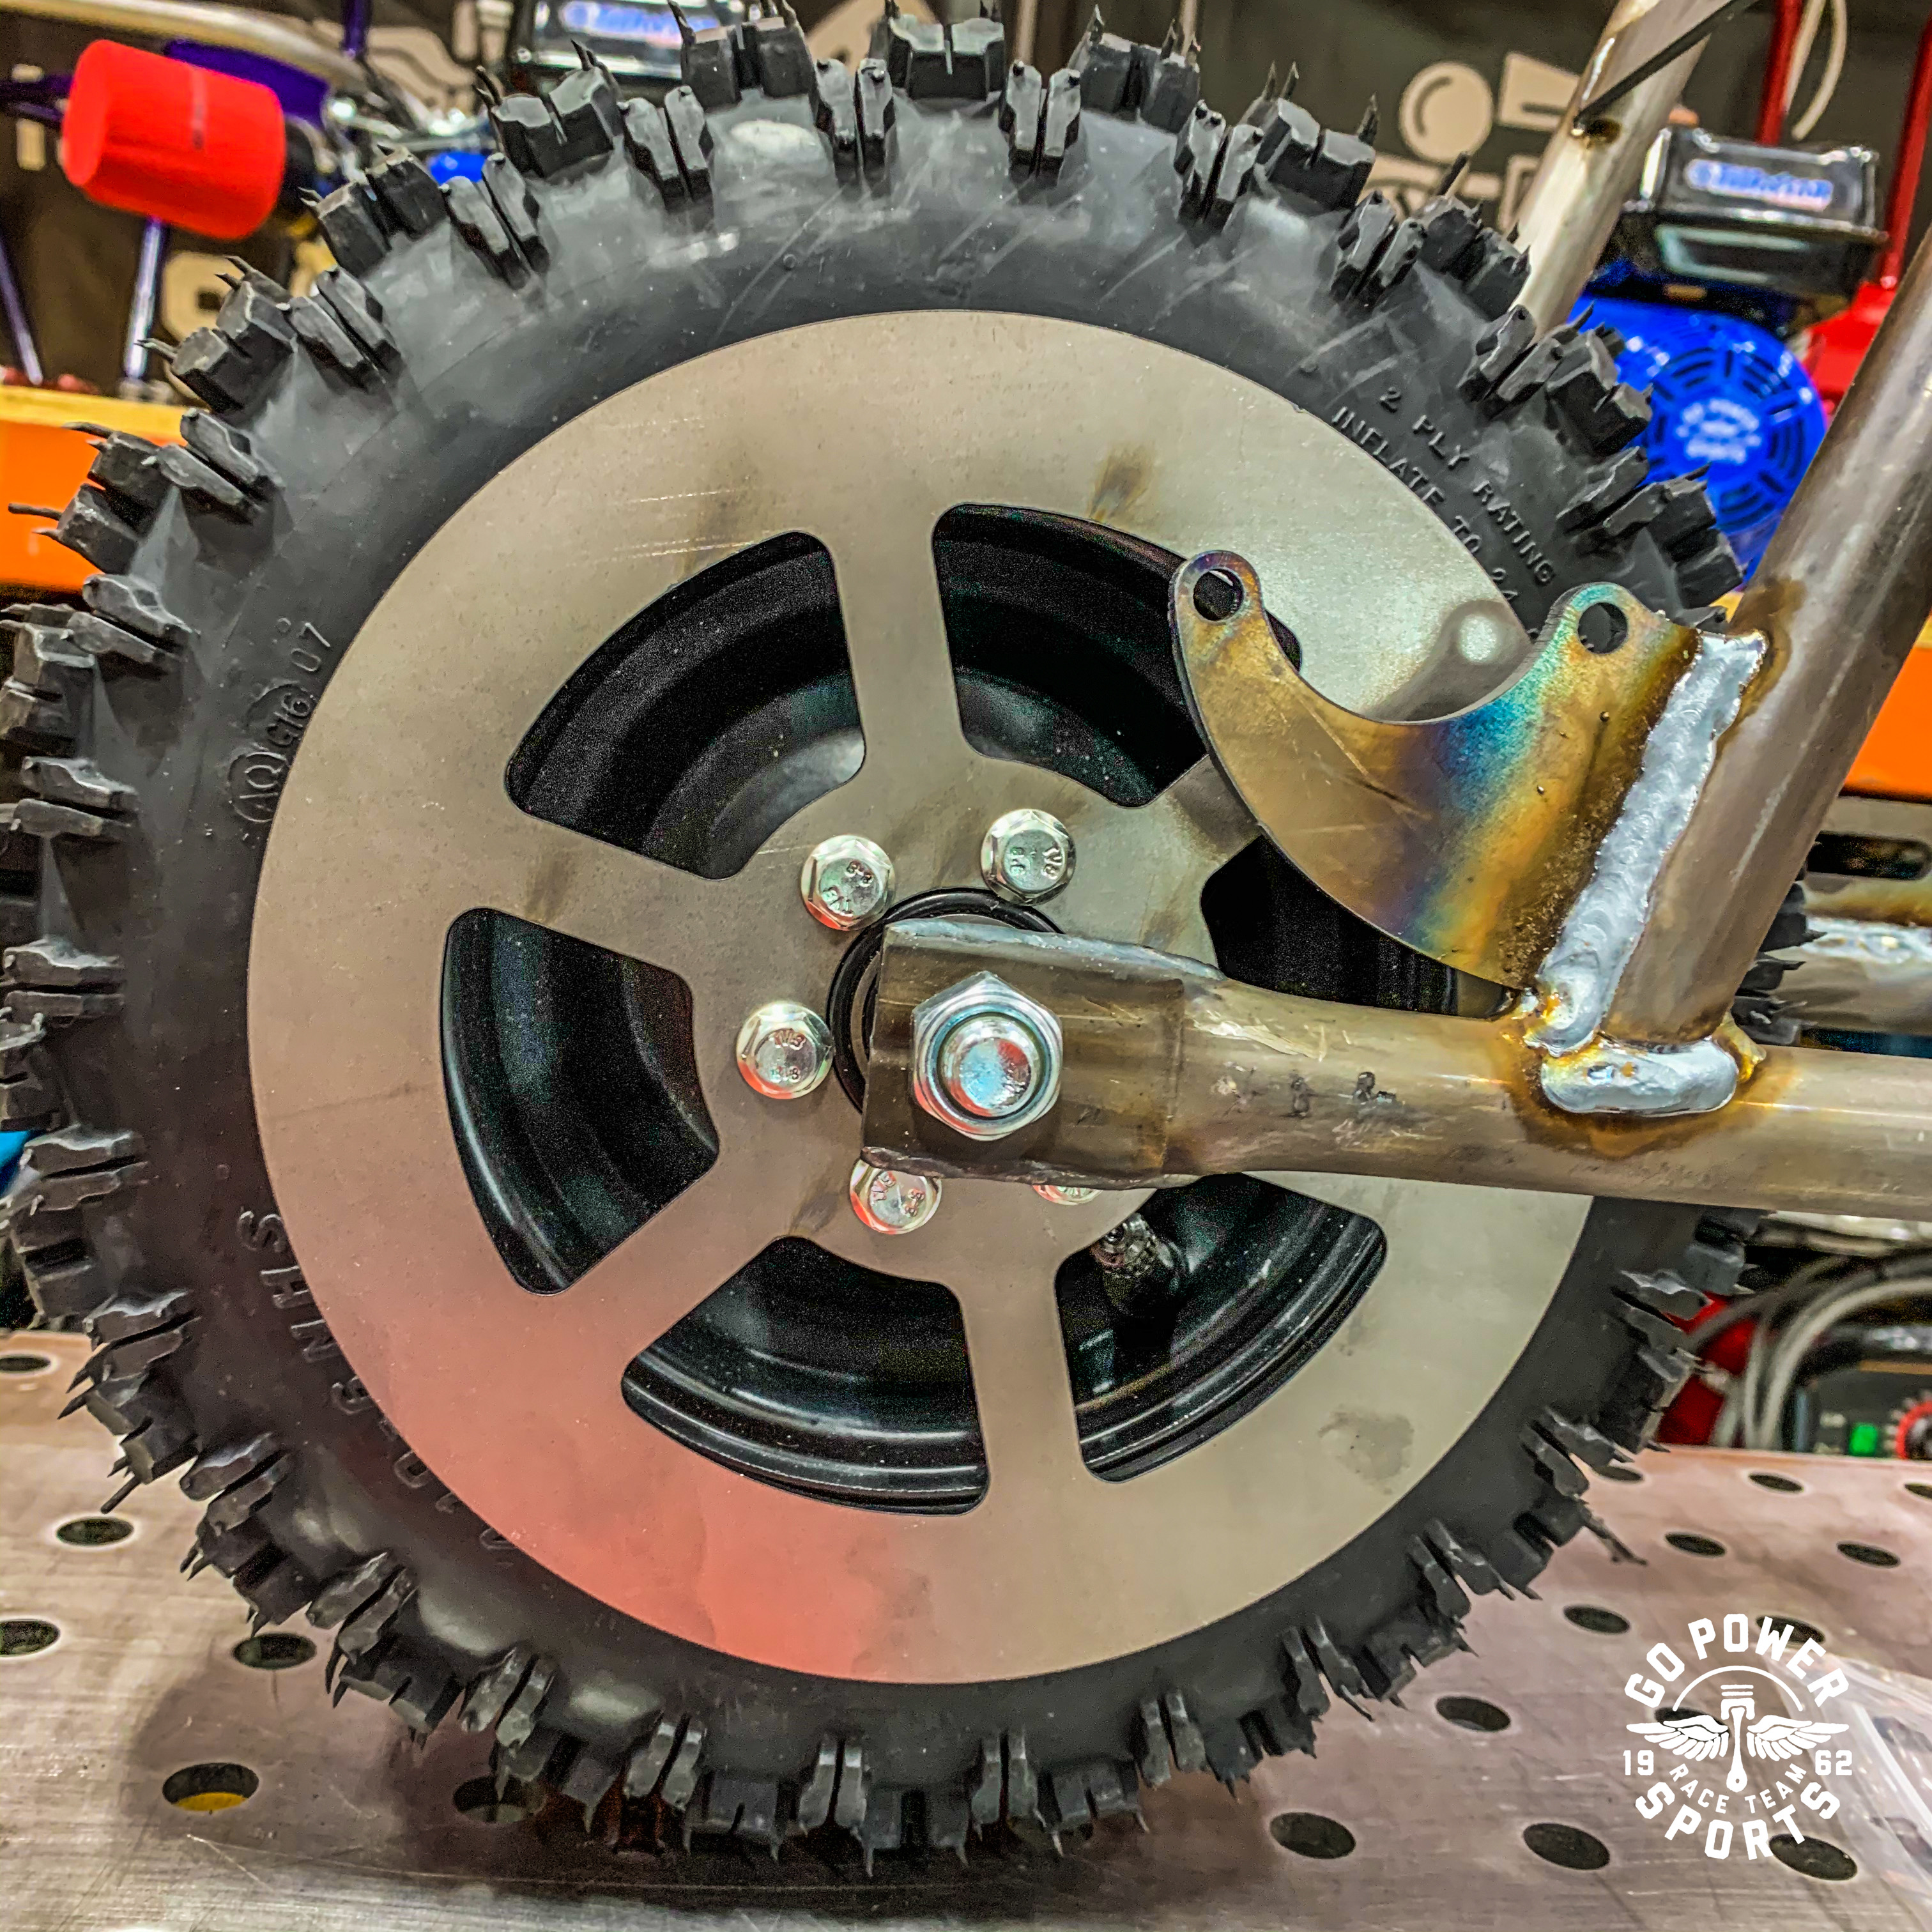
The last bolt in that bag is the longer Rear Axle with spacers. These spacers are identical and each one goes on a side of the wheel. Before installing the wheel, you will need to attach the sprocket and brake disc using the (12) 6mm bolts. We suggest that you put the brake disc on the side of the wheel's valve stem so that you can inflate or deflate your tire.
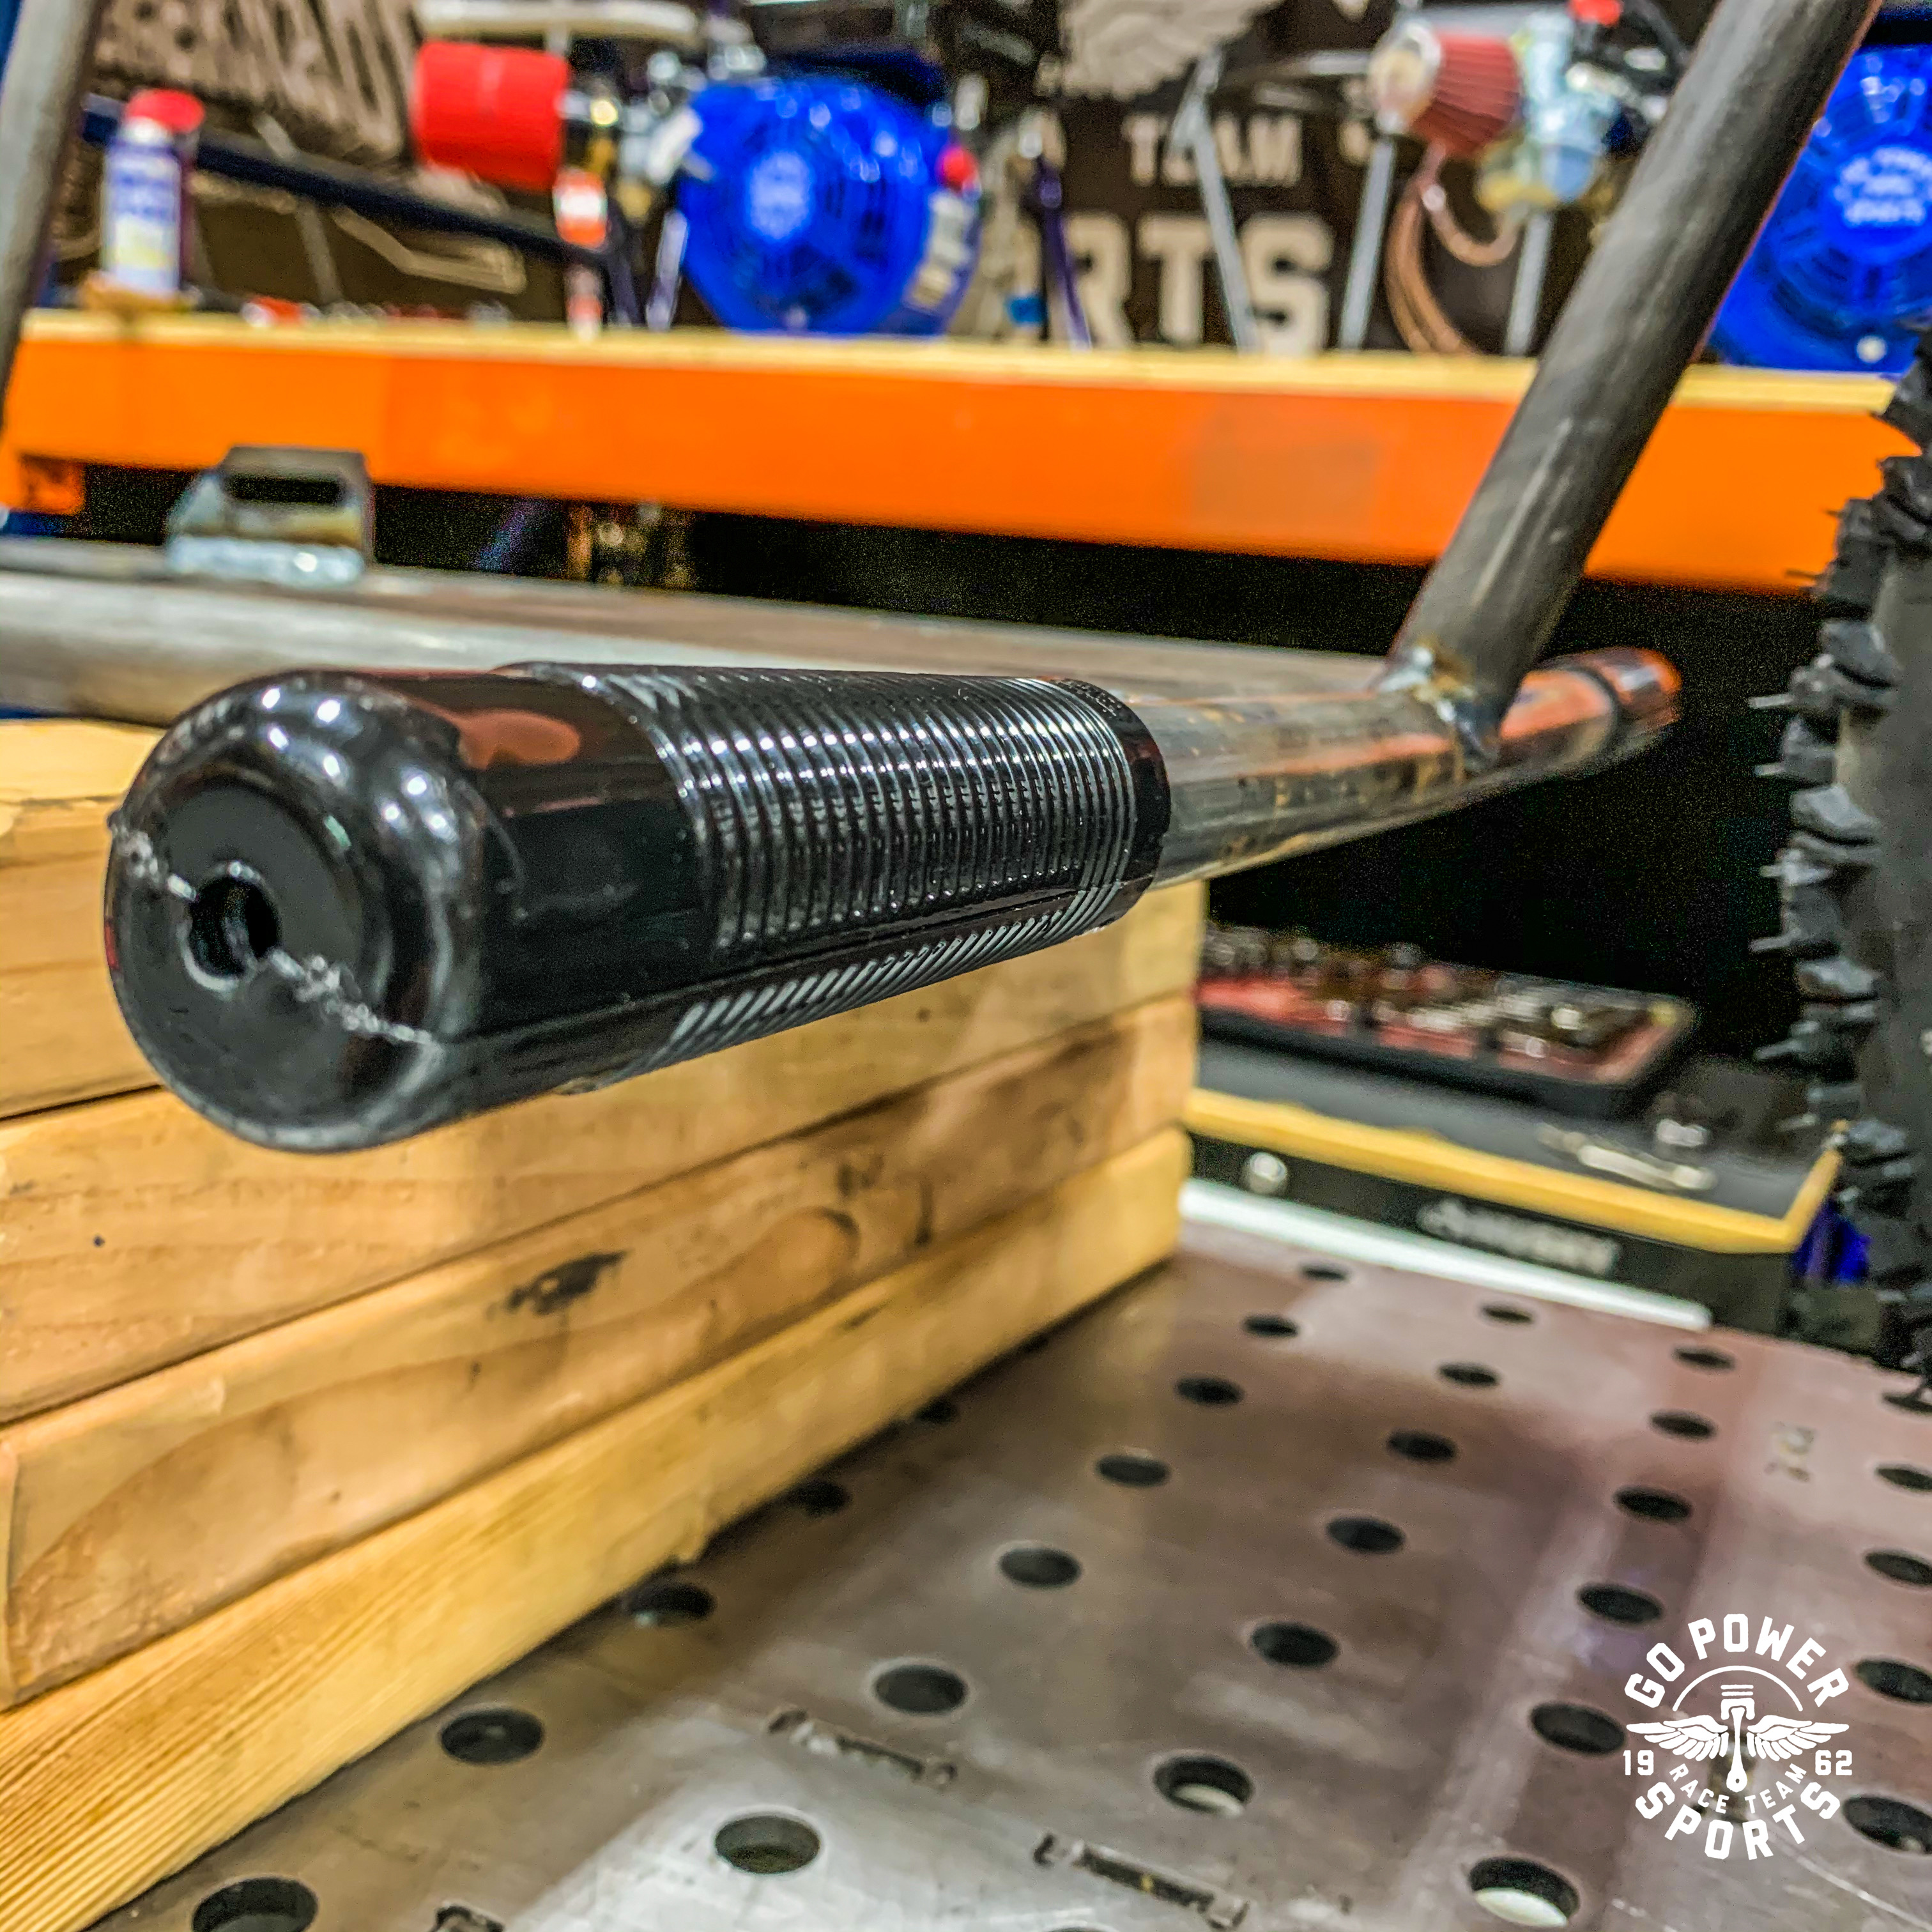
Slide on your Foot Peg Grips.
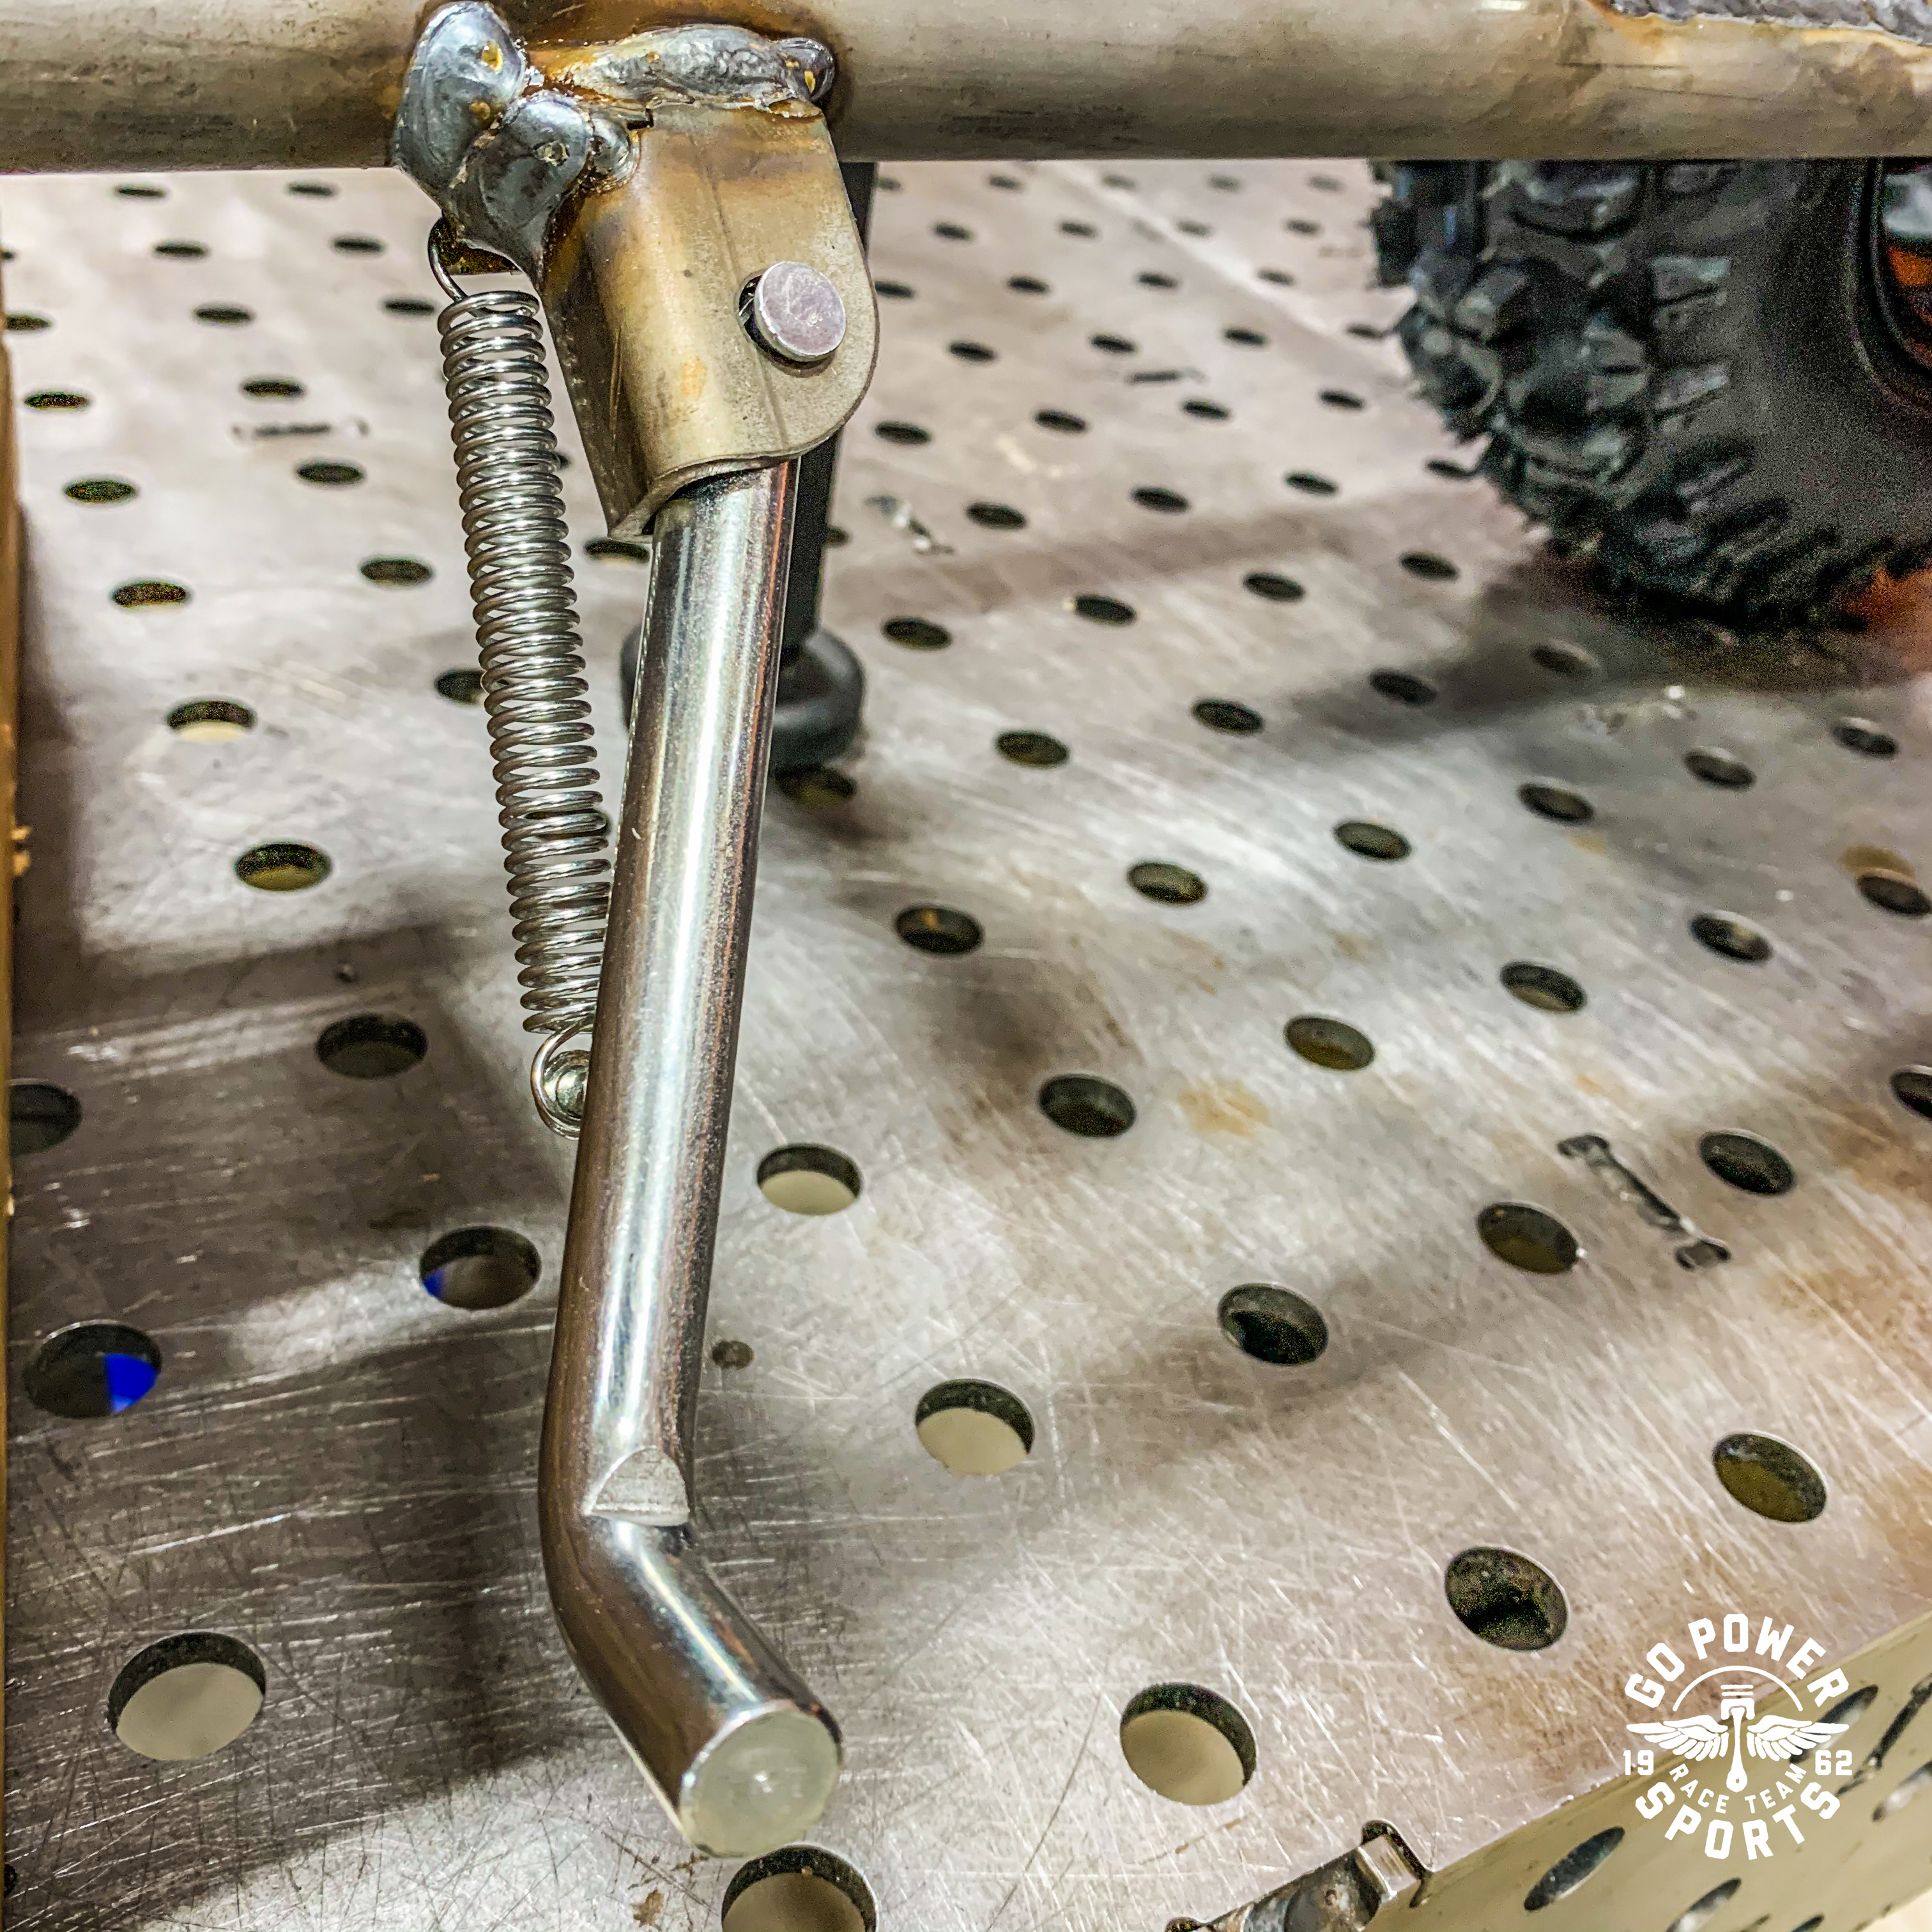
Attach the kickstand. The Kickstand bracket is already welded on to your frame. The toughest part will be attaching the spring. Use a pair of needle nose pliers.
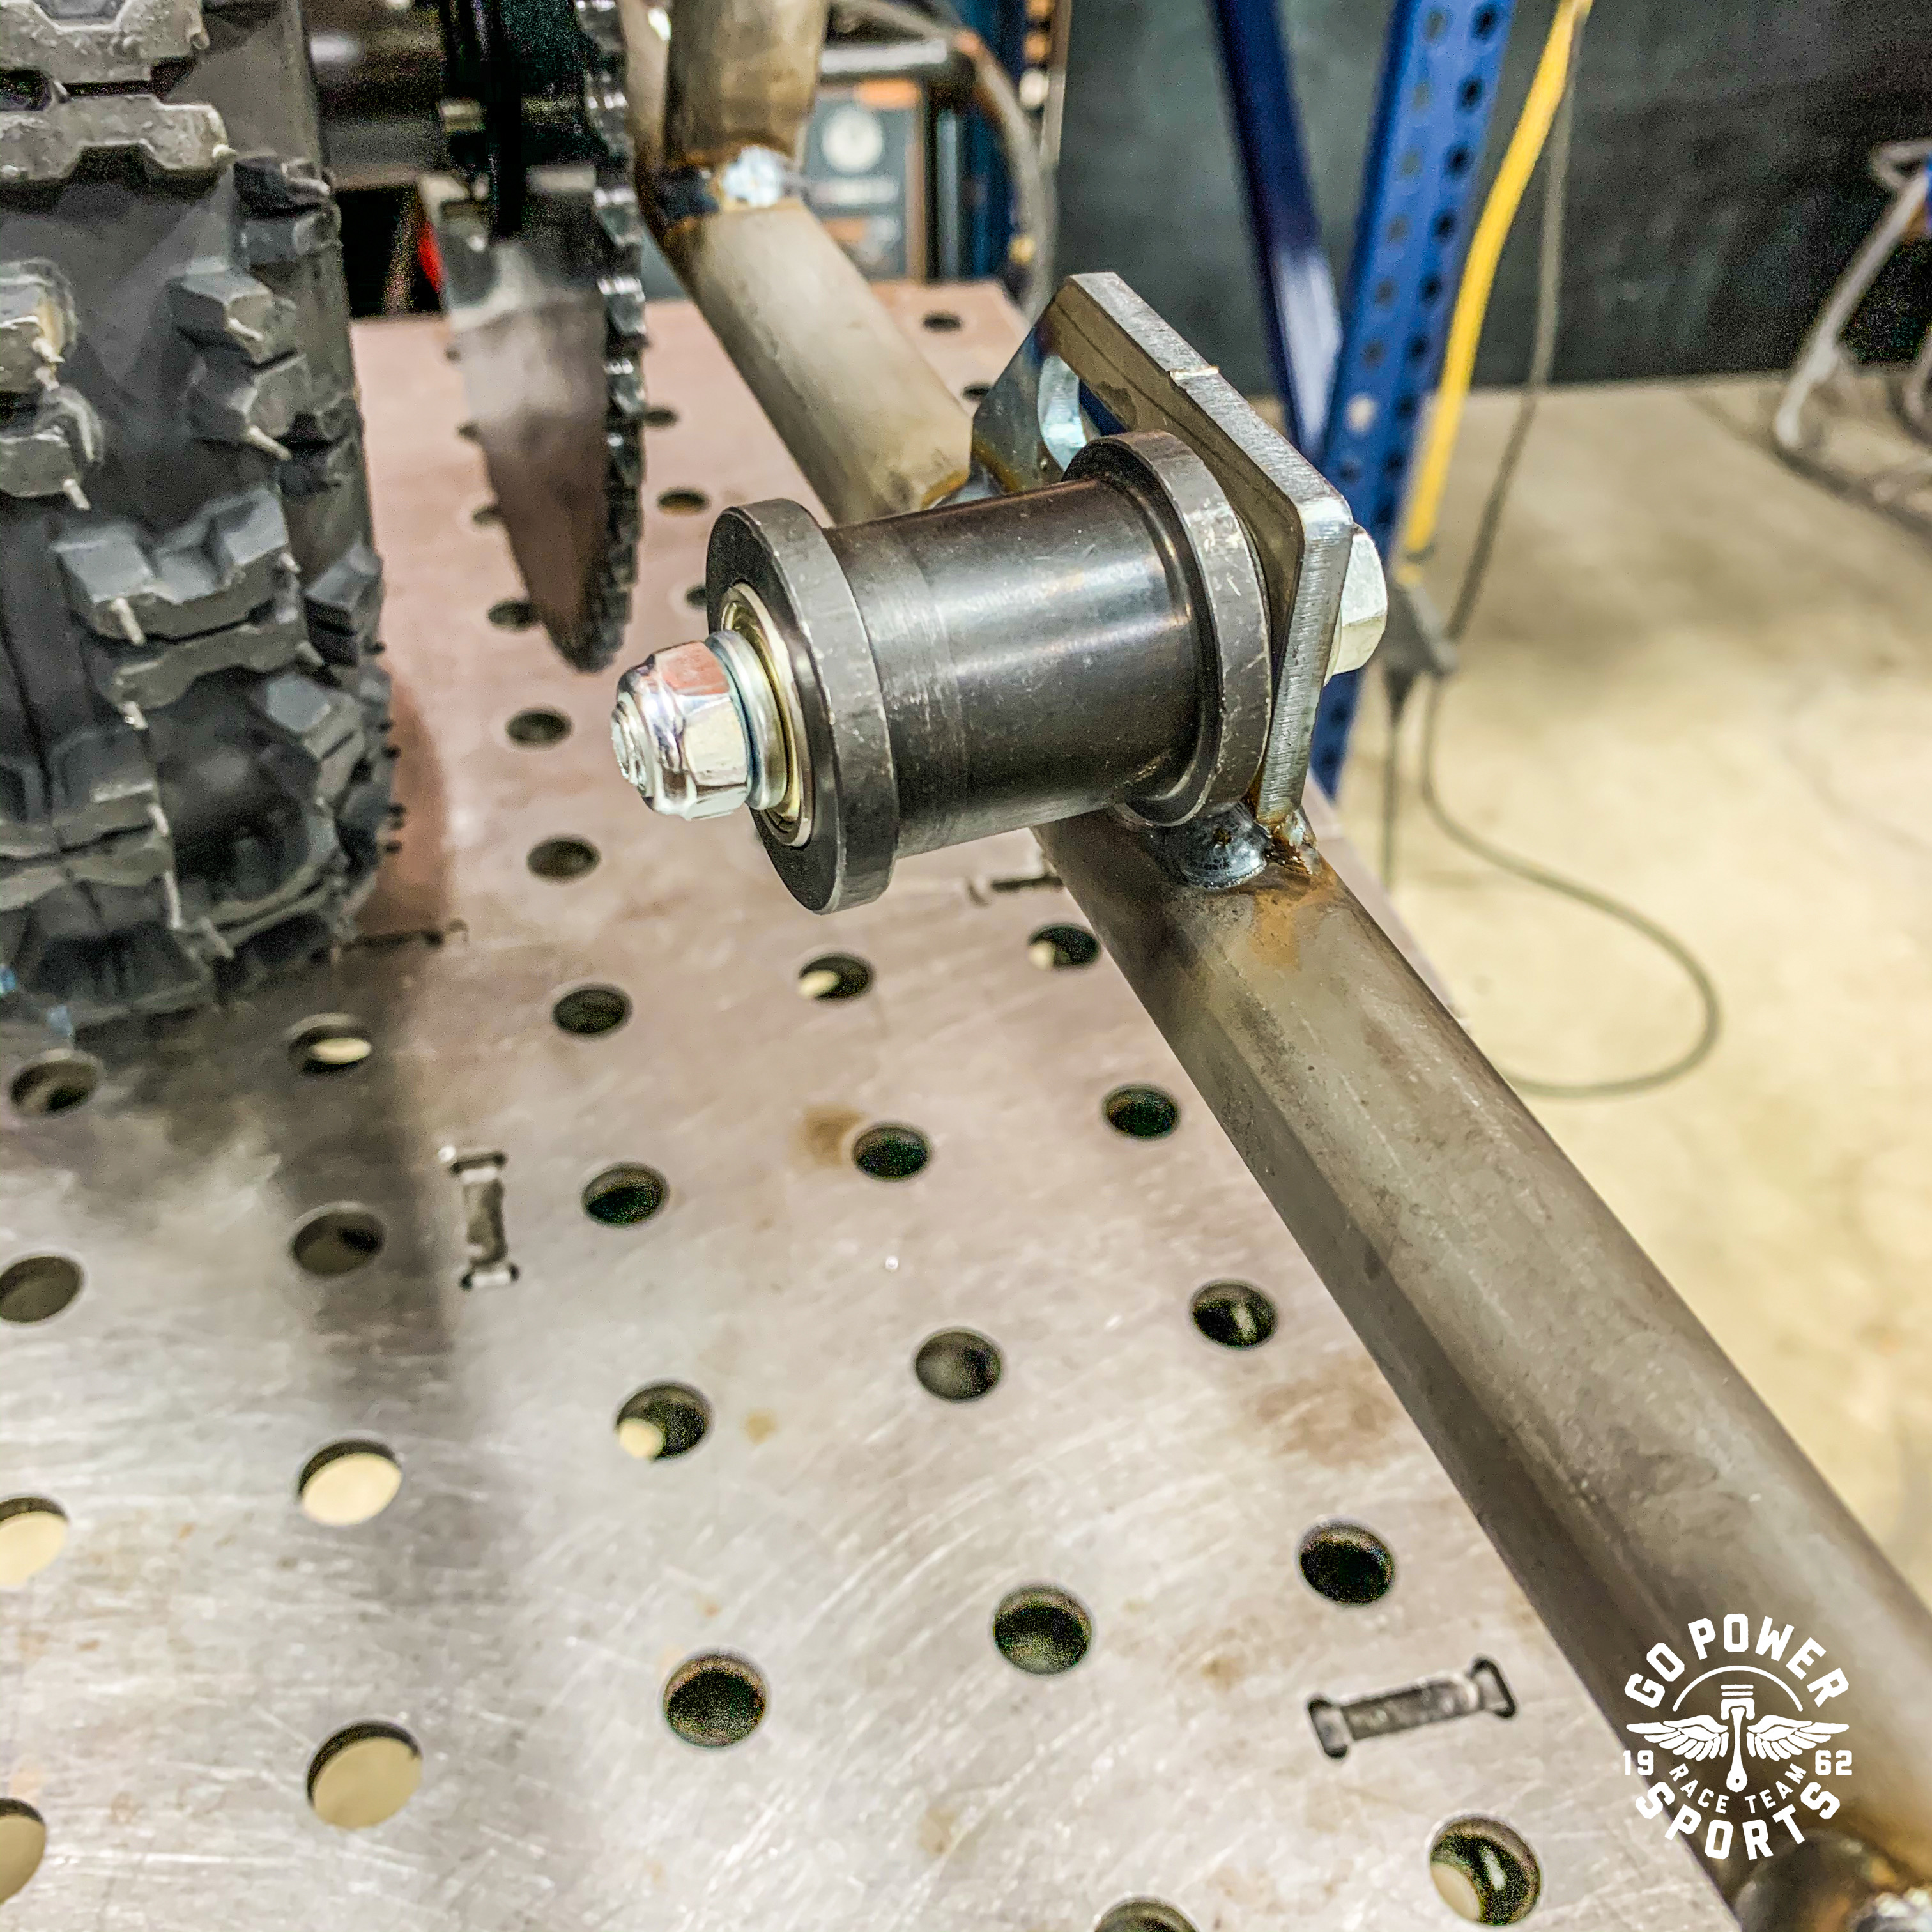
Install the Chain tensioner. Put your bolt through the bracket, then slide on your flat washer, lock washer, bearing, crush sleeve, main roller, bearing, lock washer, and then nylon locking nut. All in that order.
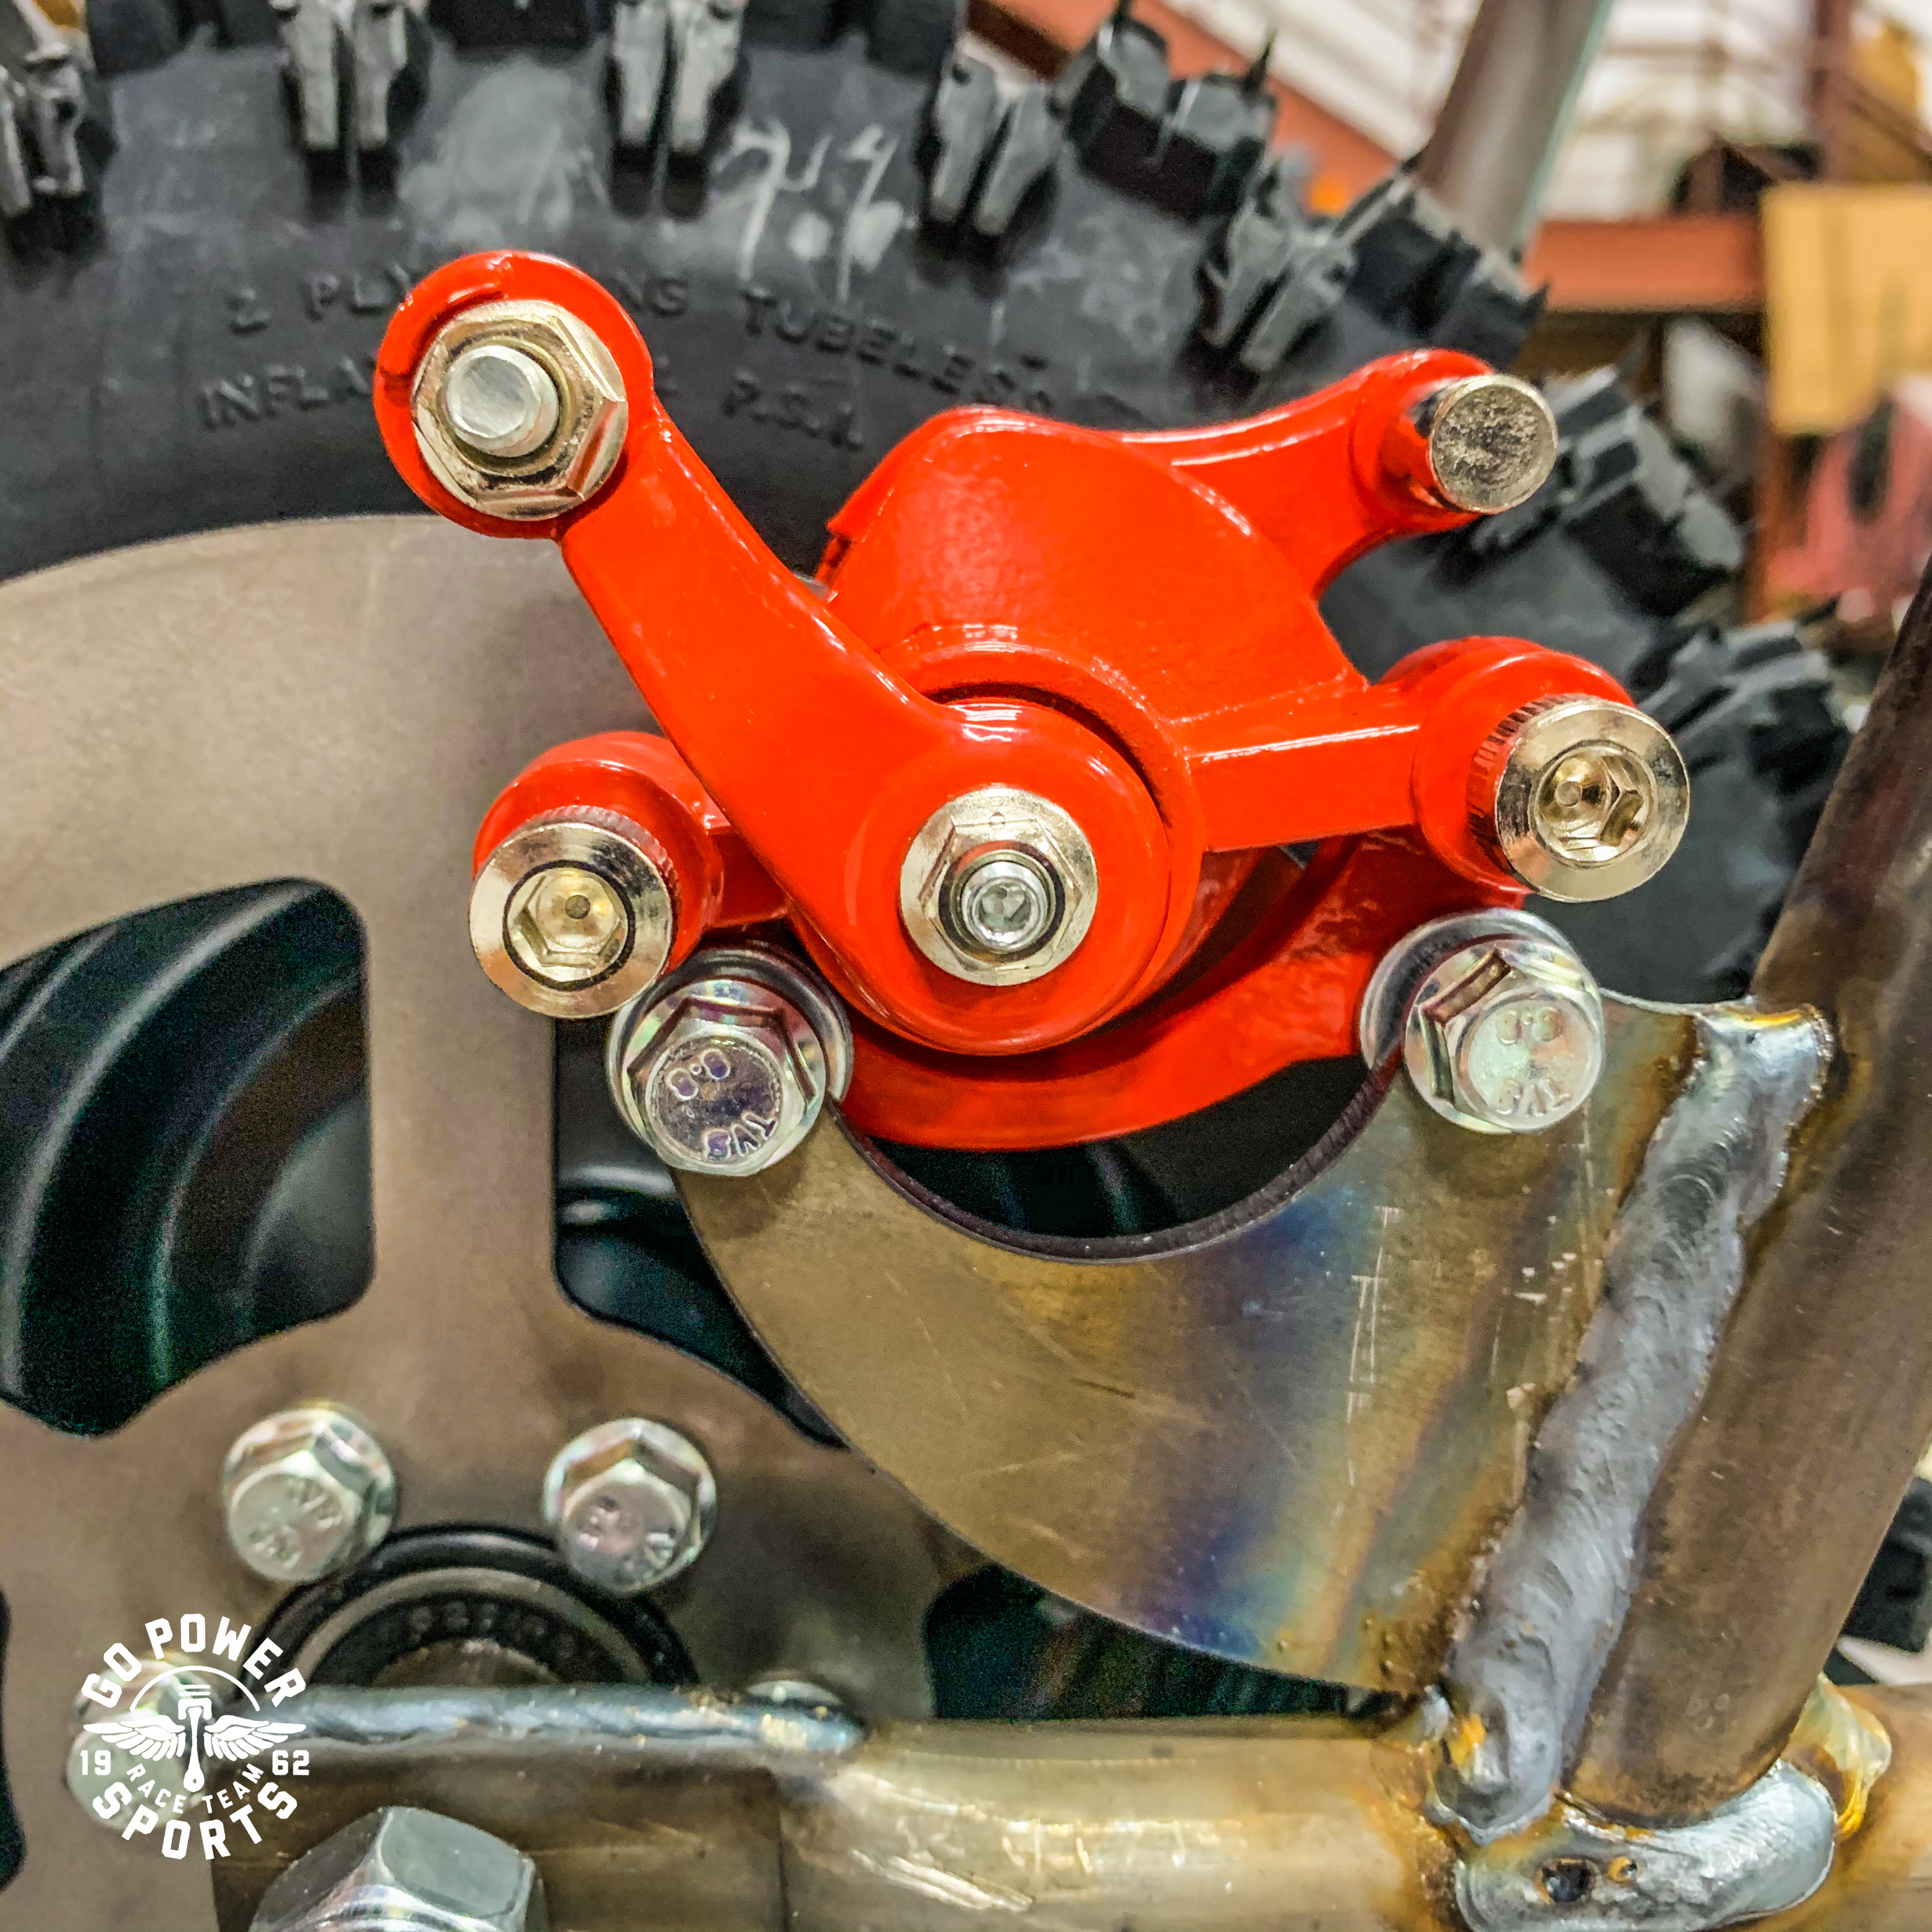
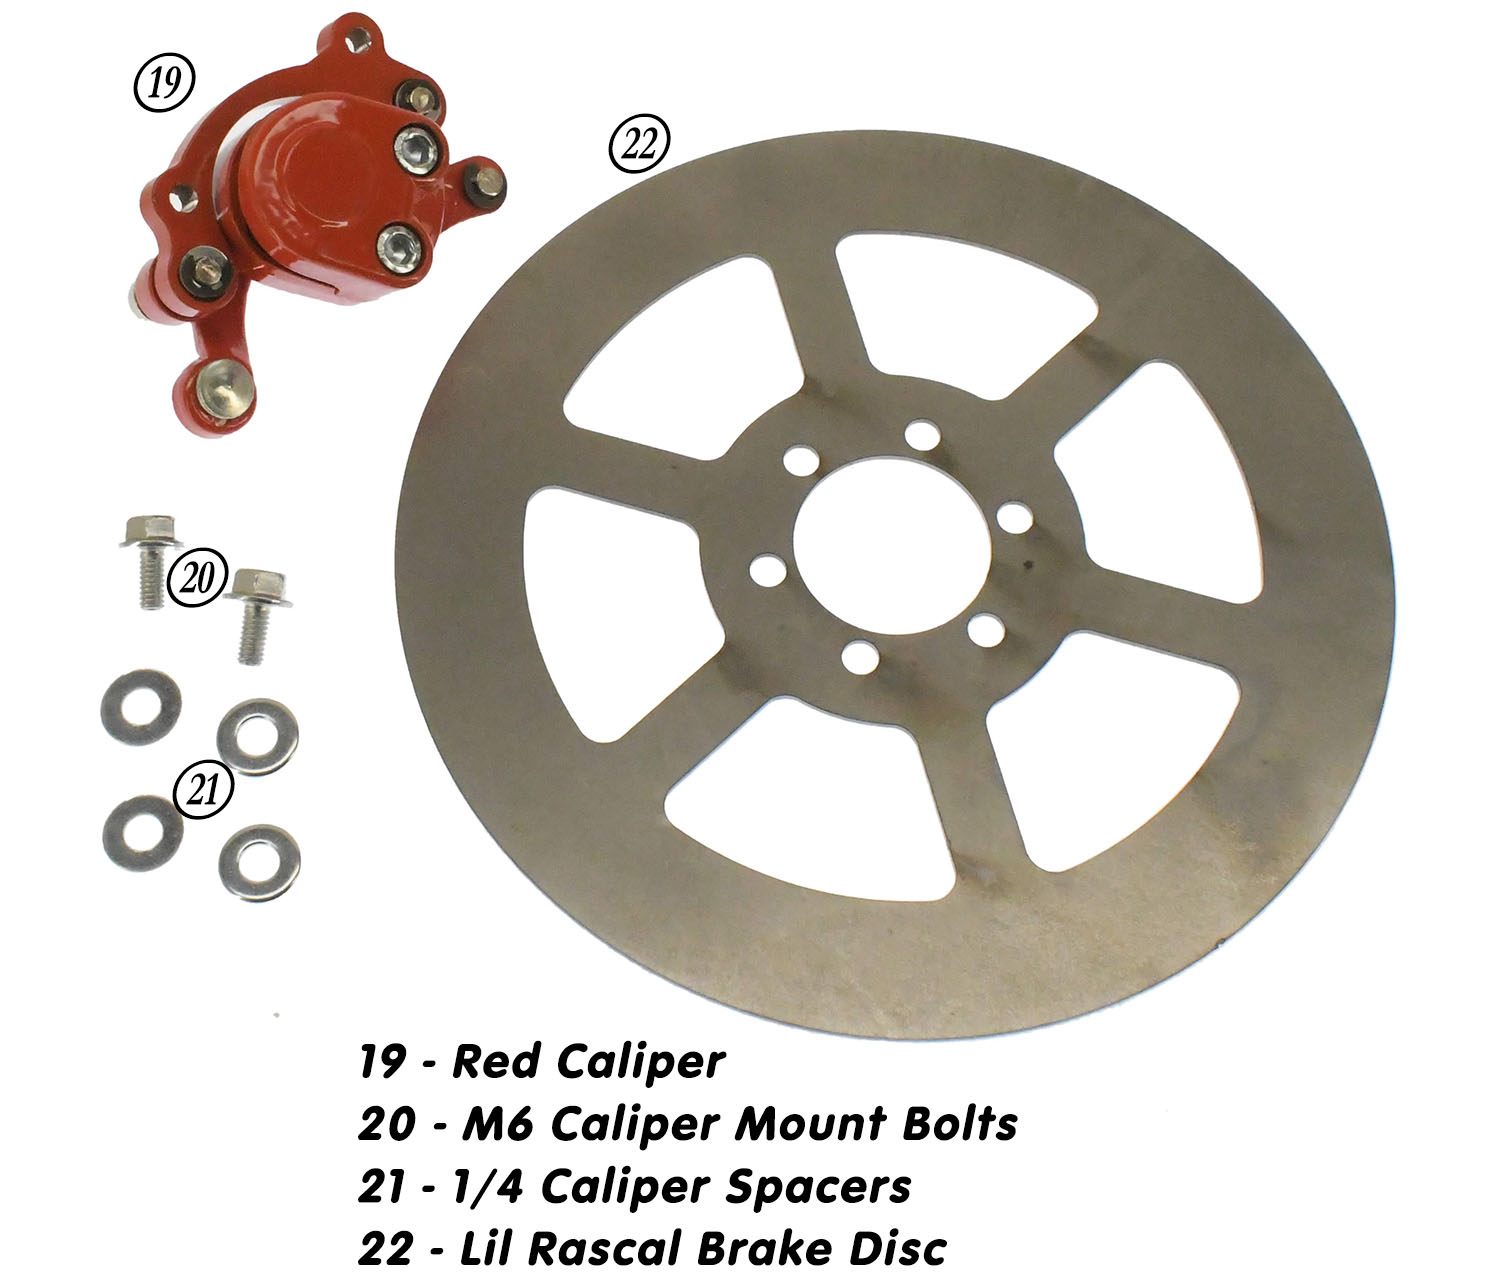
No we are on the rear caliper. I like to start by backing out the Allen Head Bolts on the caliper. These are adjustments that you can turn in so that your disc is in the middle of your caliper when tightened up. The kit will also come with (4) 1/4" washers that can be used as shims if need be. These shims will go between the caliper and the caliper bracket. After the caliper is mounted, spin your back wheel and make sure there is no rubbing.
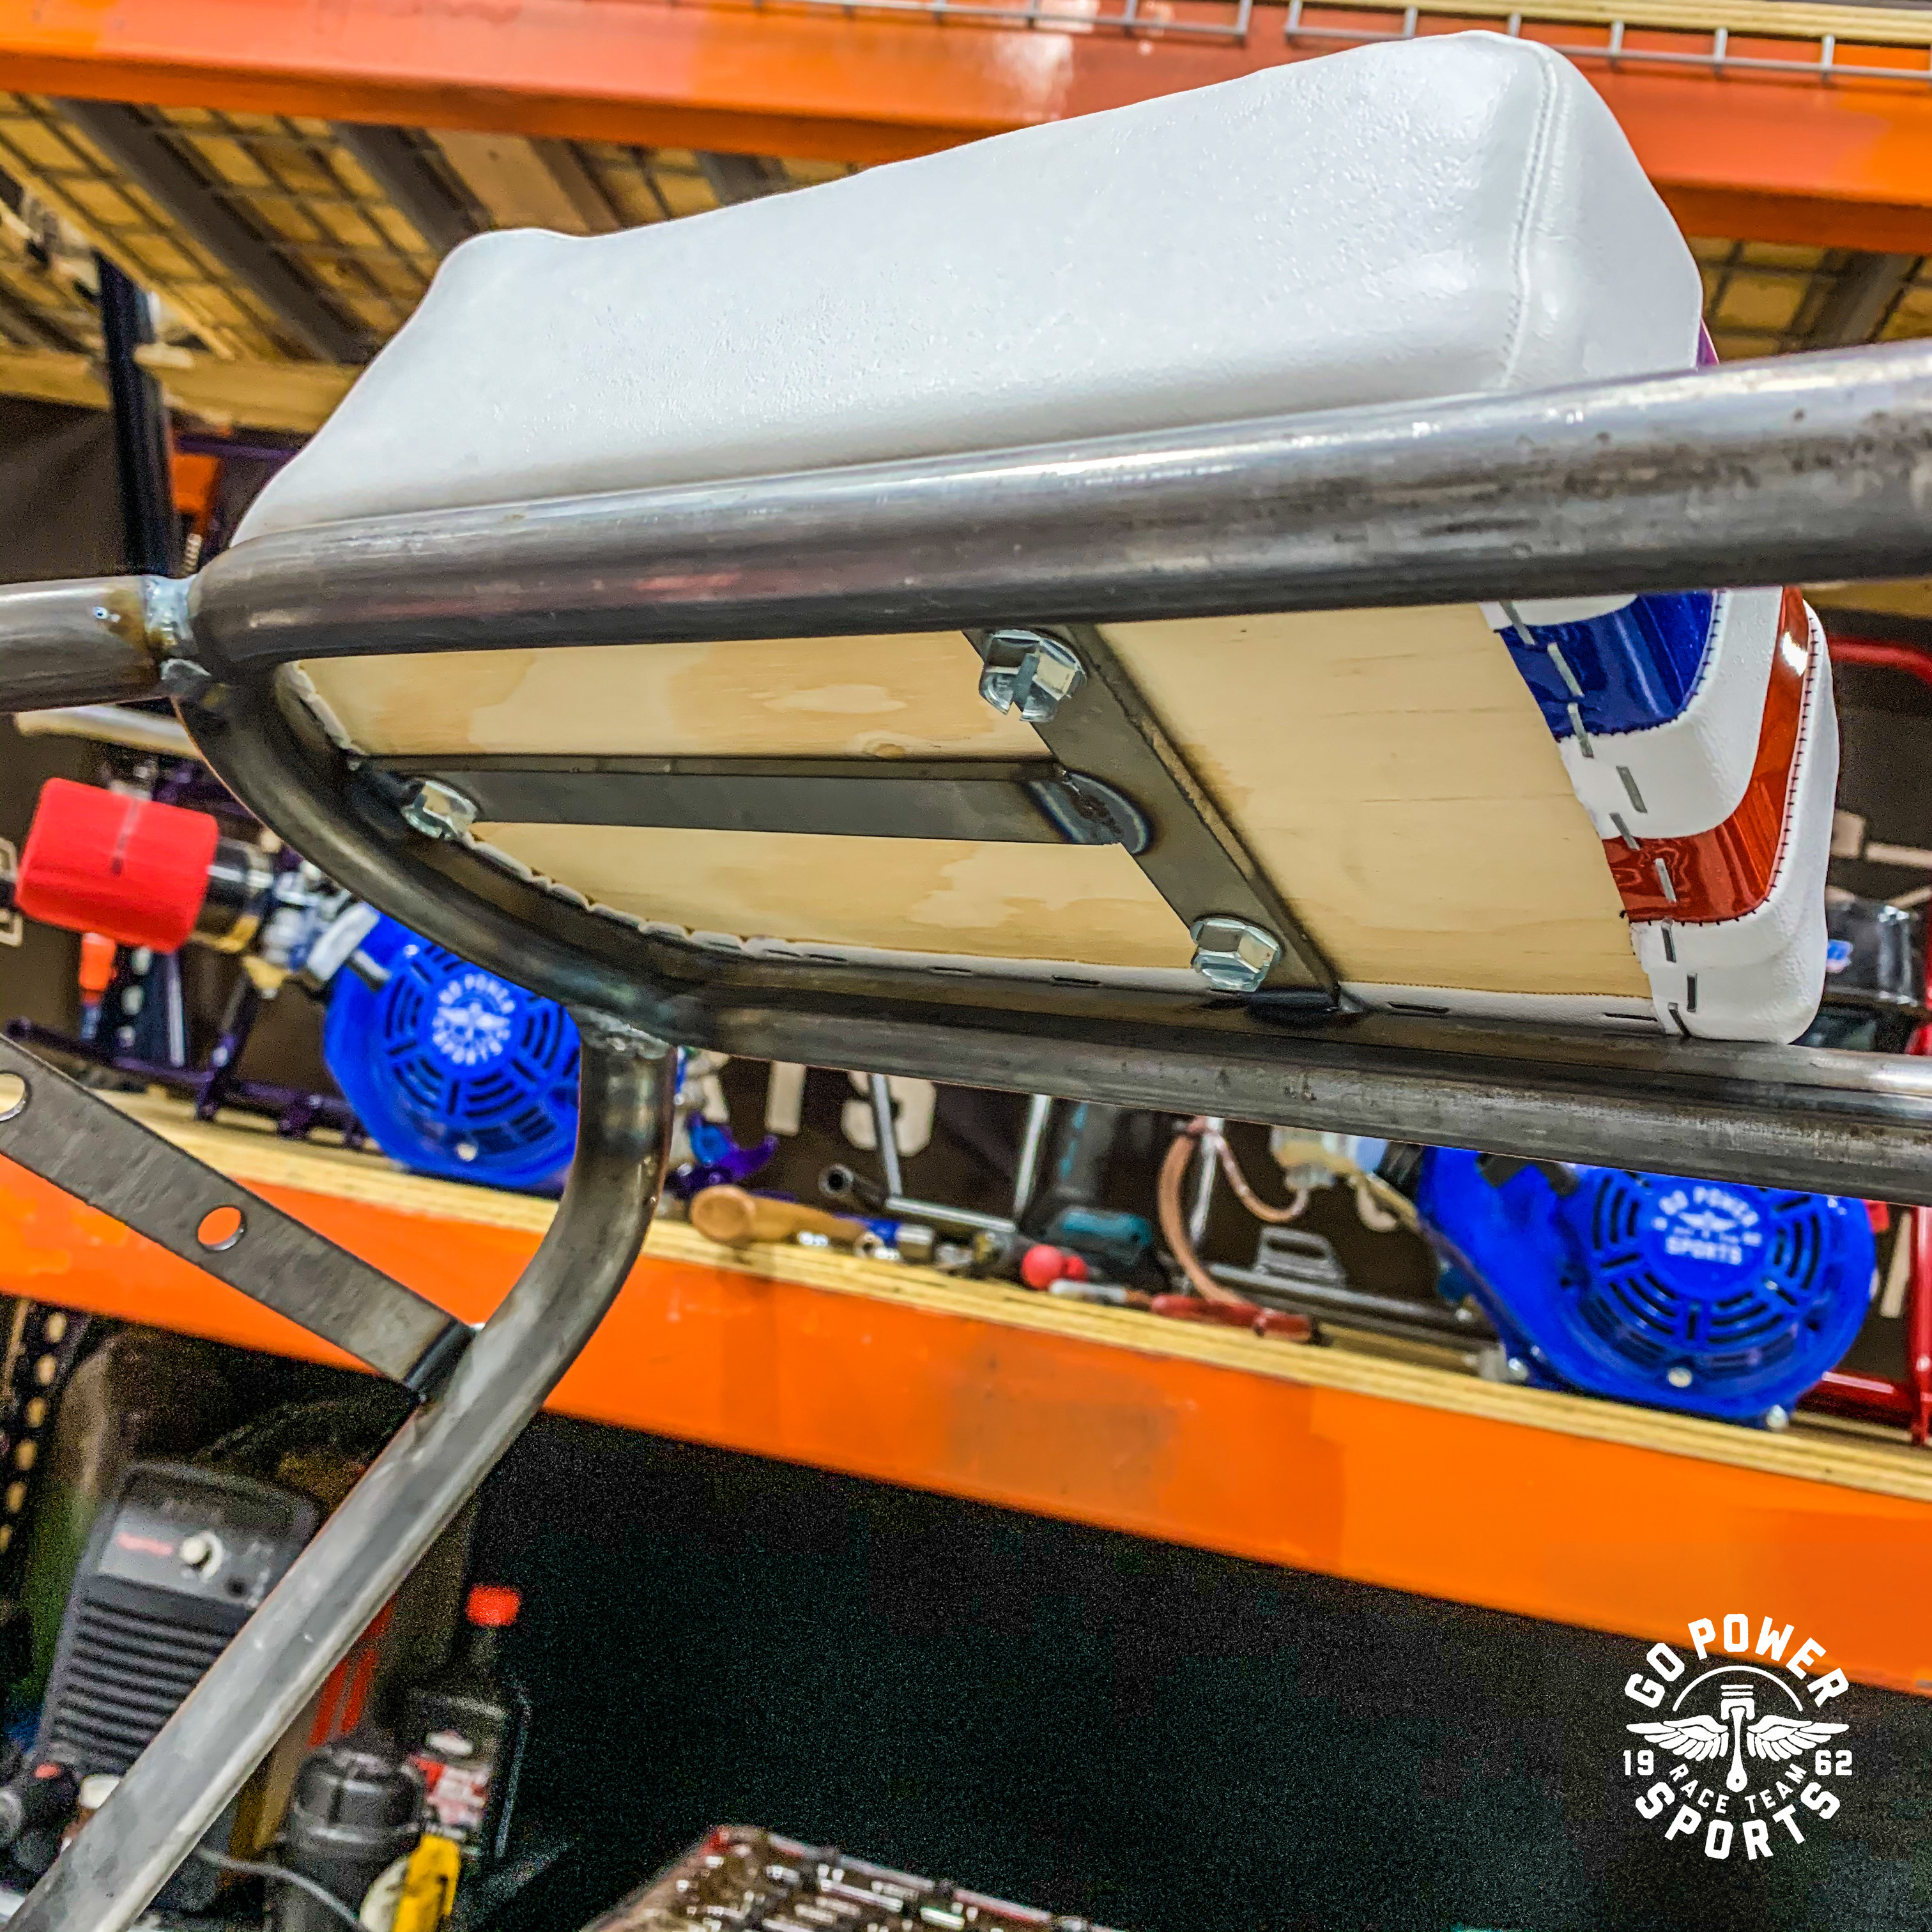
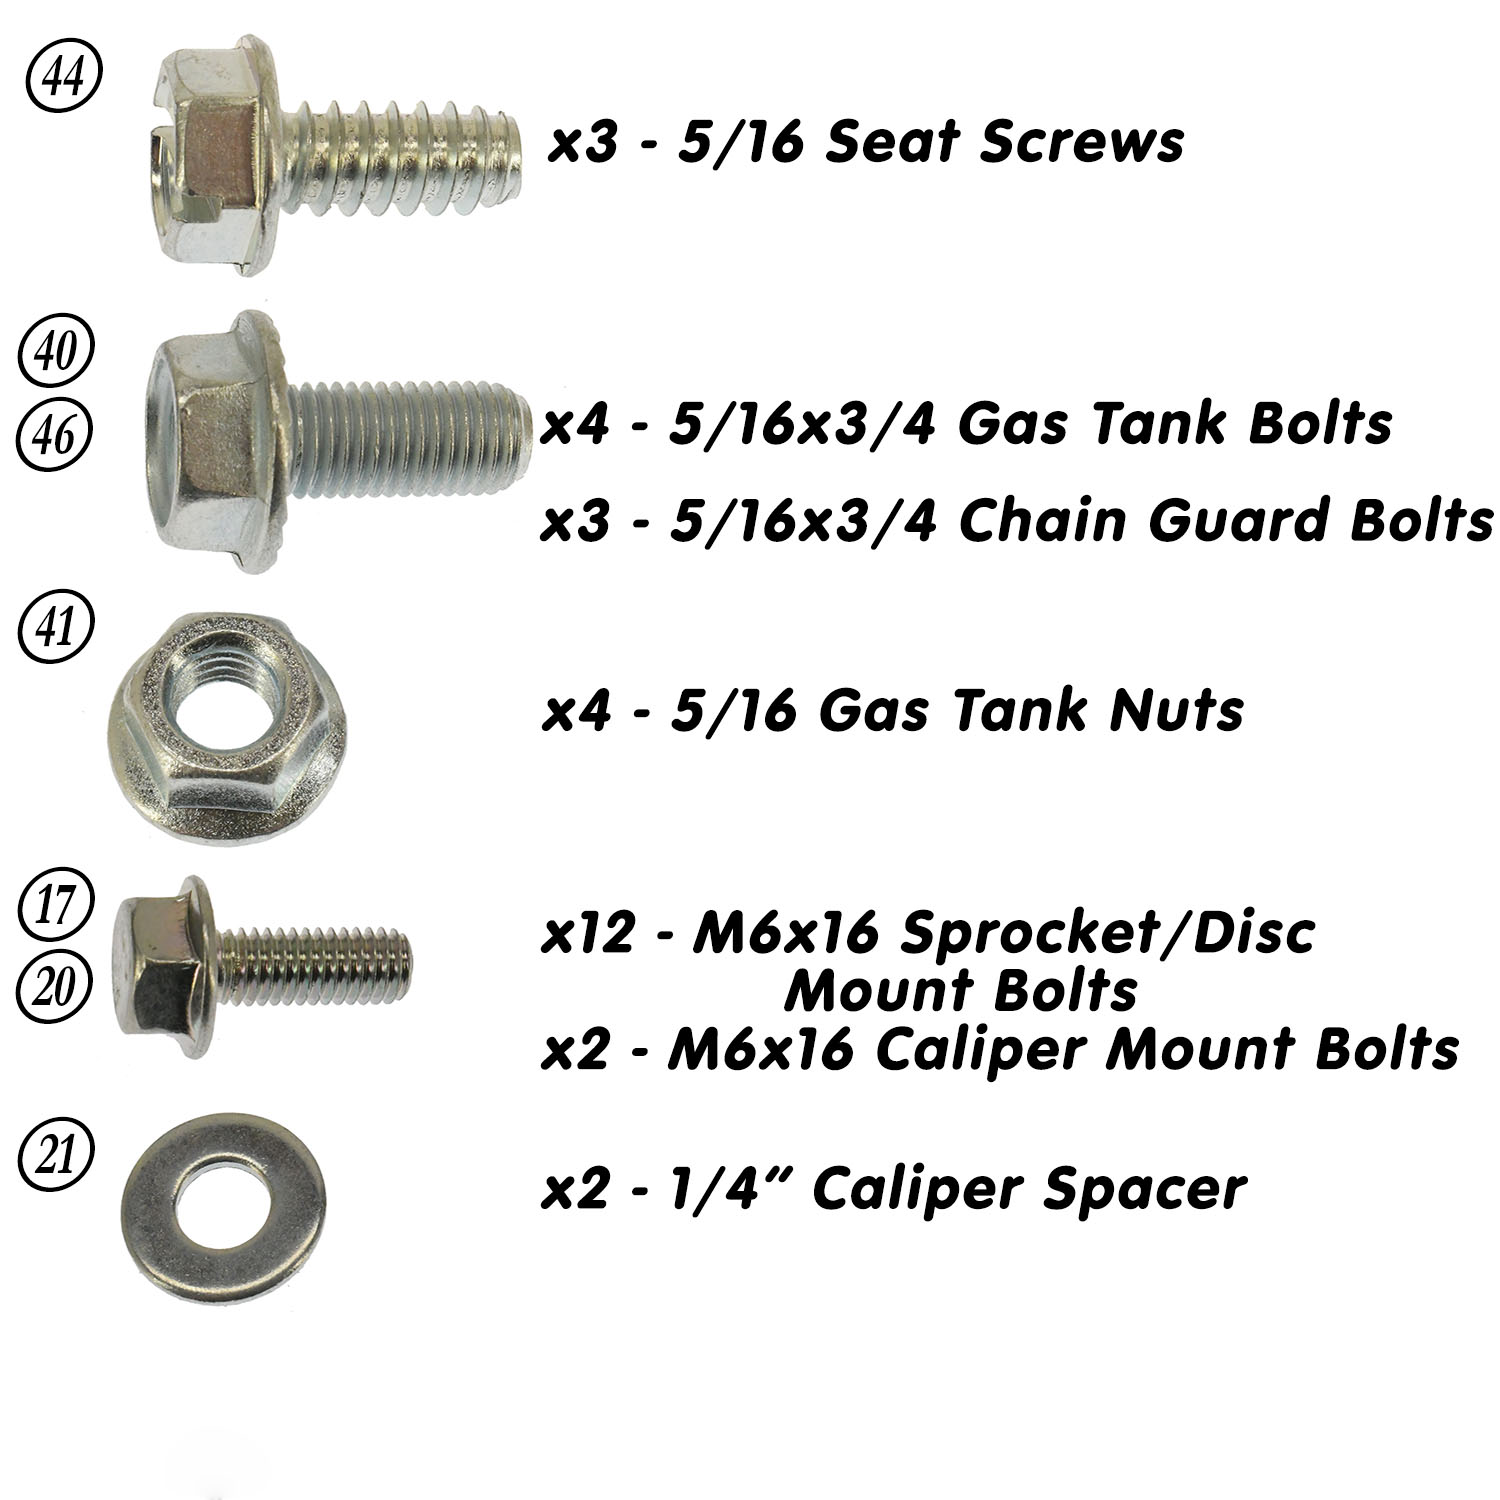
Seat is next. With the seat on the frame, use a sharpie to mark your seat's 3 mounting holes. Put the seat on your table and with a 1/4" drill bit, drill 3 holes into your marked spots. After you have drilled out the 3 holes, take one of the 5/16" Wood Screws and thread each of the holes. This makes assembling the seat onto the frame much easier since you would have already created threads. Mount your 3 wood screws through the frame and into the seat.
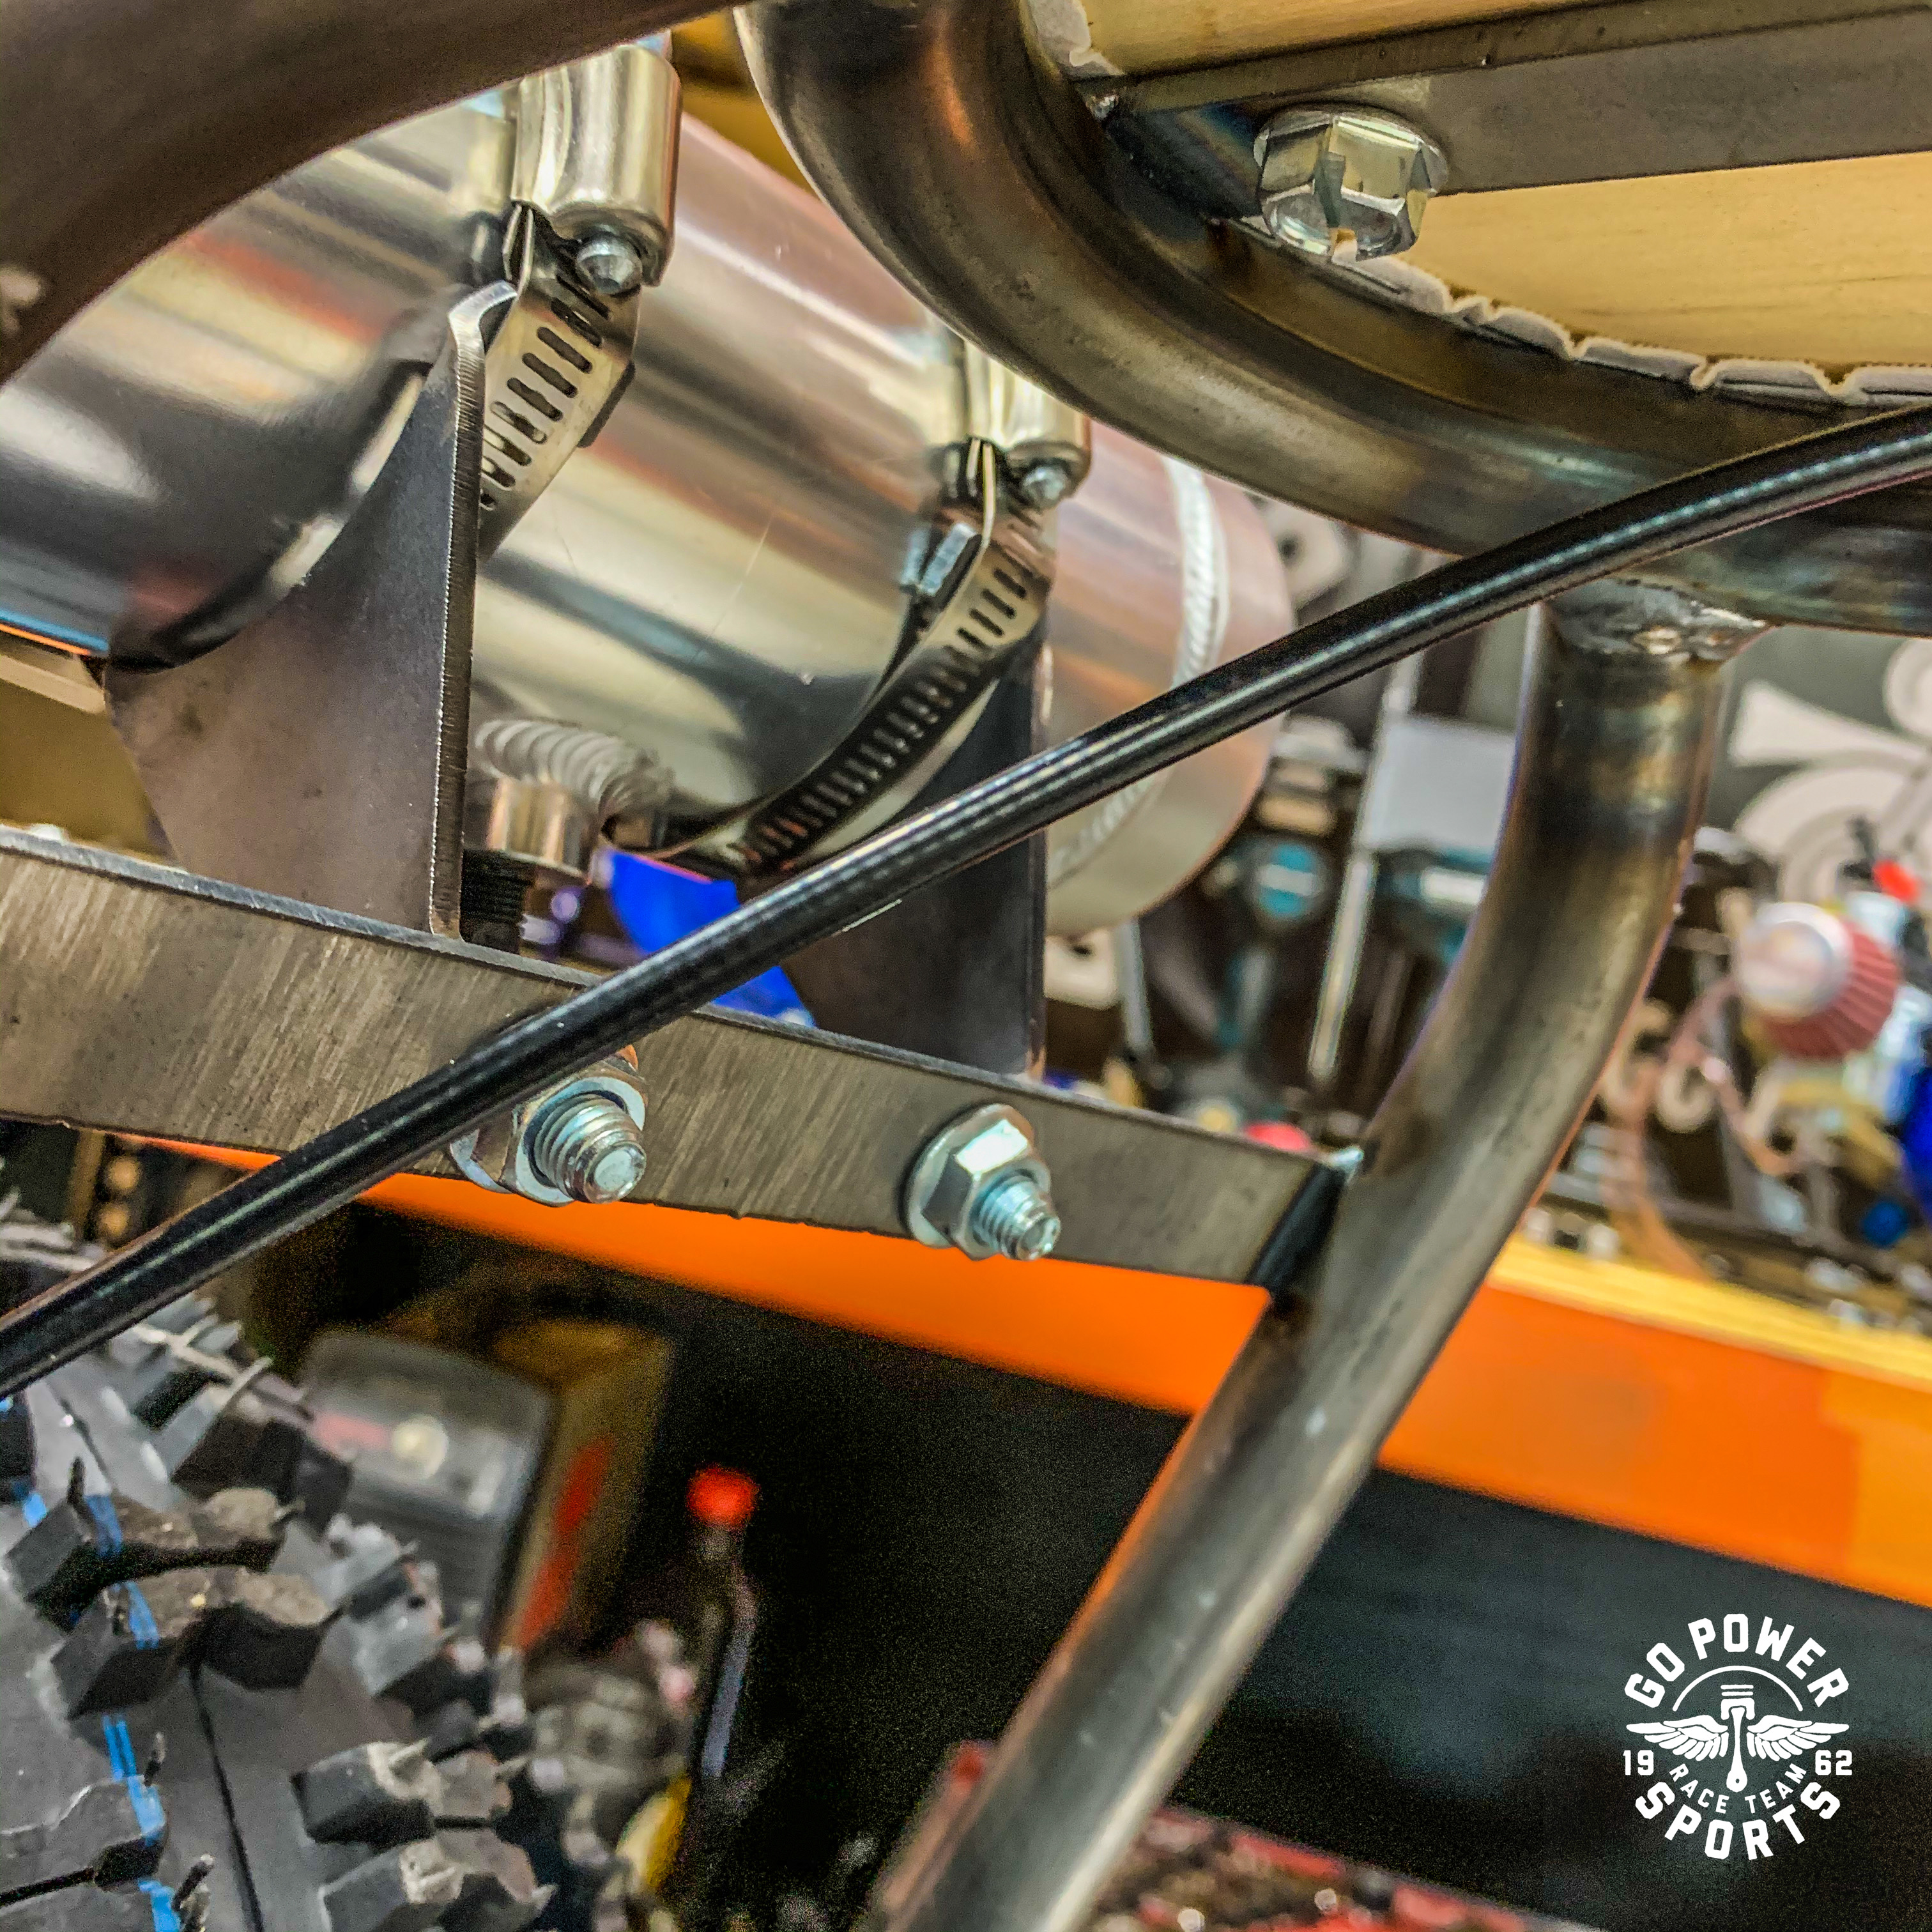
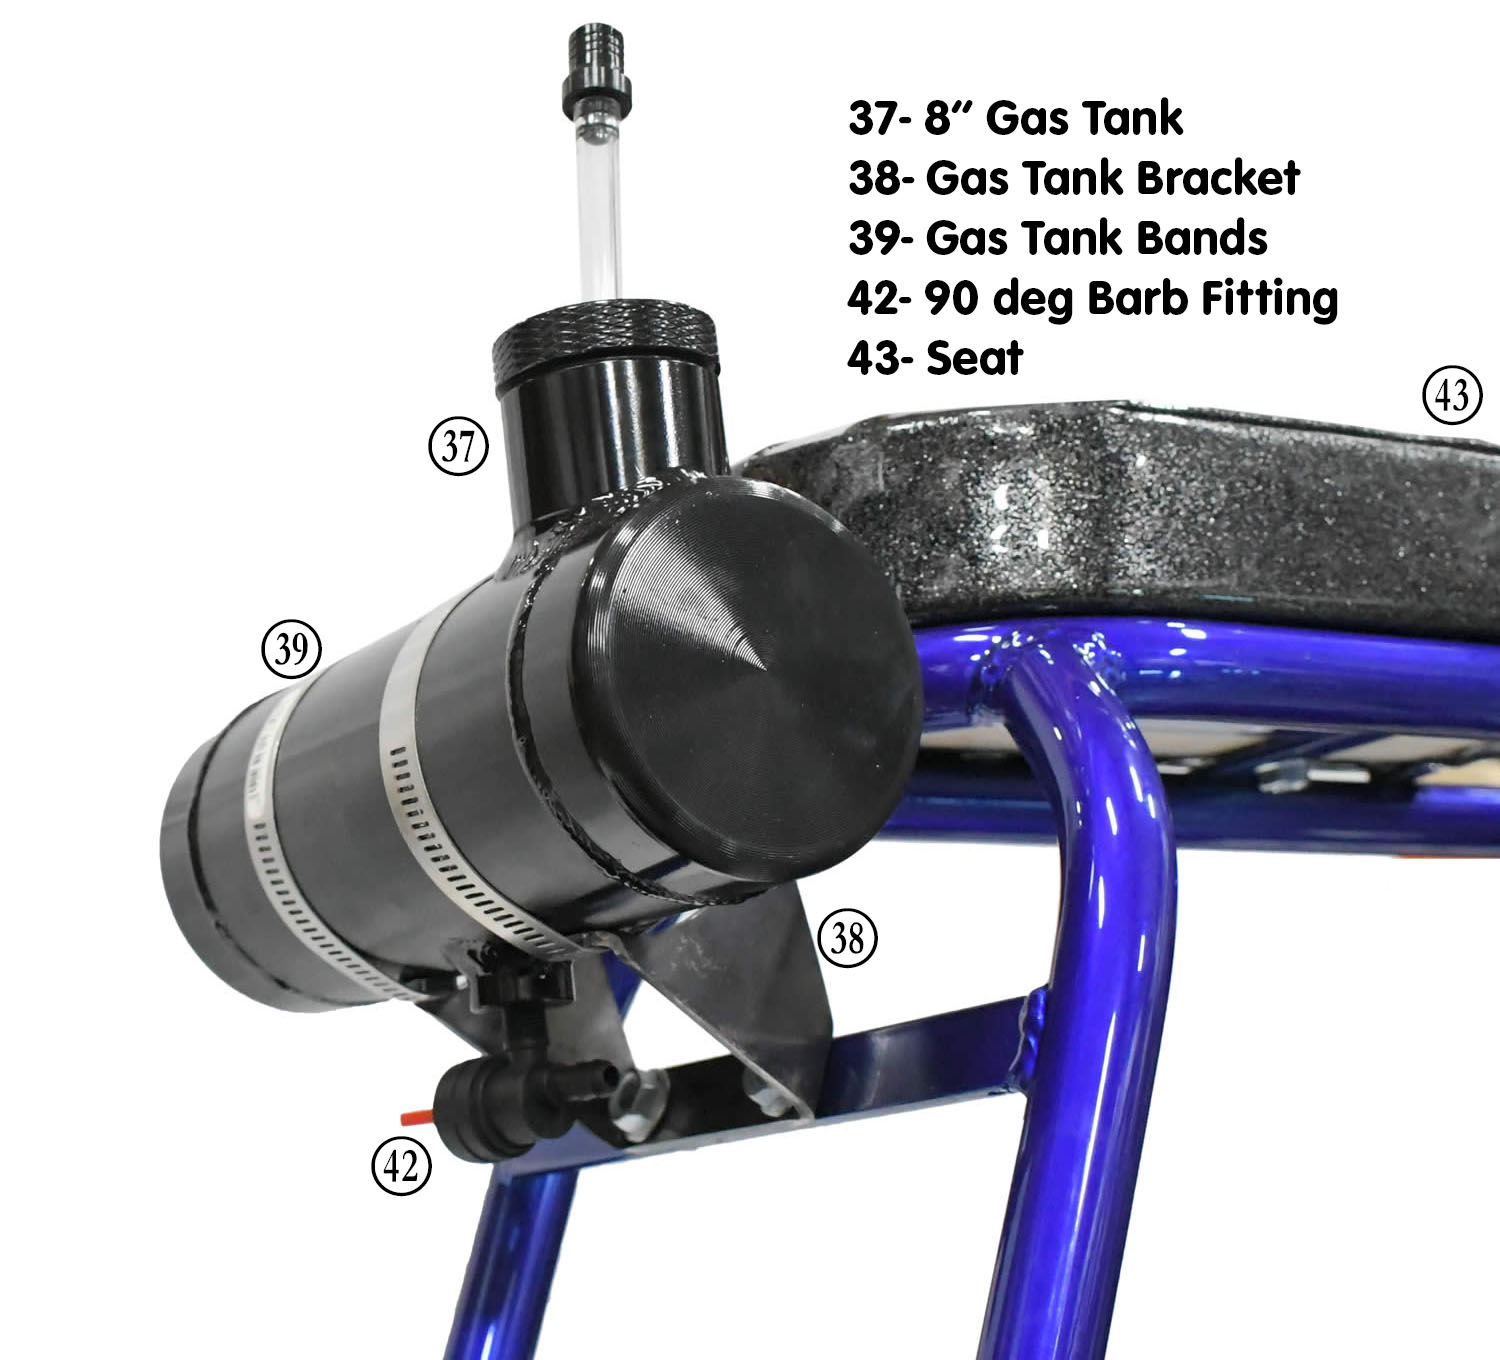
Mount the gas tank bracket on the rear of Lil Rascal. (There will be a front tank mount in the future.) Use the (2) 5/16" Bolts and Nuts. The gas tank can now be attached to the bracket with the (2) Hose Clamps.
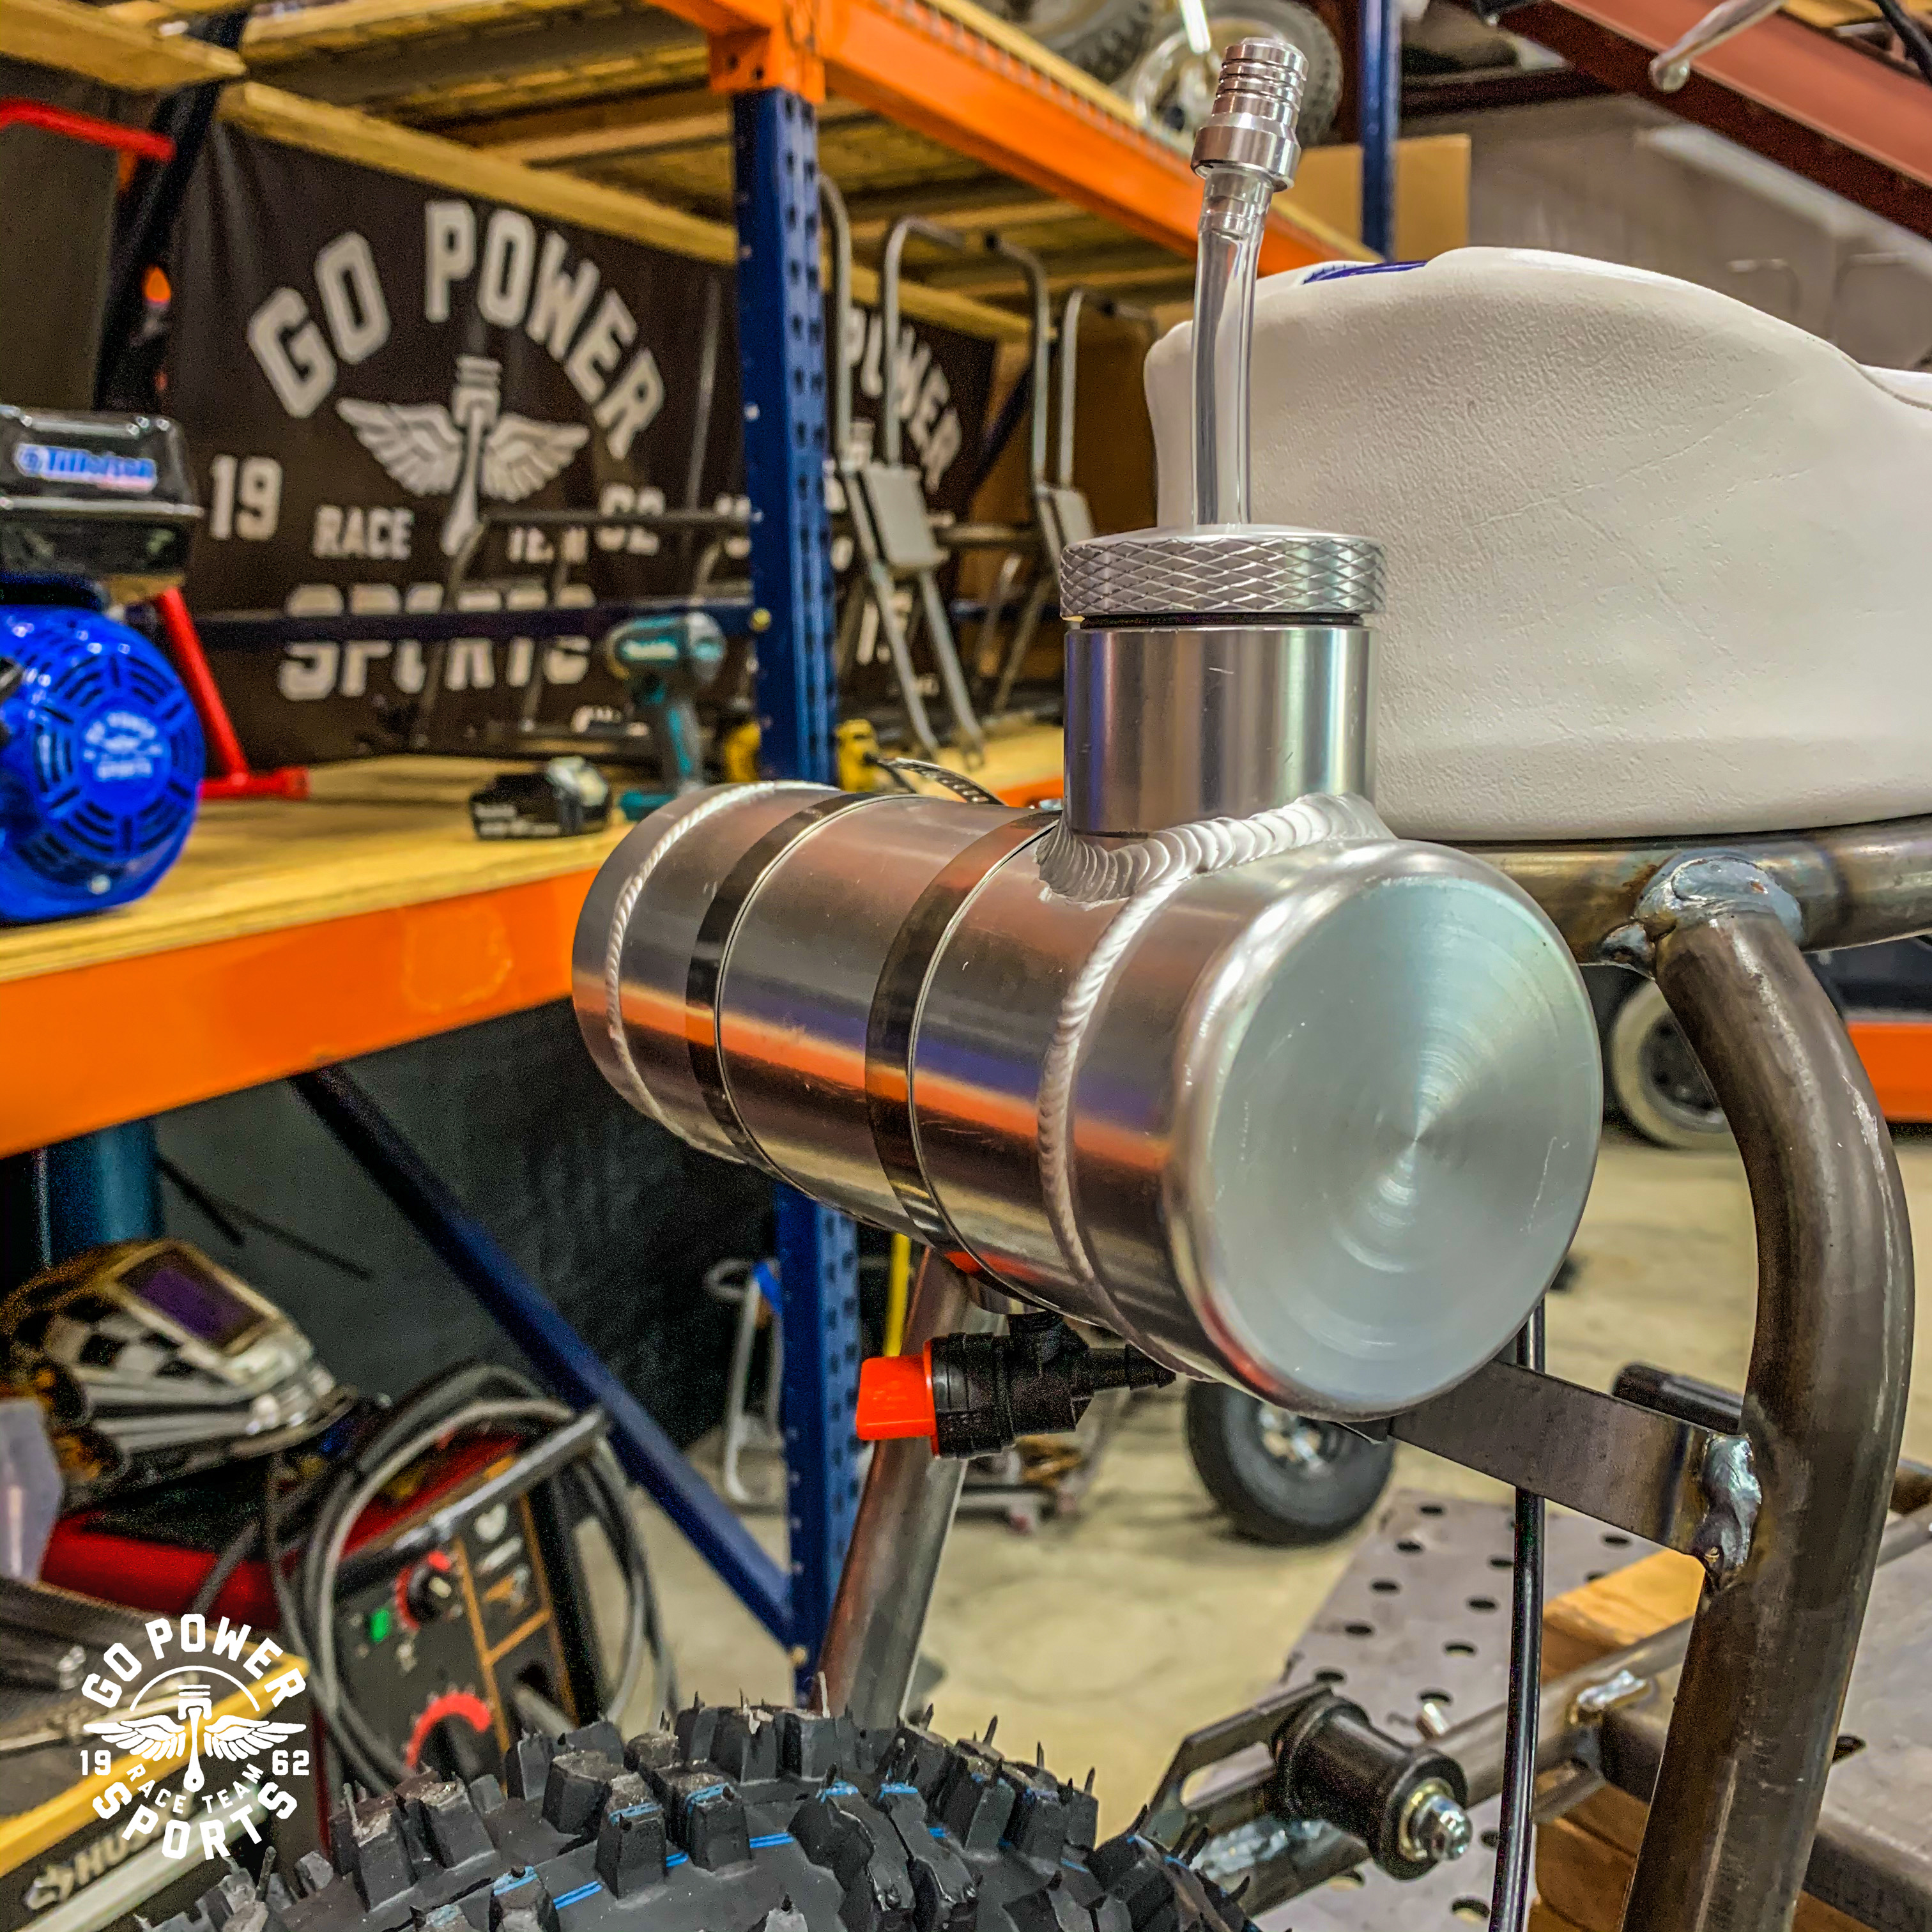
Before inserting the 90 degree shut off valve, we like to use a gasket sealant on the threads to make sure no gas leaks through. Twist in the 90 degree shut off valve.
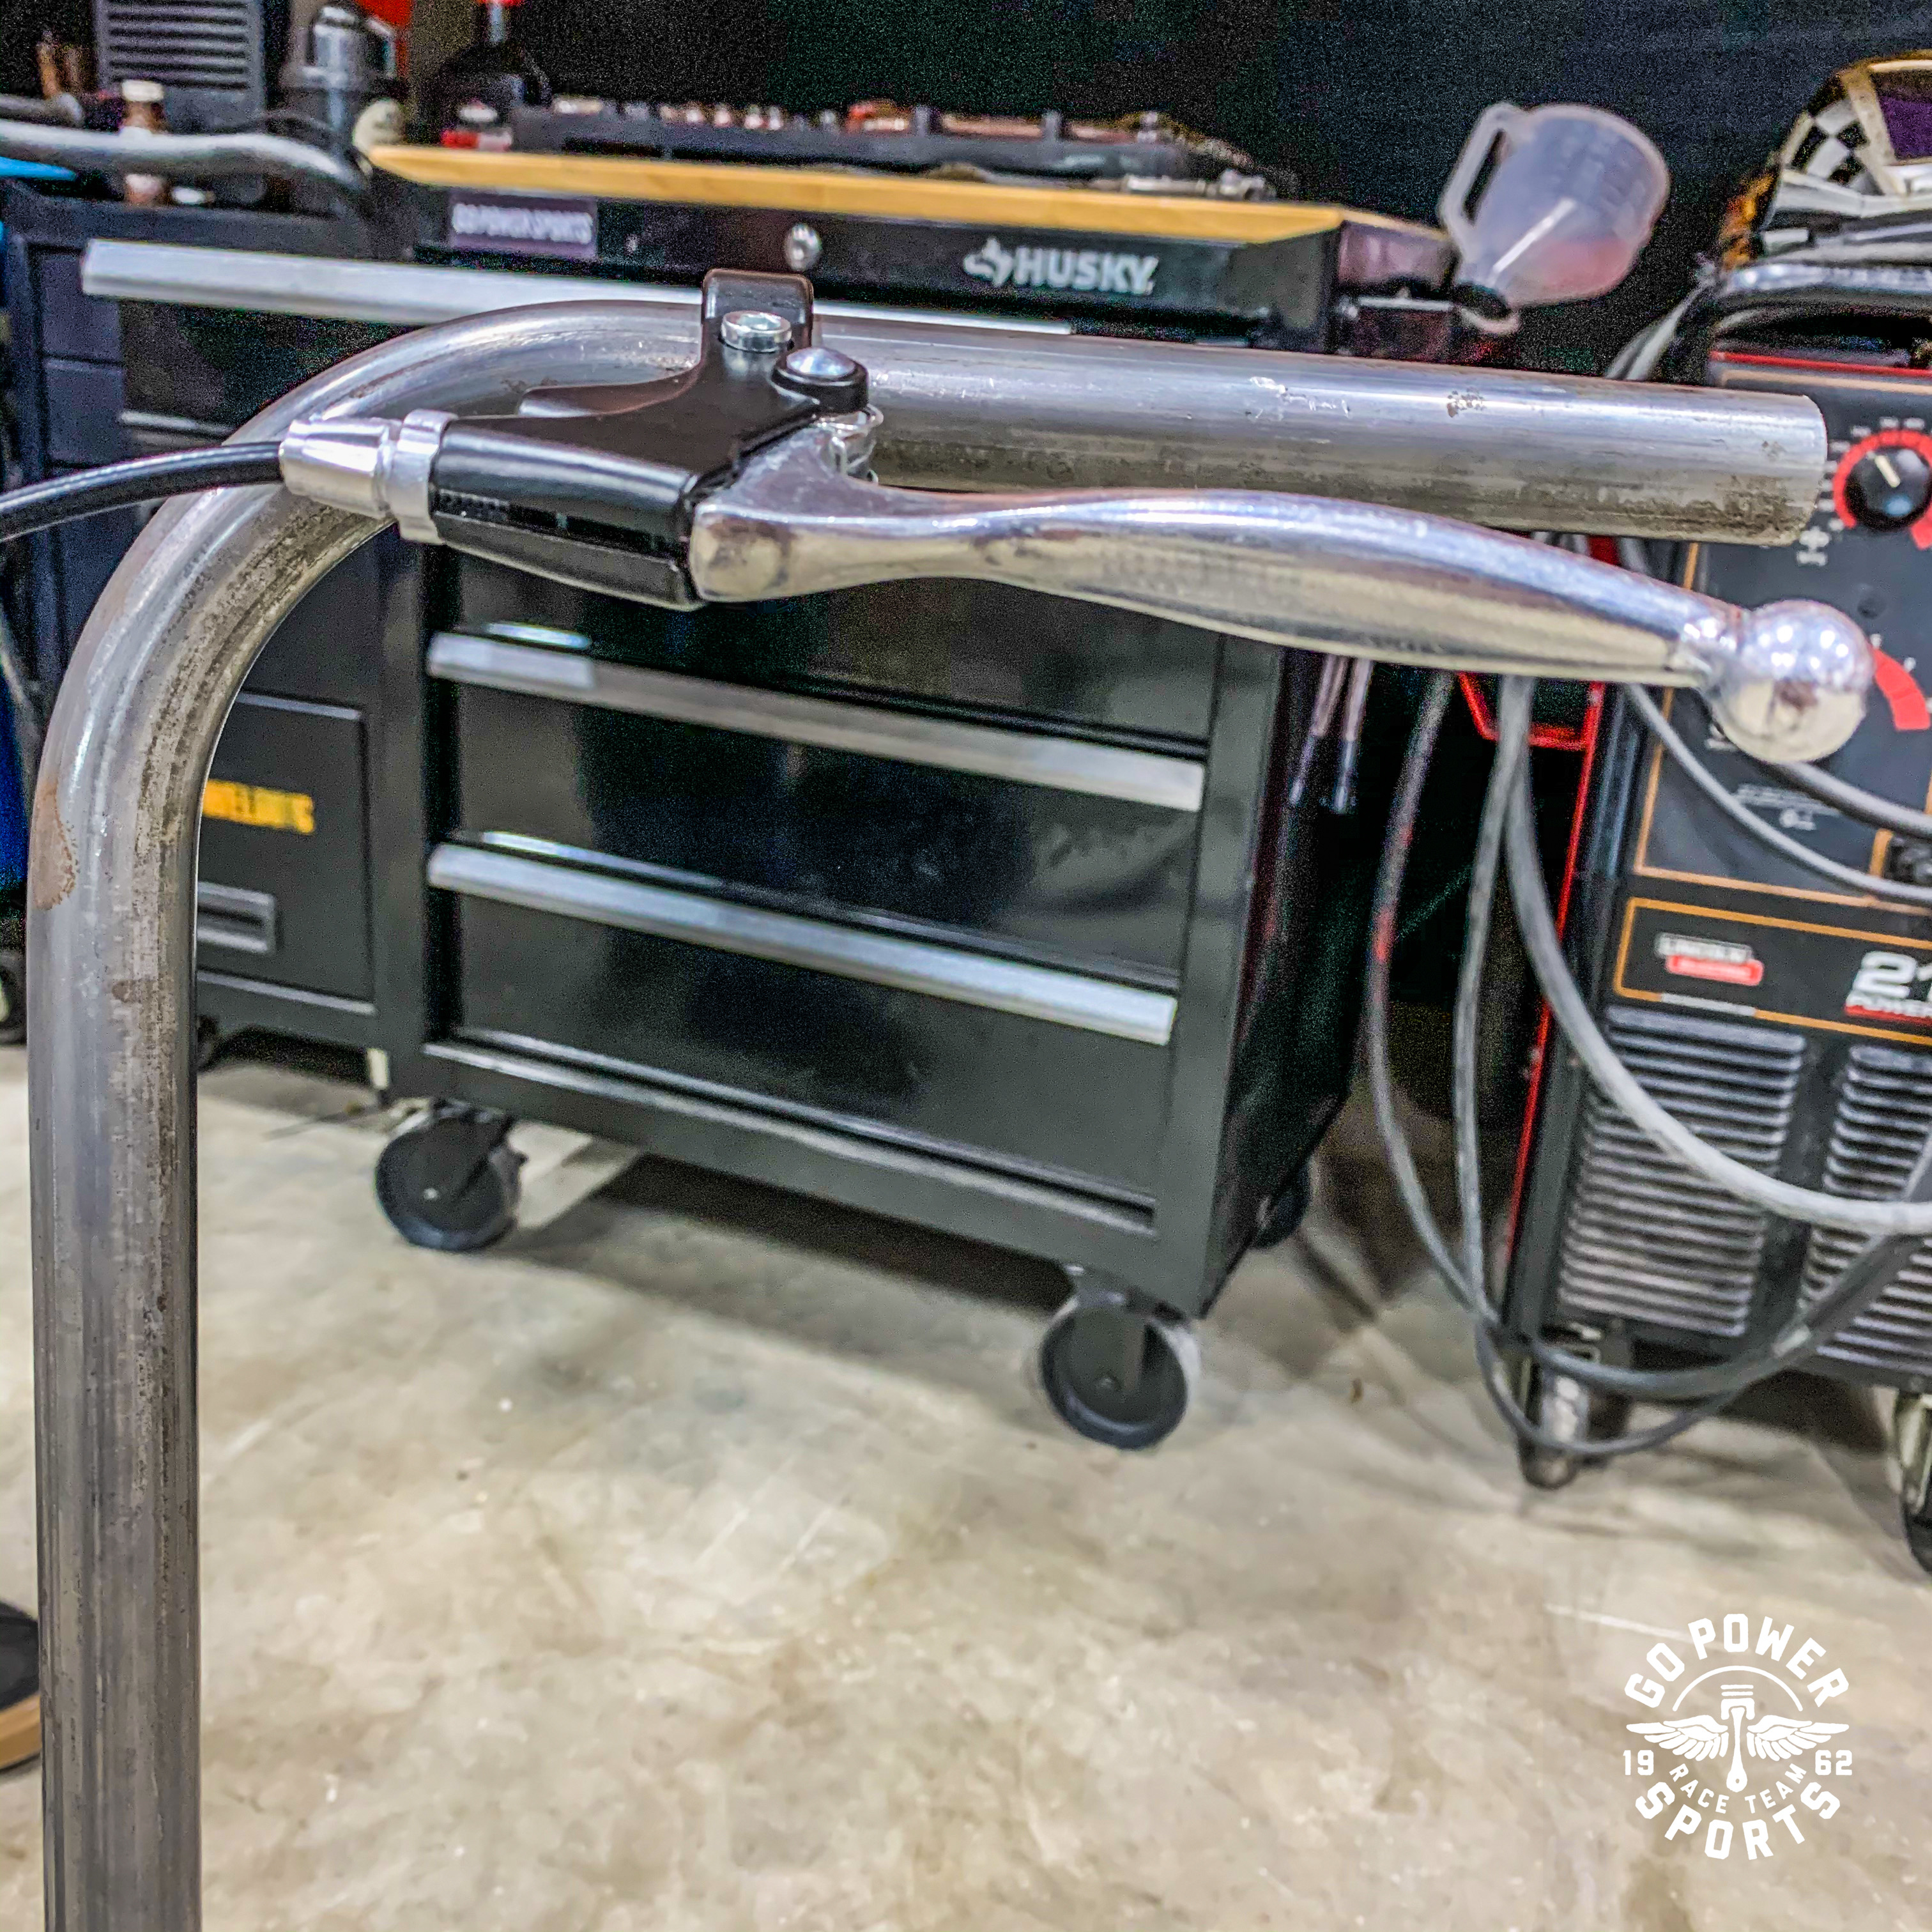
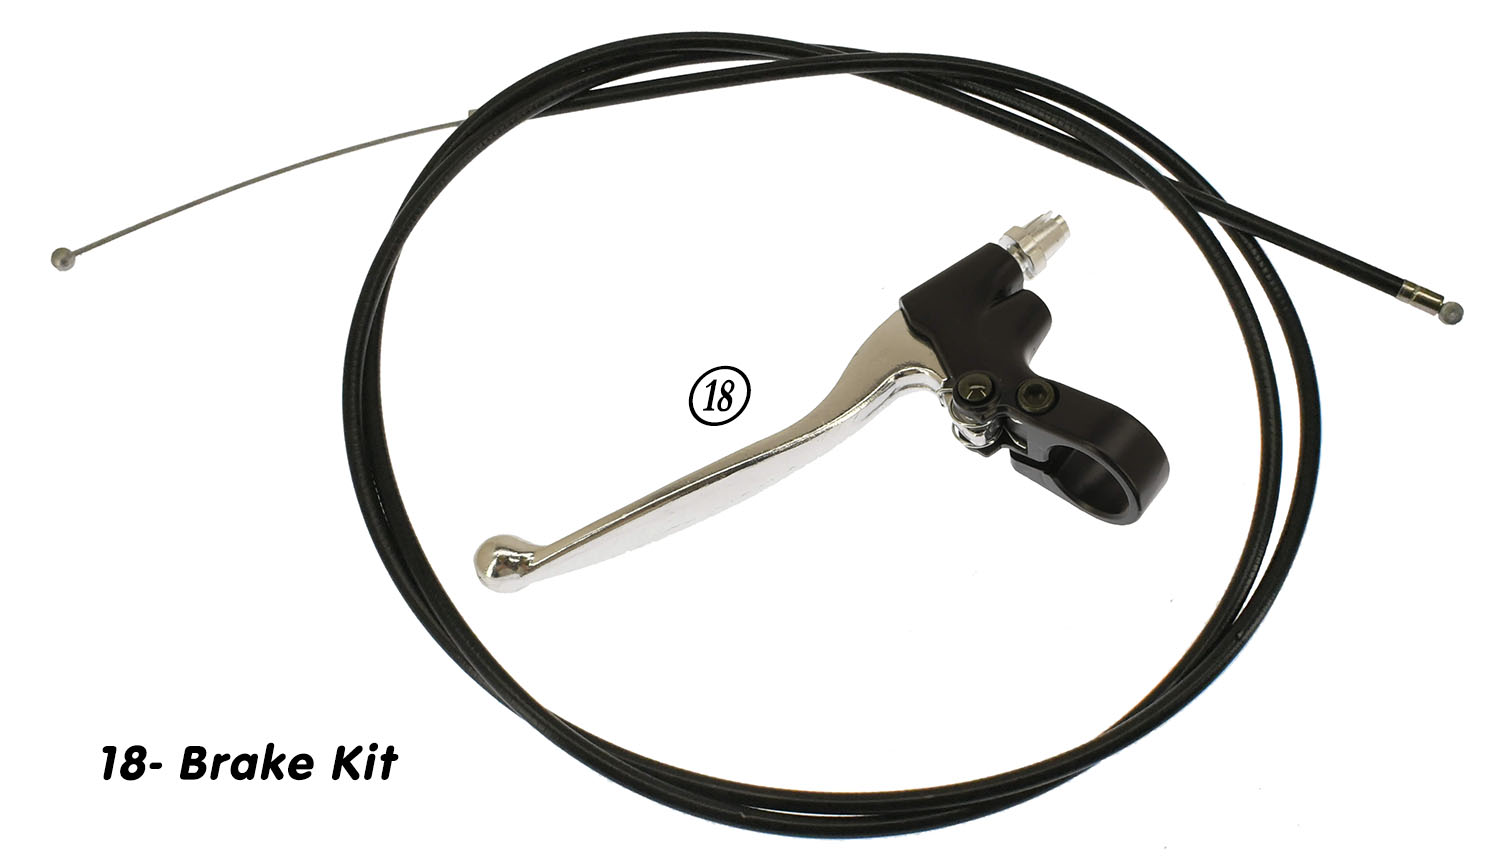
Rear Brake Lever will slide on to the 7/8" handlebar fairly easy. We will tighten down the lever after your grips are in place. Squeeze your lever down to see where the barrel end of your brake cable will sit be seated. It is also best to thread in your cable adjustments on the lever as well. This is helpful because you can then turn out your adjustments to take the slack out of your brake cable. These adjustments will be made after you hook your brake cable to your caliper. **NOTE** These calipers are not meant for high speed racing. If you plan on hot-rodding your Lil Rascal around, you should consider hydraulic brakes with a bigger caliper. We currently do not have a kit to bolt up to the Lil Rascal, but will be working on one.
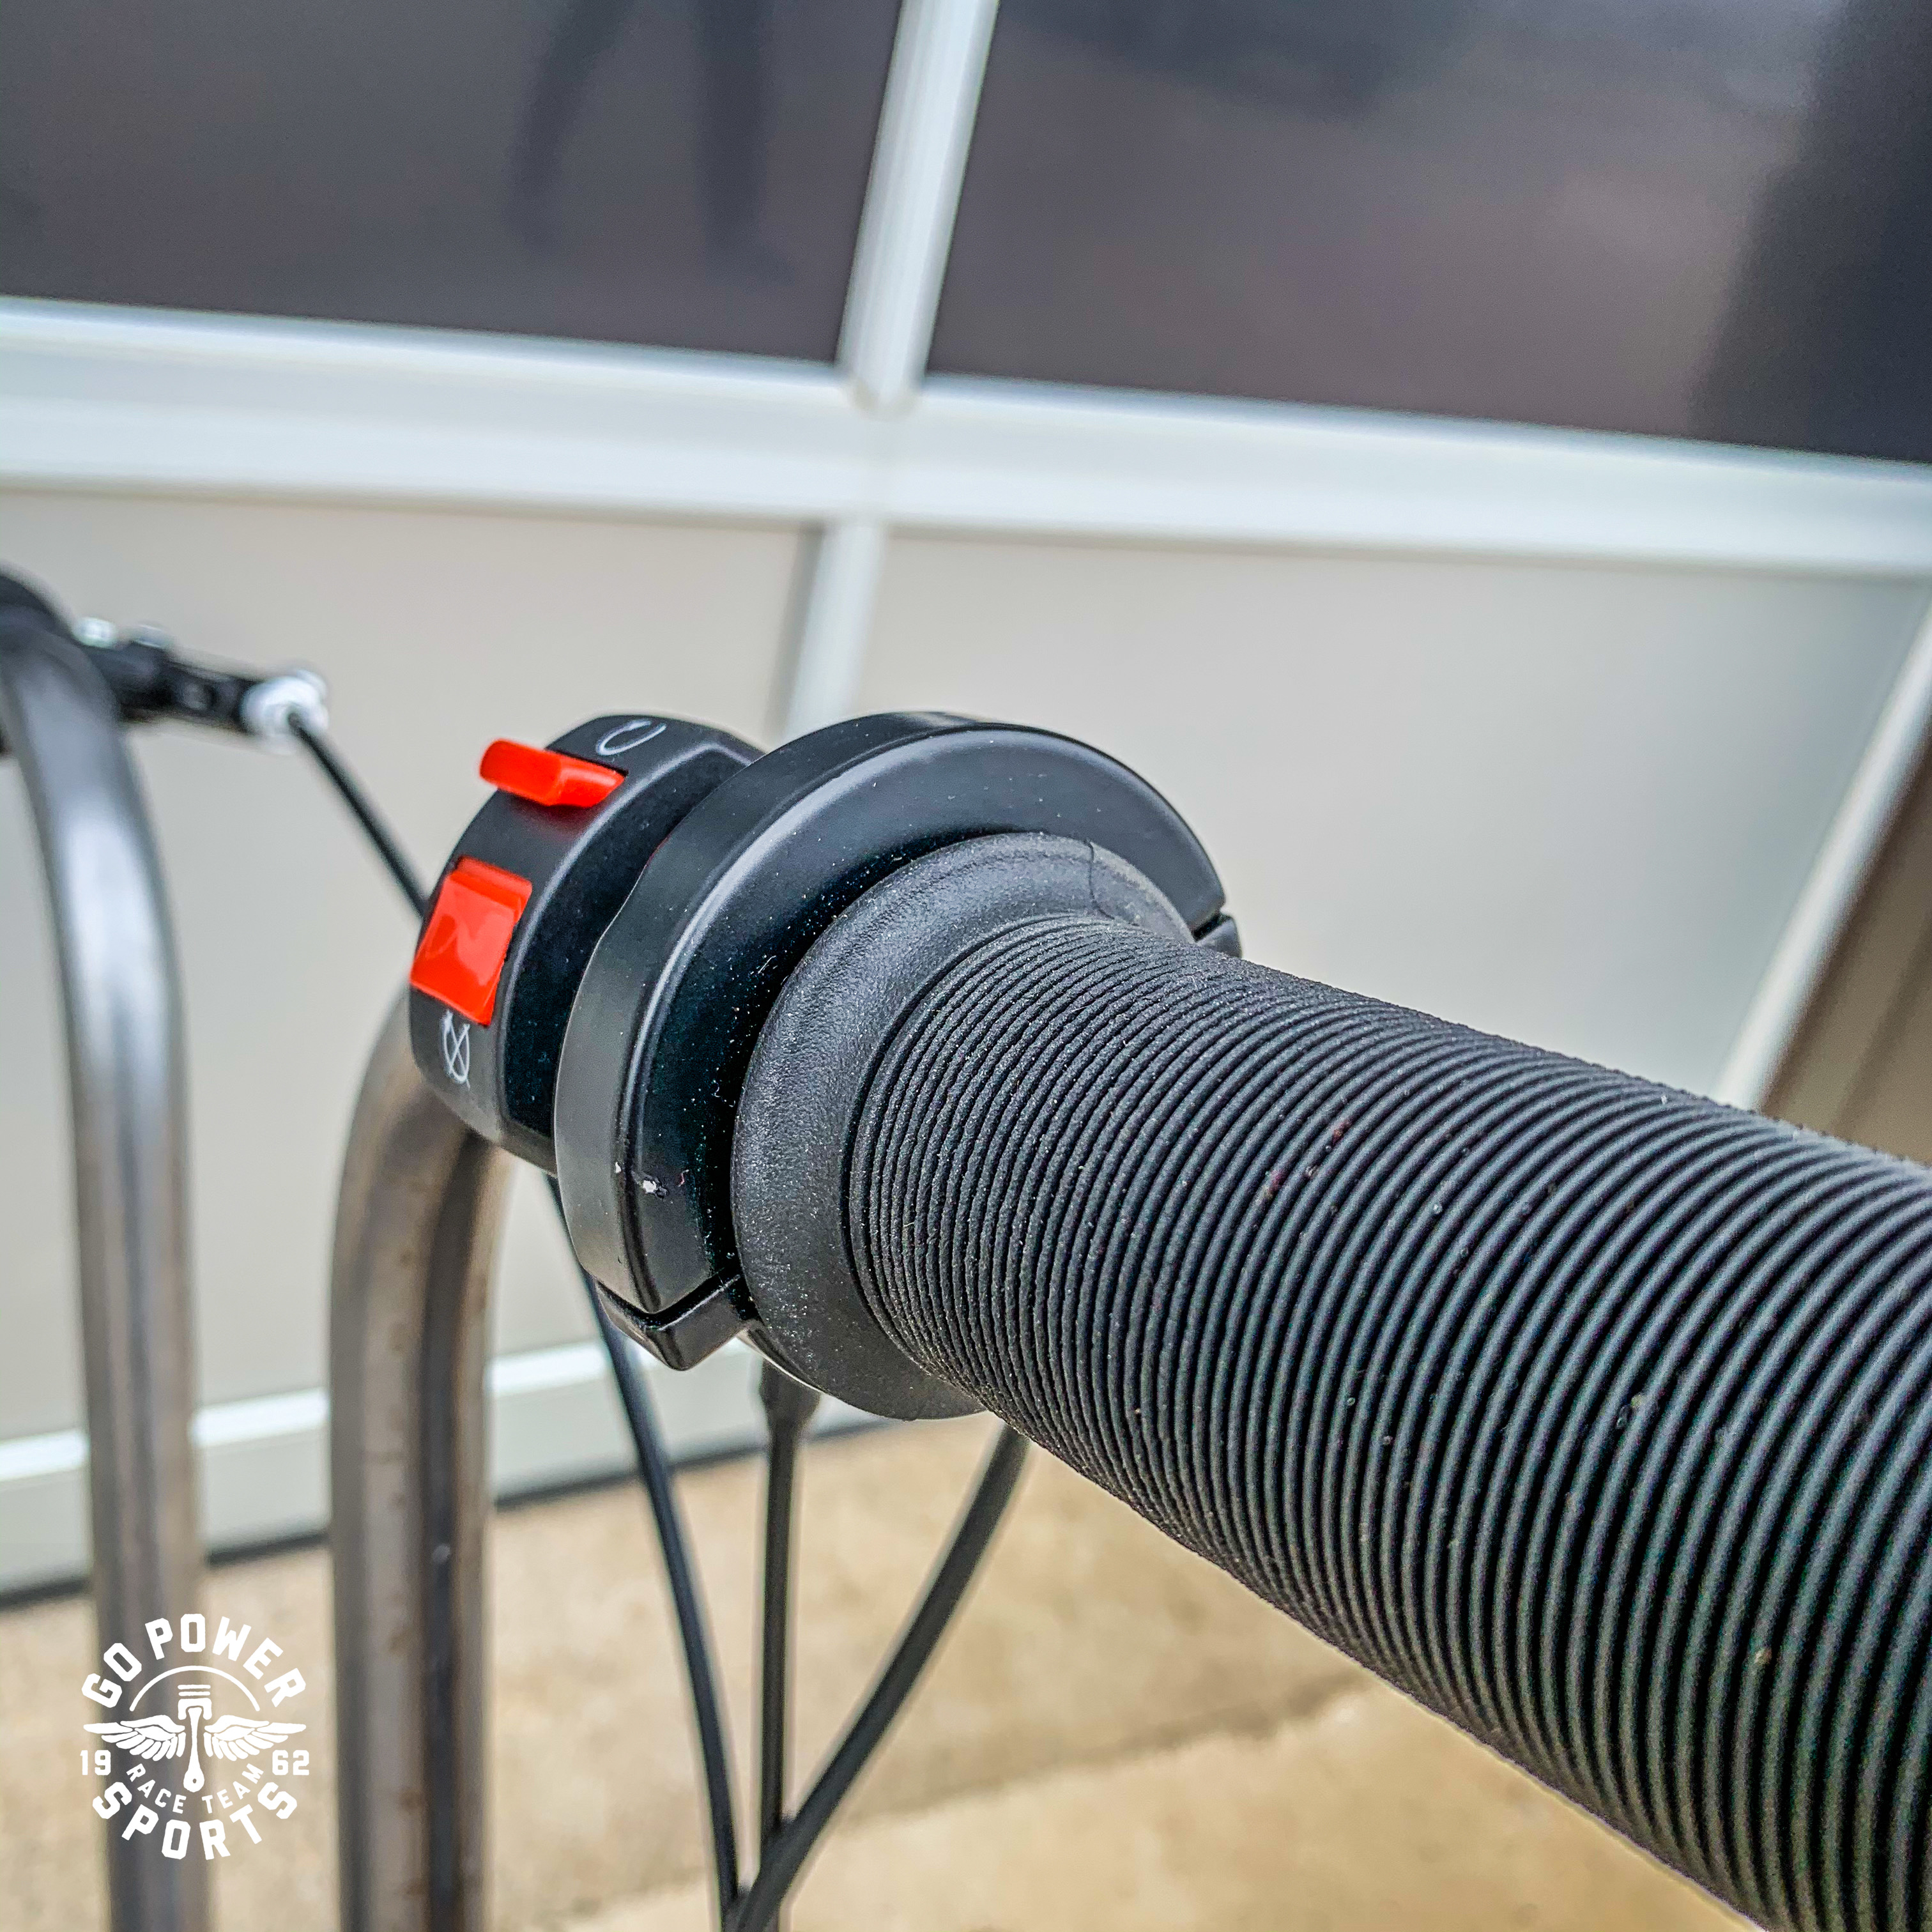
Install your Throttle Housing, Grips, and Kill Switch. When putting the grips on to your handlebar, you can either use an air gun or WD40. The WD40 will dry out and actually help the rubber adhere better to the bars. The kill switch can be mounted on either handlebar, whichever is most comfortable for you. Depending on which engine you use, your engine's kill switch will have a female end that you can connect the male end of your kill switch to. Clean up all your wires with zip ties for a cleaner look.
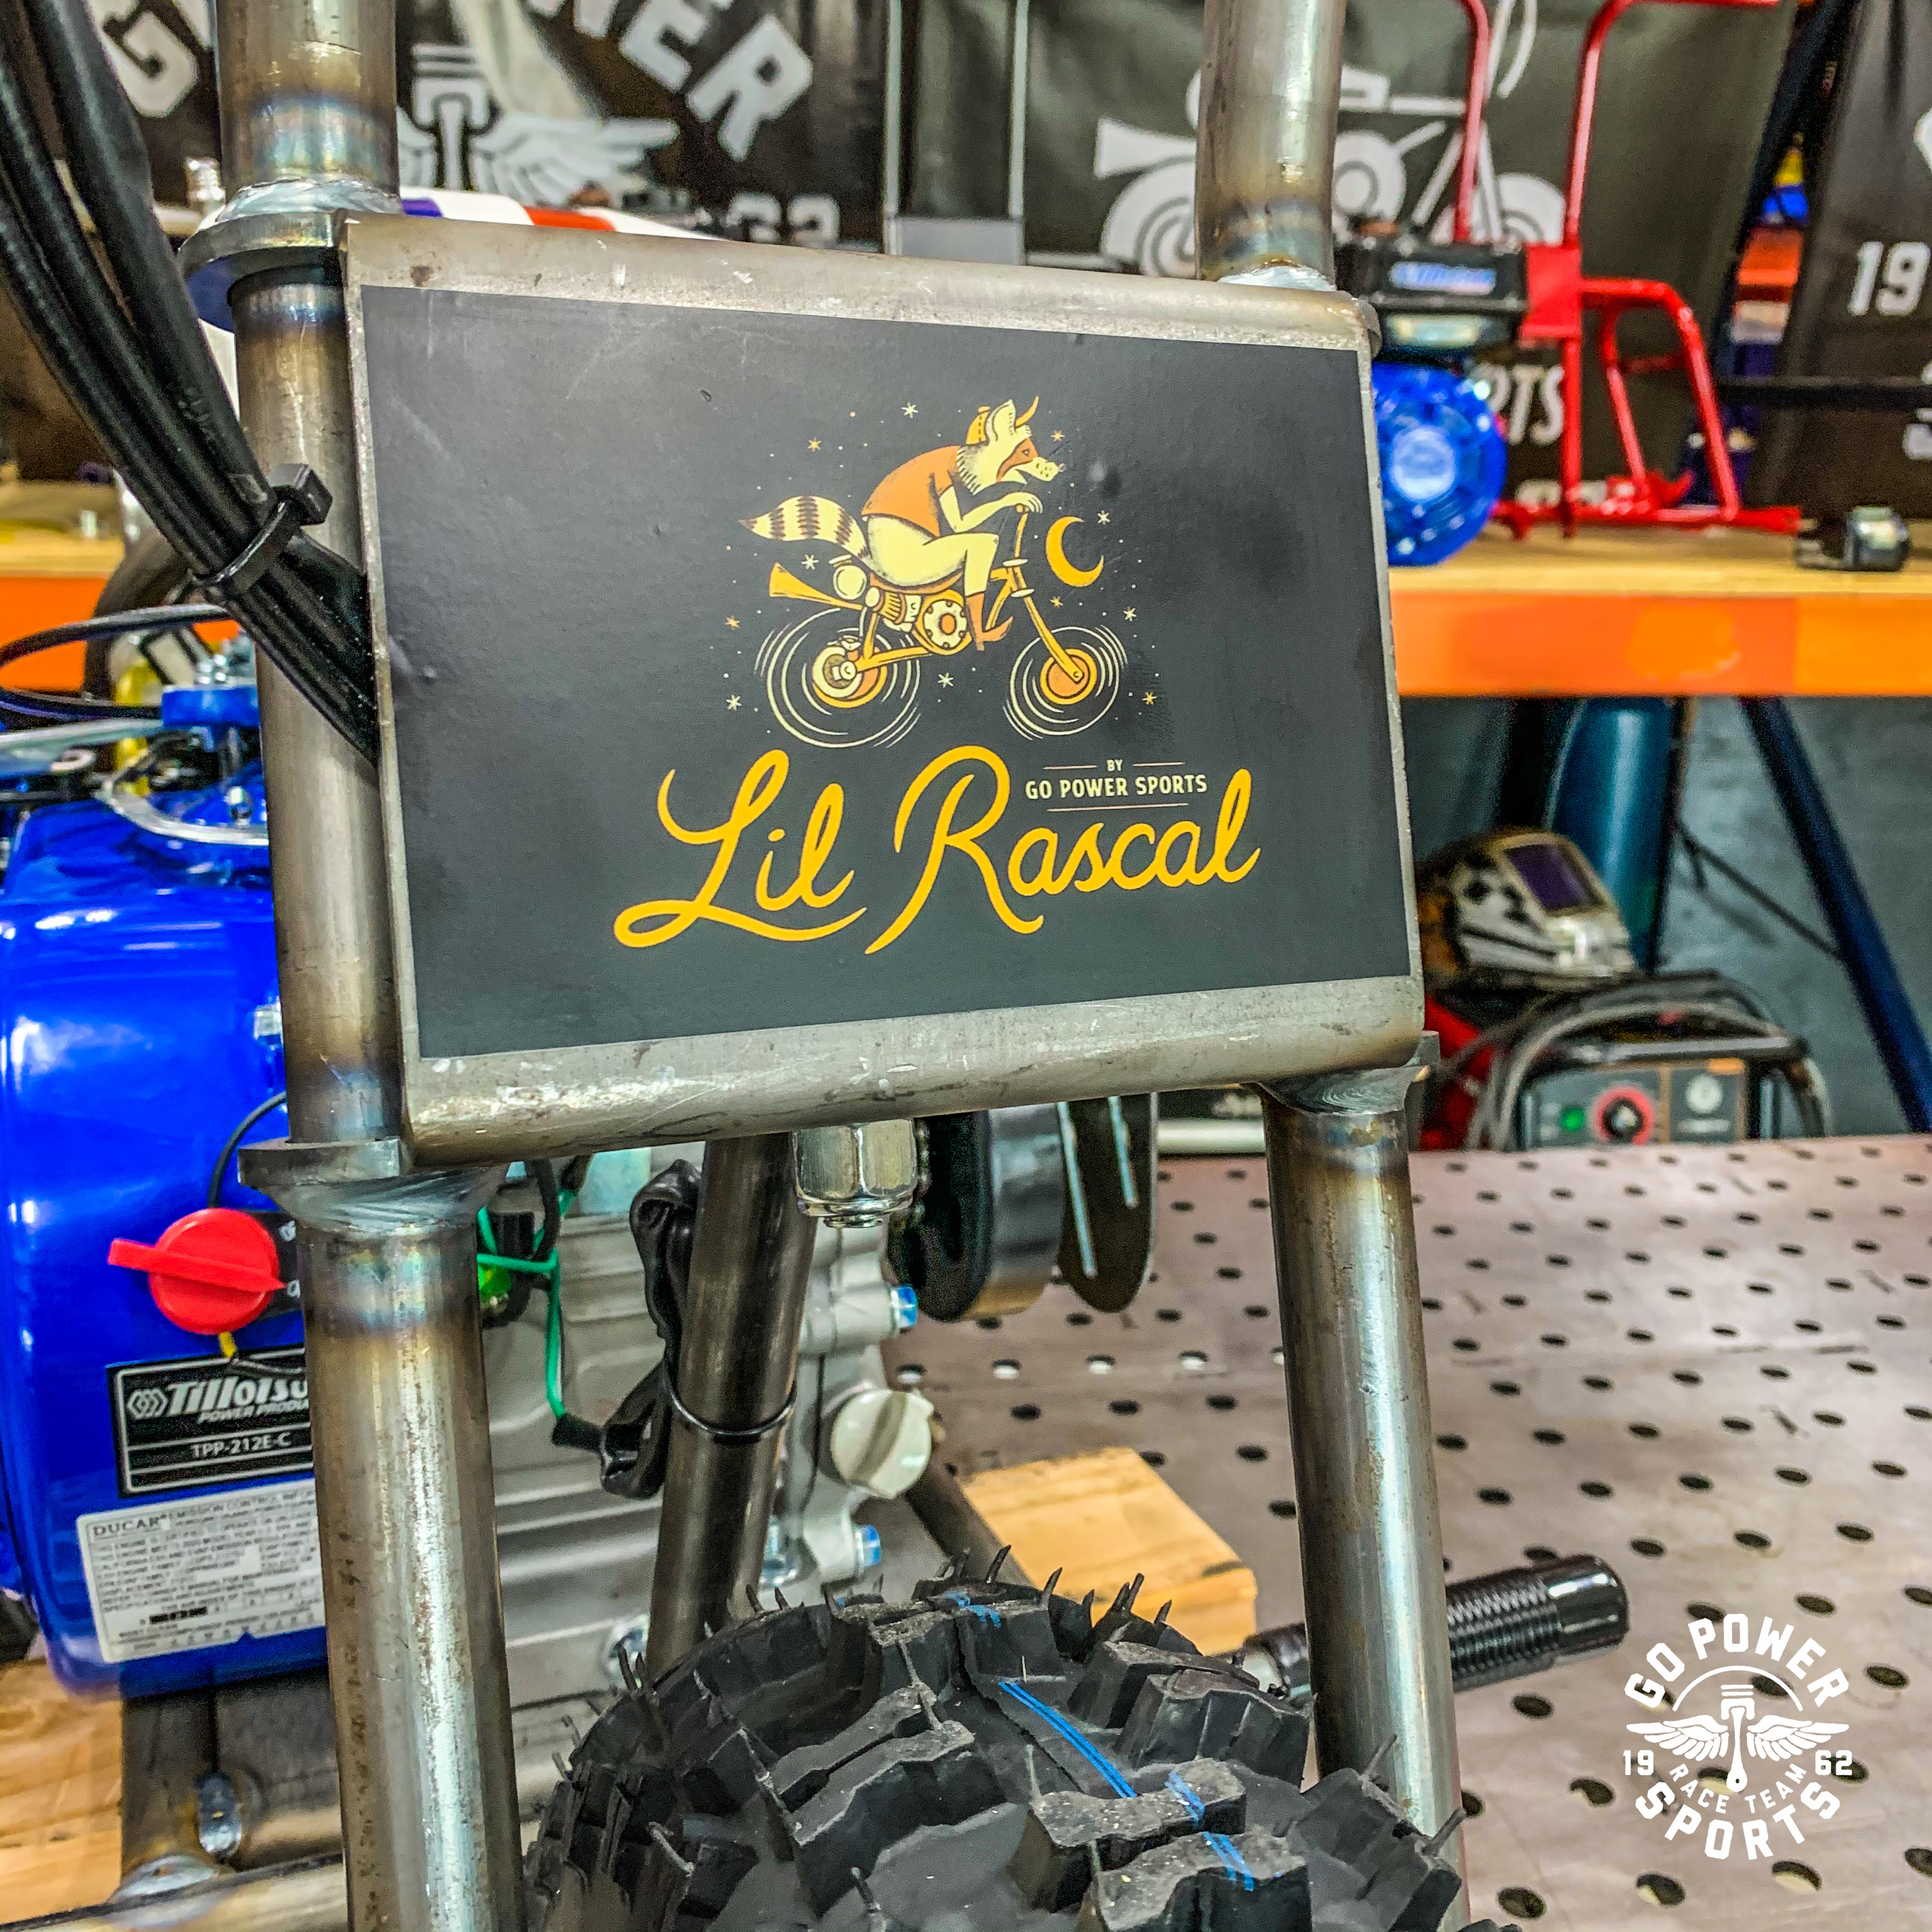
Your Lil Rascal kit also comes with a sticker pack. I suggest you paint your frame and wipe it down before adding your stickers.
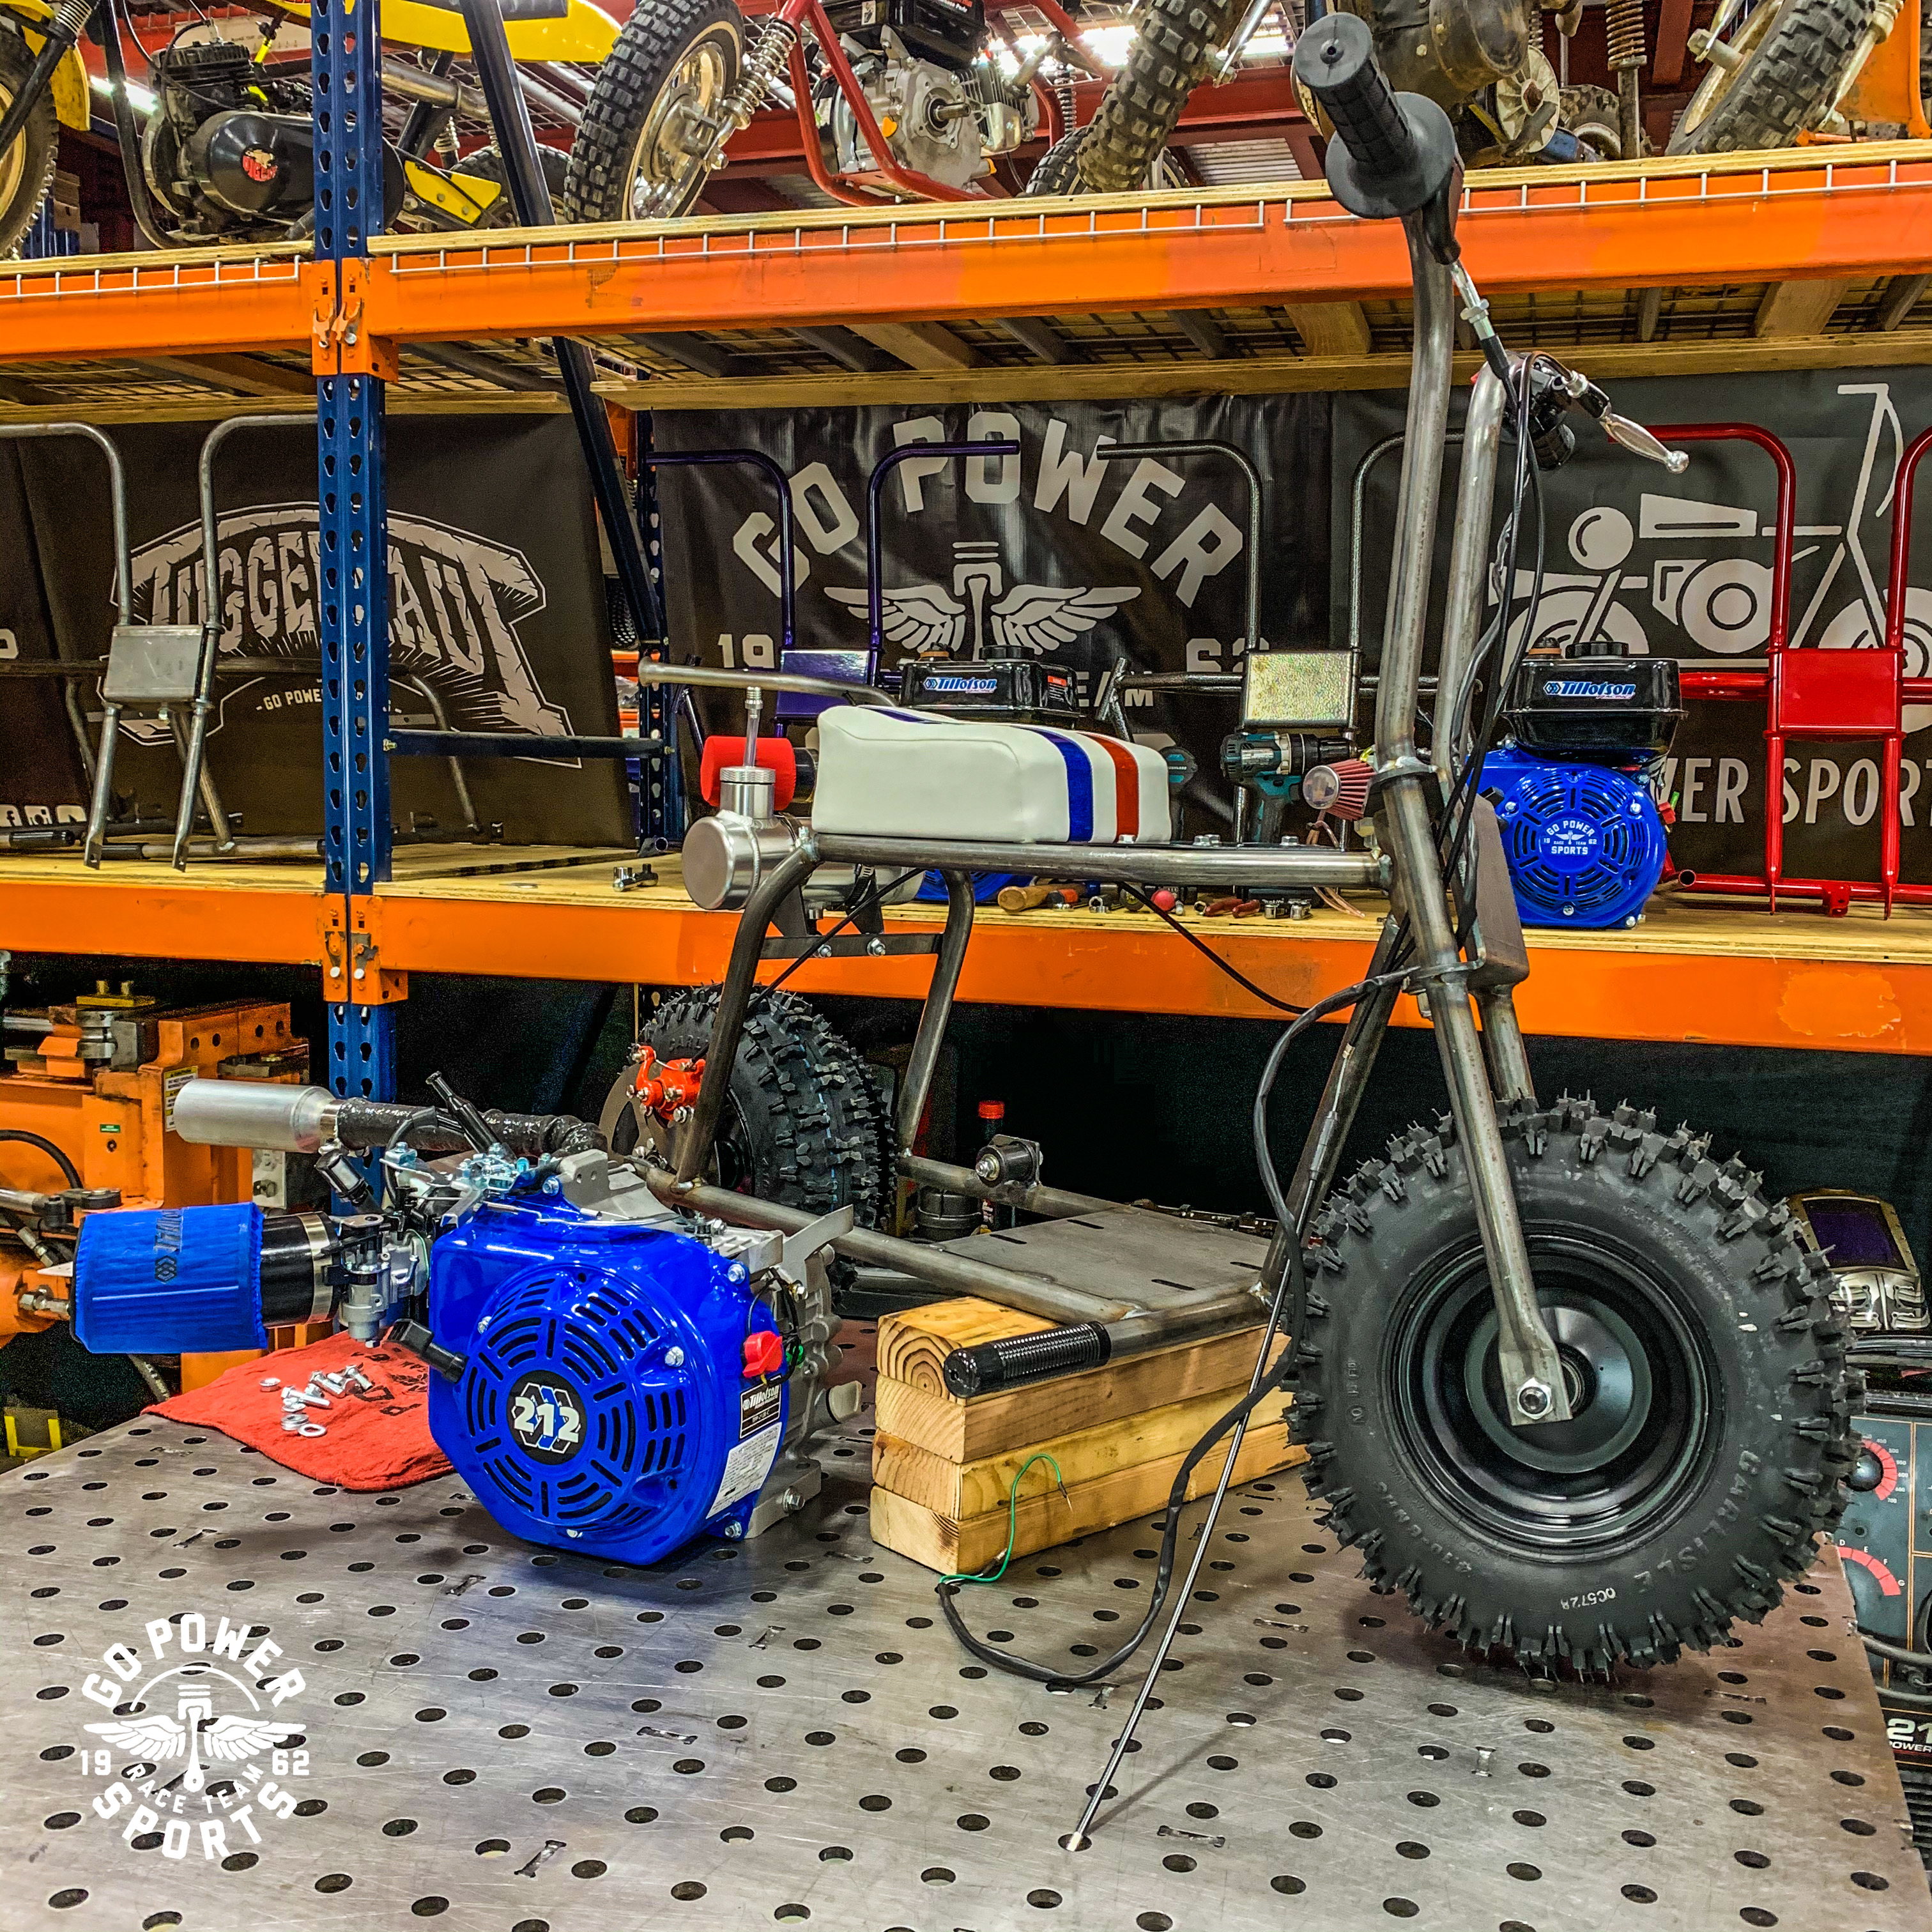
You now have a Lil Rascal Mini Bike Kit Roller. Just needs an engine to make this a Rider. We suggest the 79cc Predator for the novice consumer. For those looking to get really rascally, then the Tillotson 196/212/225 engines are your next step up. With any of these engines, you will need to run a Stage 1 Kit. This kit does away with the bulky stock airbox and muffler and gets replaced with a header pipe and K&N Style Air Filter. The GPS-0010 Side Exit Header Pipe is our only pipe that currently fits the Lil Rascal frame. Our prototype for the center exit is still in the works.
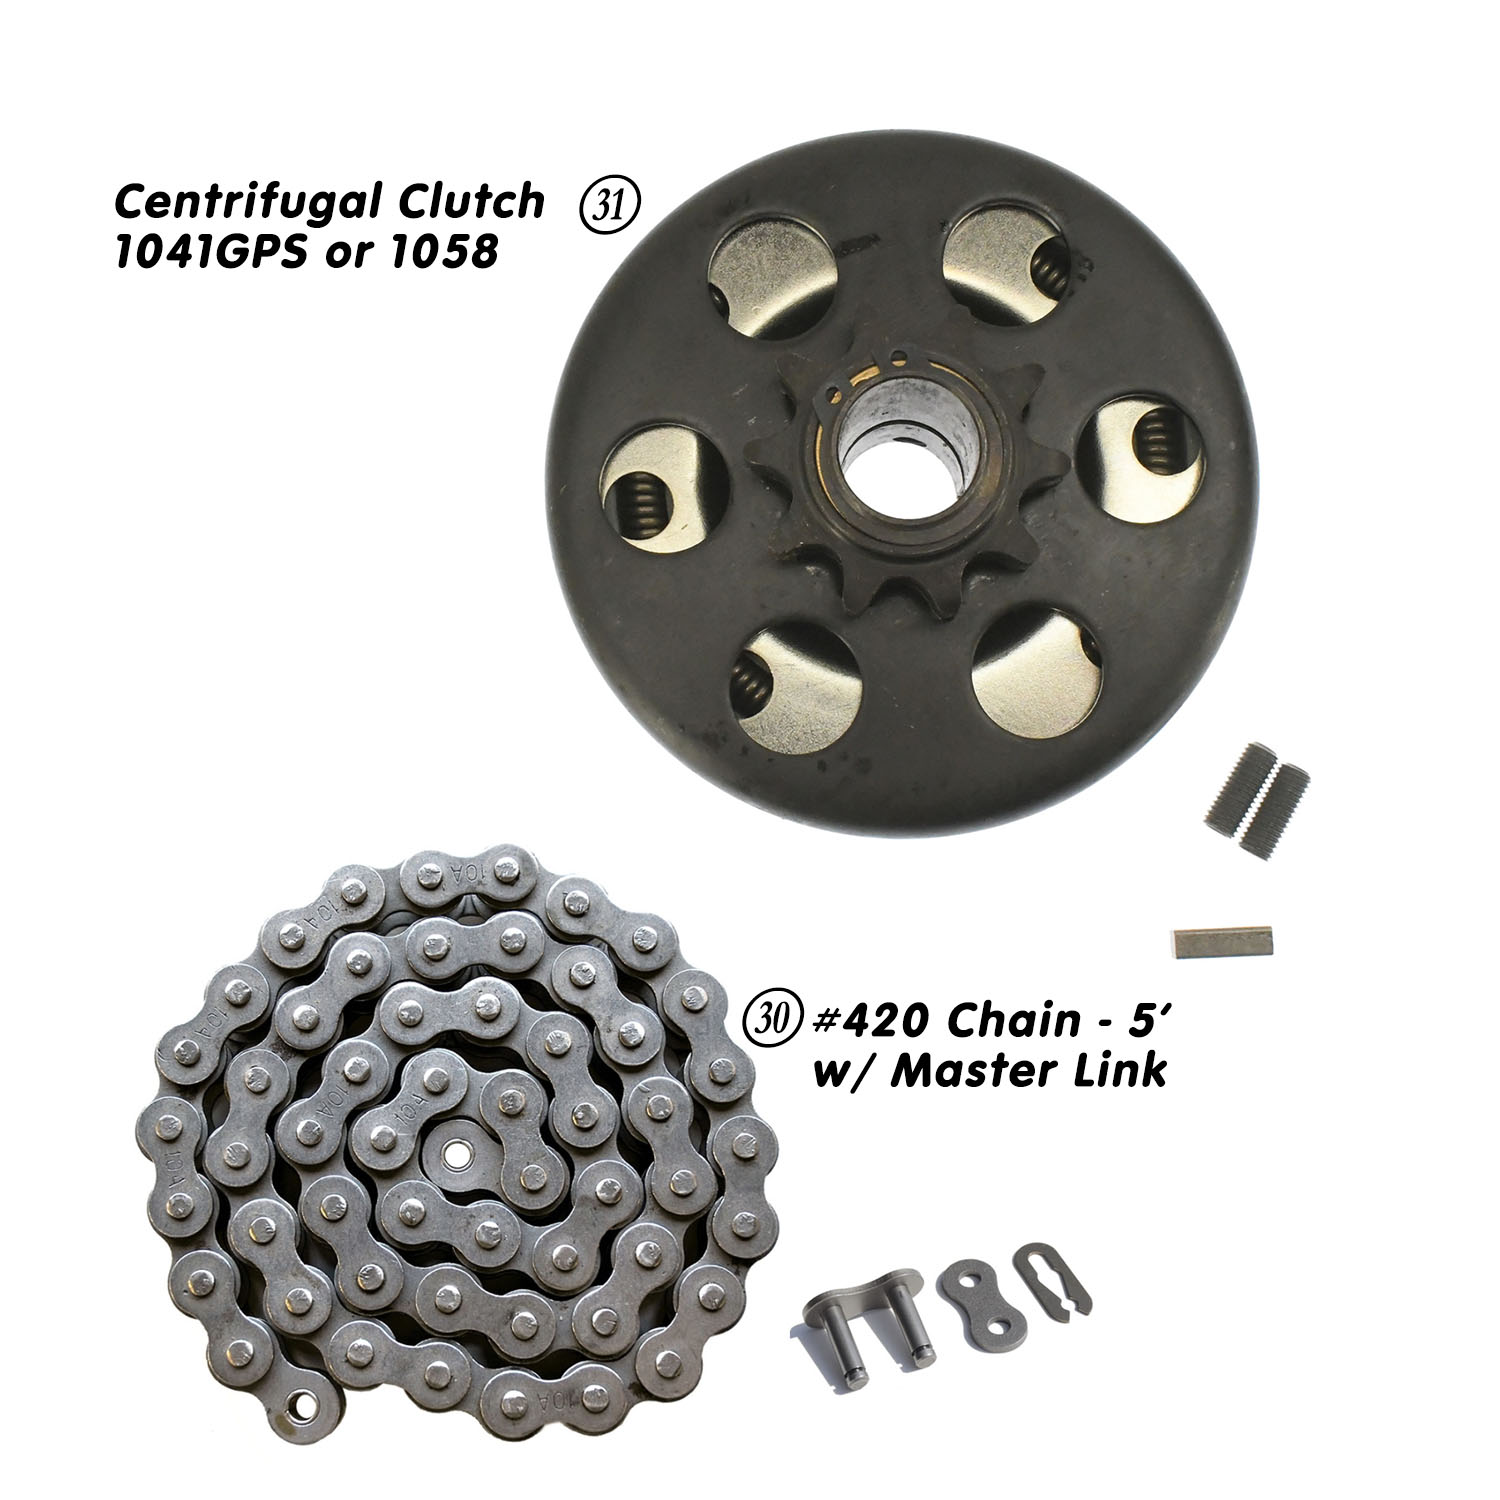
Your kit also comes with a clutch option of either 5/8" or 3/4". This is referring to your engine's crankshaft diameter. The 79cc Predator and stock Coleman mini engines are a 5/8" crankshaft. The 212 Predator, Tillotson 196/212/225 engines will have the 3/4" crankshaft.
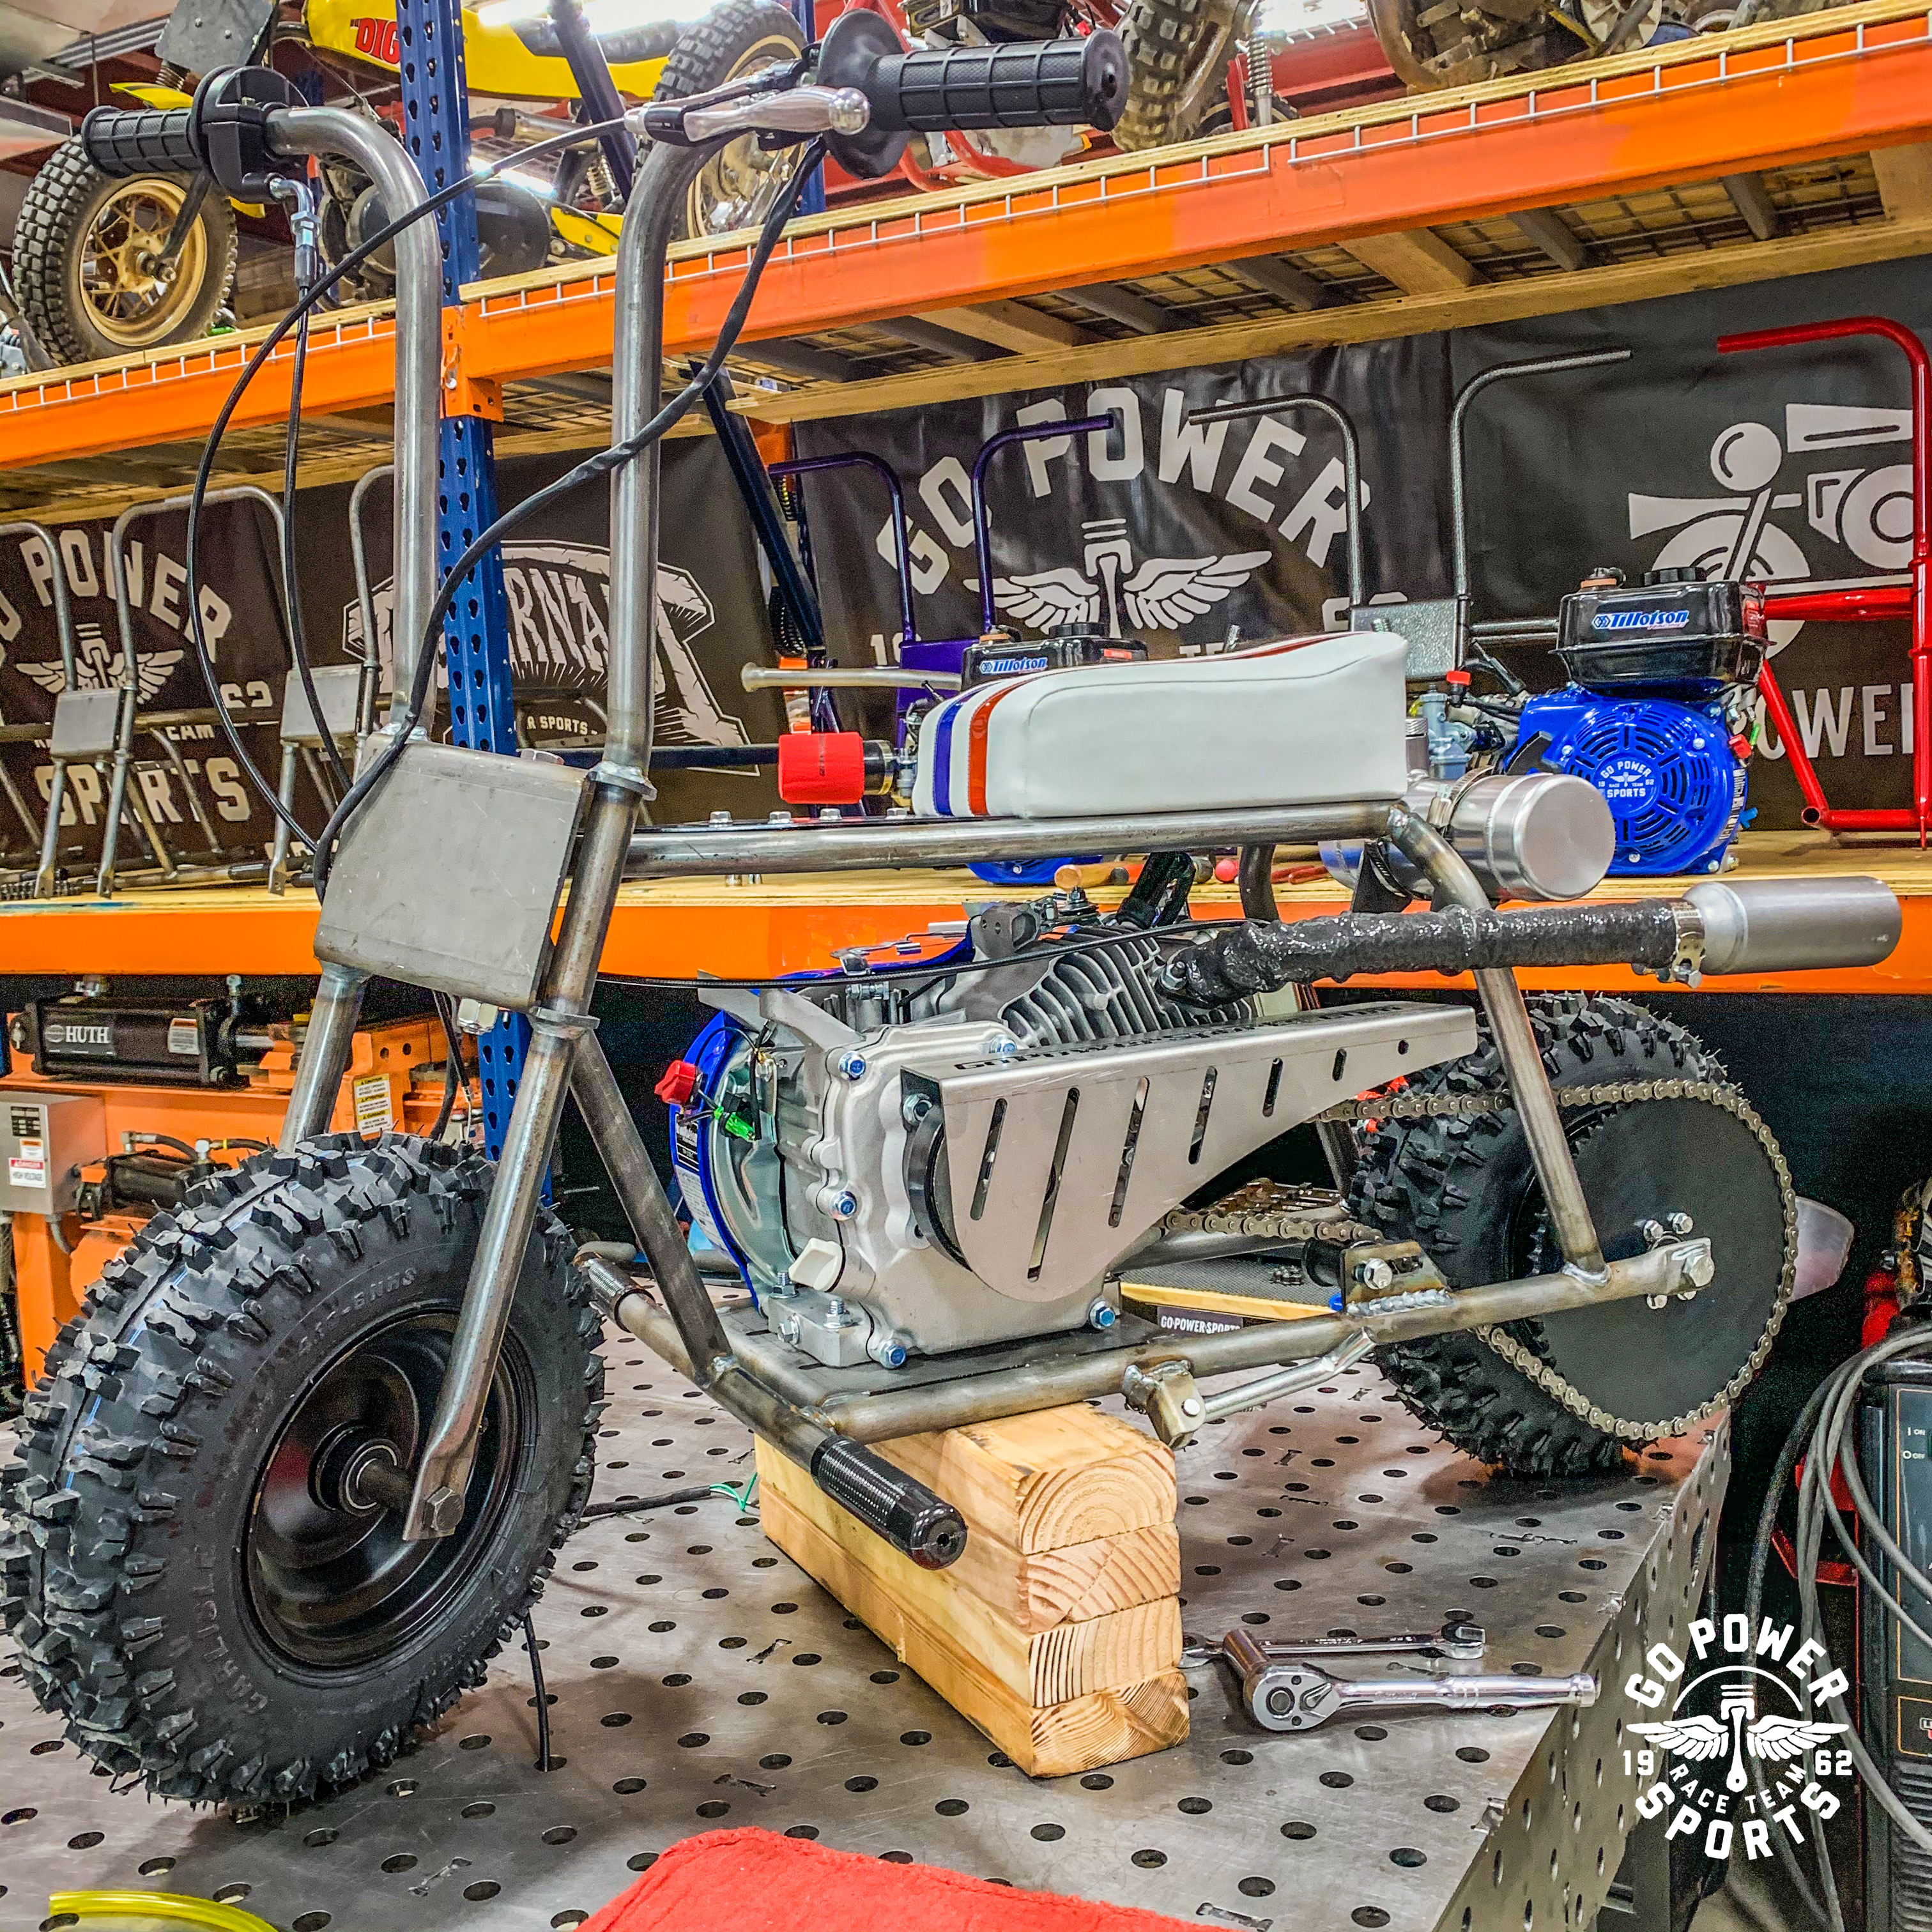
Tighten all your hardware, add oil and gas, and send it!
 |
. |  |
. |  |
|
What's in the kit? |
Assembly video. |
Engine Install |
||
|
Check out our new Facebook Page!
|
||||
 US Dollar
 Australia
 Canada


